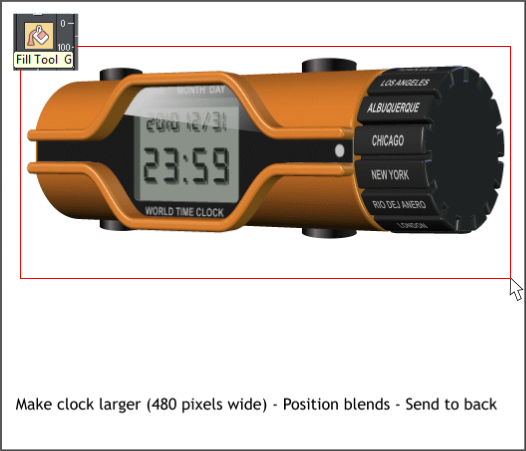


 Draw a marquee selection rectangle around the clock with the Selector
Tool and increase the width of the clock on the Infobar to 480 pixels.
Position the two blends as shown. Clone the blends and place them on
top in the same positions. Send all four blends to the back (Ctrl b).
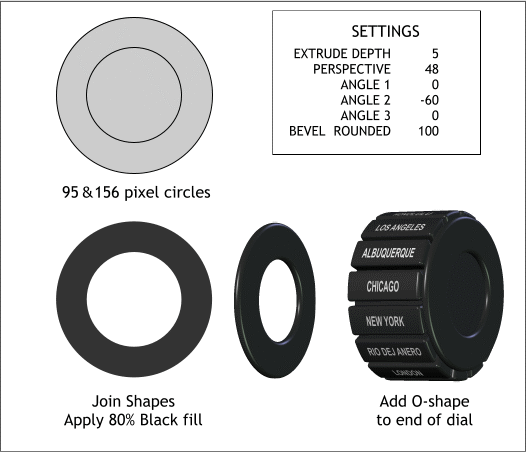
Create two new centered circles to the sizes shown. Select both circles
and Arrange > Join Shapes. Add an 80% Black fill.
Apply a 3D Extrusion using the settings shown above. Position this over
the right end of the cities selector knob.
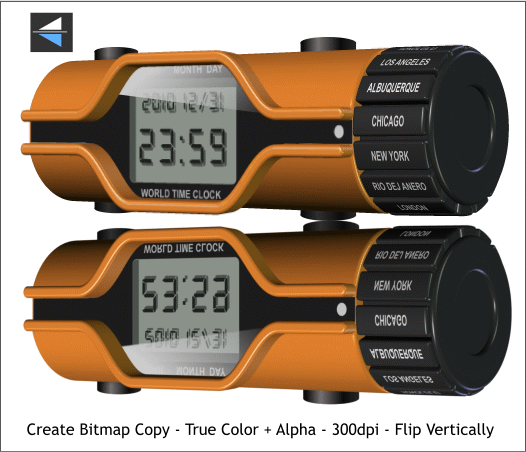
Marquee select all of the clock objects with the Selector Tool).
From the Arrange menu select Create Bitmap Copy... Use the True
Color + Alpha color depth option (to create a transparent background).
In the Bitmap Size tabbed section, select 300dpi. Press Create.
With the bitmap selected, press the Flip Vertically icon on the Infobar
and position the flipped bitmap under the original.


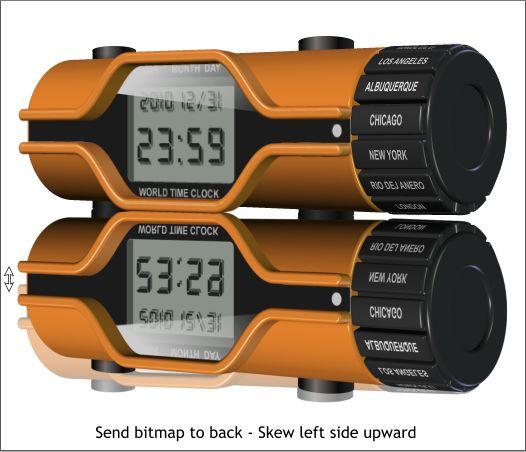 Send the bitmap to the back (Ctrl b or Arrange > Put to Back).
Line up the bitmap directly under the original. Click twice on the
bitmap to enable rotate/skew mode. Drag the left middle skew arrow
upwards until the bitmap image lines up under the original.
