The Xara Trompe L'Oeil Room  Page 8

Part 2 — Creating The Animation

0
1
2
3
4
5
6
7
8
9
10
11
12

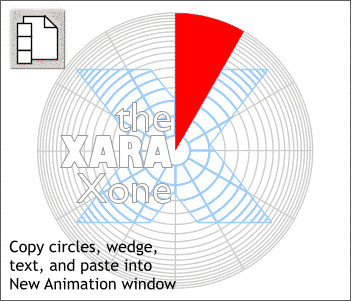
Select the gray outlined text, blue clip view X, and gray circles shape, and group them (Ctrl G).

Copy the wedge, the grouped gray outline version, and the new bitmap to the clipboard (Ctrl C).

Press the New Animation button on the Infobar to open an animation window.

NOTE: If the new animation button is missing from the Infobar, go to the Window pull down menu, select Control Bars and check the Gif Animation check box.

Paste the contents of the clipboard onto the new animation page (Ctrl V).

Center the colored bitmap over the gray version. Select the v-shaped wedge and bring it to the front (Ctrl F).

TIP: If you can't see the wedge shape, you can slide the Set View Quality slider on the Infobar all the way to the left for wireframe view, or press the Tab key repeatedly until the wedge shape is selected.

Cut the bitmap and the wedge shape to the clipboard (Ctrl X).

Press the Animation Properties icon on the Infobar to open the Animation Properties dialog.

Check the Background check box and set the Display this Frame For: value to 0.

This will place the gray version on all new animation frames we create but will not display this frame.

NOTE: Cut (Ctrl X) and Copy (Ctrl C) are similar in that they both place the selection in the clipboard (the computers RAM memory). Cut removes the selection from the screen while Copy leaves the selection in place.