Simple Illustration Techniques by
Risto KlintPhew! It is a lot of work putting a tutorial together and I did not even do any fancy screen-grabs, just a
couple of intermittent saves and some text. It makes you appreciate, even more, the work that Gary does every month. When asked to do a tutorial, my first reaction was "on what?" because I always keep my creations
simple (I get enough aggravation from my non-Xara-life). Then I figured "Hey, why not do a tutorial on SIMPLE?" So here it is: "a tutorial on how to use Xara X to make your simple shapes, fills and clip-art look
really pretty (really quick!)".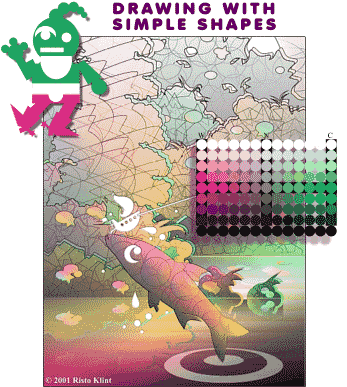 Setup: My favorite Paper size to draw on is at 630 pix by 420
pix, a perfect 2/3 ratio rectangle. A Major Spacing* of 70 pix fills out the paper perfectly, and the guidelines can be easily placed so they divide the paper into thirds. I also set the Number of Subdivisions*
so that I get a central point between the majors. In this case I have it set to 4. *Page Options > Grid and Ruler tabbed section
I use the guidelines to plan my composition and the placement
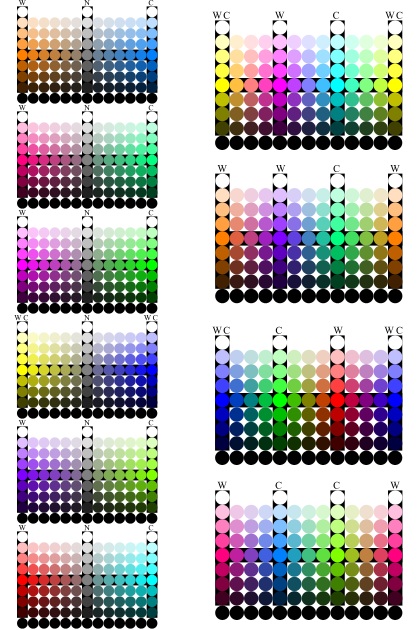
of the water, land and sky.I also like to Import one of a few basic palettes that I have created to use with the color picker. I often deviate from this palette but I find that it helps me to get going.
When I draw I normally keep the line width at 0.5pt and remove the line when I create shapes with fills. I give the shapes color as soon as I create them, I find that it
gives me ideas where to "take" the picture. The final drawing is available for download in .xar format if you wish to see how something was done.
The 10 basic complementary and triadic palettes (shown below) are also part of the downloadable .xar file.(475K)The palette pictured below was used for this tutorial.
|