Place the Color Editor (click the small color wheel icon to the left of the on-screen palette to open the Color Editor)
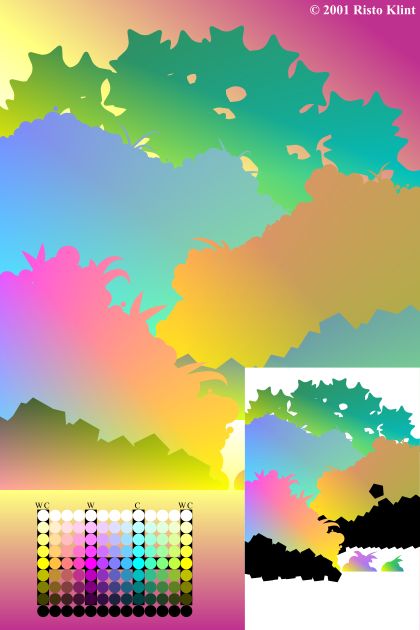
and the imported palette where they can be reached without having to use the scrollbars.Select the blue shape and give it a Three Color fill. From the Fill Tiling drop down list, select Simple
. Adjust the colors using the color picker and the imported palette. Click on the nodes of the fill and use the color picker (the Eyedropper) to change the default colors that were designated to them.
Fill all the shapes with a Three Color fill and go nuts with color combinations! Try to keep at least one of the colors in the different Three Color fill the same. (e.g. here all the bottom
nodes, facing the middle of the paper have a full intensity yellow.
Use the fills as Simple (as opposed to Repeating) and adjust them to cover the area of the shape that can be seen, to get
full use of all the colors.
Add a Three Color (white/light-yellow/light-magenta) Linear fill to the water.
Copy (Ctrl + C) the water fill and Paste Attributes (Edit menu or
Ctrl + Shift + A) to the sky-shape and reverse its orientation.
12 Create a polygon with sharp corners using the QuickShape Tool. Use it to create two more layers of "land". Use the
polygon shape the same way as the star in Step 10.
Give the two new shapes a Three Color, Simple fill.