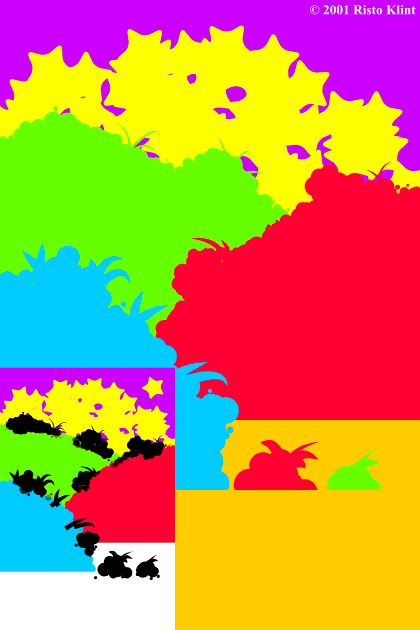
Step 8 With the stroke shape set to Blip, add some bumps to the land-shapes by drawing with the Freehand Tool and Splodge
brush. Remember to use the same line widths as in steps 4 and 5. Next, merge the bumps to the land-shapes as in step 6. As above, draw two rock shapes in the water and perform
Convert Line to Shape (Arrange menu). Then trim the waterline of the rocks the same way as in step 7. Step 9 Create some blades of grass using the Freehand Tool with Nomal Line
and Iron stroke shape at 8, 4, and 2 pts. Next, merge the grass to the land-shapes as in step 6. Step 10 Create a 5-sided star with Curved corners using the
QuickShape Tool (make sure the line width is set to None). NOTE:
To convert the pointy shapes of a QuickShape object to Curved, double click on one of the points with the QuickShape Tool.
For this step you should temporarily de-activate snap-to-grid (Numpad .).Using the Selector Tool, drag the star, keep the left mouse button pressed and right click to drop copies of the star in the
top part of the paper to order to create some vegetation. Occasionally change the rotation of the star to get some variation in the shapes. Marquee-select (drag a rectangle around all the shapes with
the Selector Tool) all the stars and perform Combine Shapes - Add Shapes (Arrange menu or Ctrl + 1). Move them to the back using Move Backwards (Arrange menu or Ctrl +
Shift + B). |

