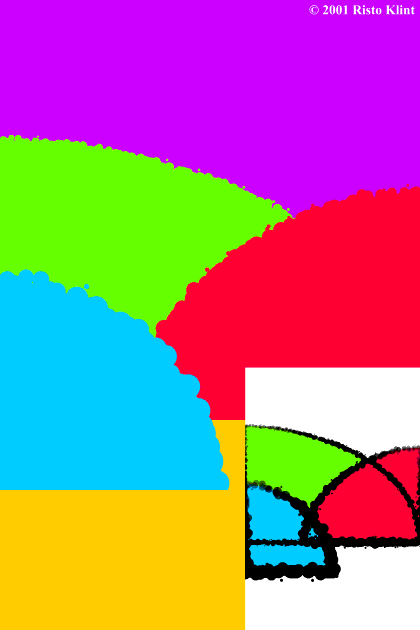
Step 4 Clone (Edit menu or Ctrl+K) the three land-shapes and change the line width of the blue shape to 36 pt. Set the fill to none. Change the brush type of the line to
Splodge and stroke shape to Blip. NOTE: With the
Freehand Tool and the path selected, select Splodge from the Select an Existing Brush drop down list on the Infobar. (The name of the brushes appears in the flyout
window to the right). Select the stroke shape, Blip from the Select an Existing Stroke Shape drop down list on the Infobar. Step 5 Select the Splodge line and perform Copy Shape (Edit menu or Ctrl + C), Paste Attributes (Ctrl + Shift + A) of the
line to the red and green clones.Change the line width of the red-clone shape to 24 pt and of the blue one to 16 pt. Step 6 Select the 3 Splodge lines and Convert Line to Shape
(Arrange menu). Merge the lines to their original shapes by keeping each pair of line and shape selected and using Combine Shapes - Add Shapes (Arrange menu or Ctrl + 1).
The shapes will turn slightly transparent as the Splodge brush has a transparency; remove it by changing the transparency shape to None (on the Infobar Transparency Shape drop down list).
Step 7 Use Combine Shapes - Subtract Shapes (Arrange menu or Ctrl + 2) to restore the original water lines and outside edges of the paper, by creating square with the Rectangle Tool.
The outside edges are easily trimmed if you first Select All (Edit menu or Ctrl + A) shapes and temporarily Group (Arrange menu or Ctrl + G) them, before trimming. |

