|

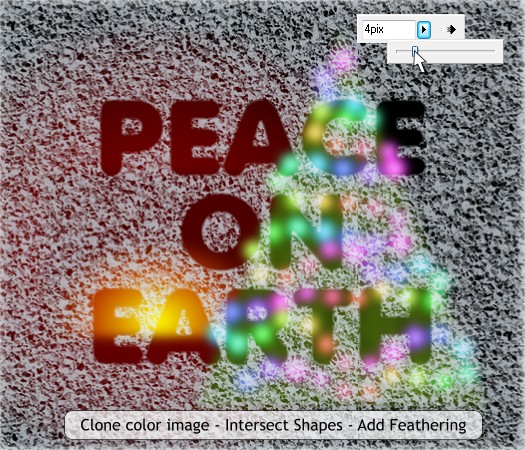
Hold down the Alt key and click twice on the frosty bitmap to drill down to the color bitmap. Clone the color bitmap which places a copy on top.
Press Shift Ctrl b to send the color bitmap behind the text.
Hold down the Shift key (to select multiple objects) and click on the colored bitmap and the text.
From the Arrange menu, select Combine Shapes > Intersect Shapes or press Ctrl 3. This creates the appearance of the frost removed from the glass.
Add 4 pixels of feathering to soften the edges of the text using the Change Size of Feather Region slider on top right area of the Infobar.

Finally, clone the frosty bitmap, change the Transparency Type to Bleach and send it behind the text to make the frost a little brighter. Reduce the size
of the transparency fill, and rotate the fill path arrows a small distance.
Afterthoughts You can substitute a photo of your own home for the tree and fireplace image we created. And you can add a falling snow effect using Xara Online's Snow Photo Effects filter. The lights on the tree are a little too bright
and the tree appears ghost like in the frosted window pane. In retrospect it might be better to add feathering to each of the lights and perhaps make the
tree darker. If you try this, let me know. I'd love to see how it turns out.
Your comments, questions, suggestions for future tutorials and even holiday greetings are always most welcome. Have a warm and wonderful winter holiday.
Gary W. Priester
Send e-mail
|