 |
 |
|||||||
| H 1 2 3 4 5 6 7 8 9 Download Zipped Tutorial | ||||||||
|
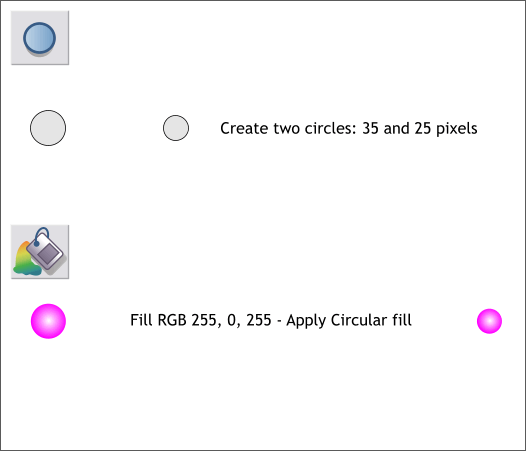
Select the Ellipse Tool (L). Hold down the Ctrl key (to constrain the ellipse to a circle), and draw a 35 pixel circle. Draw a second smaller 25 pixel circle.
Select either of the circles and click on the Magenta color square on the screen palette. Select the Fill Tool (F5). From the drop down list of Fill Types on the top left area of the Infobar, select Circular. Apply a Magenta fill and Circular fill to the other circle. TIP: Copy the circular filled circle to the clipboard (Ctrl c). Select the unfilled circle and from the Edit menu, select Paste Attributes or press Shift Ctrl a.
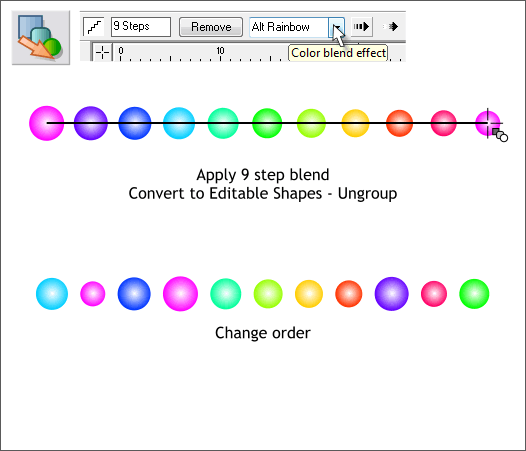
Move the two circles farther apart. Select the Blend Tool (F7 or W). Drag the Blend Tool from one circle to the other circle. Change the number of Blend Steps to 9 on the Infobar and press Enter to apply the change. From the Color Blend Effect drop down list select Alt Rainbow. From the Arrange menu select Convert to Editable Shapes (Shift Ctrl s). Then Arrange > Ungroup. Change the order of the circles as shown above.
|
||||||||
|
|
||||||||


