This next step is a bit convoluted and for it I
apologize.Make a duplicate of the capsule. With the duplicate selected, click the Shadow Tool and click the No Shadow icon (far left). Next select the Transparency Tool and select None
from the drop down list on the Inforbar.
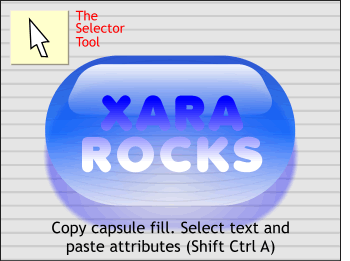
Now, copy the capsule (Ctrl C or Edit > Copy). Select the text and press Shift Ctrl A or Edit > Paste Attributes
. This is Xara's equivalent to Adobe's eyedropper tool and is used to copy all attributes from one object to another. Including transparency. Your text should now look like the text shown here. Delete
the duplicate capsule. Because the capsule had multiple special effects, copying and pasting attributes did not have the desired effect.

 This next step is a bit convoluted and for it I
apologize.
This next step is a bit convoluted and for it I
apologize.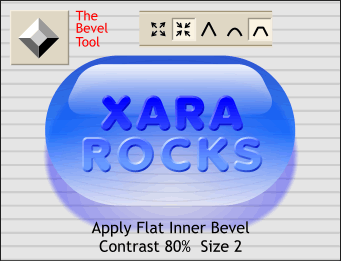 Xara's new Bevel Tool is hot with a capital H
. Select the text then select the Bevel Tool. From the drop down list of Bevel Types, select Flat. On the Infobar press the Inner Bevel button (the in-facing arrows) to apply the bevel to the inside of
the text. Amazingly enough, the text is still editable!
Xara's new Bevel Tool is hot with a capital H
. Select the text then select the Bevel Tool. From the drop down list of Bevel Types, select Flat. On the Infobar press the Inner Bevel button (the in-facing arrows) to apply the bevel to the inside of
the text. Amazingly enough, the text is still editable!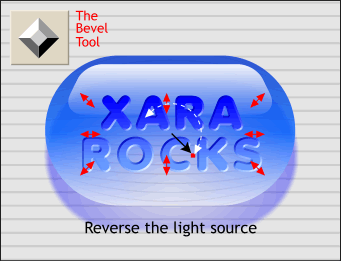 The embossed text looks nifty except the text wants to look
recessed.
The embossed text looks nifty except the text wants to look
recessed.