|
As always, we will be working in Pixels. If you have forgotten how to do this, open the Page Options
dialog (right click on an empty portion of the screen and select Page Options or Utilities > Options). In the Units tabbed section, select Pixels
from the drop down list, and set the Color Units: to 0-255. In the Grid and Ruler tabbed section set the Major Spacing: to 100pix
(key it in exactly like this with no spaces) and the Number of Subdivisions: to 10. If you do not see your screen rulers, go to the Window pull down menu and select Bars > Rulers
. |
|
 Enable Snap to Grid. (found in the
Window pull down menu). Enable Snap to Grid. (found in the
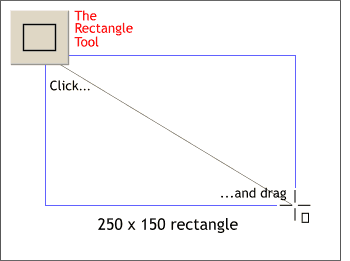
Window pull down menu).Select the Rectangle Tool on the main toolbar on the left of the screen. Click and drag a rectangle that is 250 pixels wide by 150 pixels tall. Refer to the size on the
context-sensitive Infobar at the top of the screen and do not release the mouse button until the rectangle is this exact size. The reason for this rigidity is we
will be rounding the corners of the rectangle and in order for the corners to be perfectly round, the rectangle must be drawn to the exact size, and not resized which will result in non-round corners.
|

