|
|
|
Raymond Cavie requested a simple animation tutorial. And even though I have created several simple animation tutorials (WebXealot 22 - A Simple Animation Tutorial, October 1999 Xara Tutorial, and a more complex tutorial, January 2001 Xara Xone Animated Logo Tutorial), I figured, what the heck, one more GIF animation tutorial might be useful. So, Raymond, I hope you are paying attention.
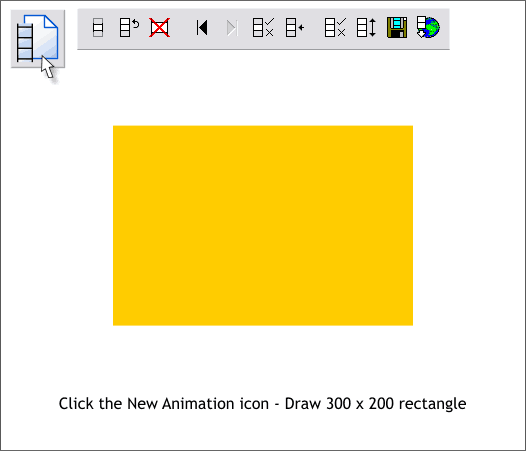
Click the New Animation icon on the top left area of the Infobar. This opens a window that is almost identical to Xara's normal drawing window except it is for animation. And some of the icons on the GIF Animation Toolbar should also be enabled. If you don't see the GIF Animation Toolbar (shown above) select Control Bars... from the Window menu and check the GIF Animation check box. Using the Rectangle Tool, create a rectangle to the size shown above. Set the outline to none and apply a dark yellow fill.
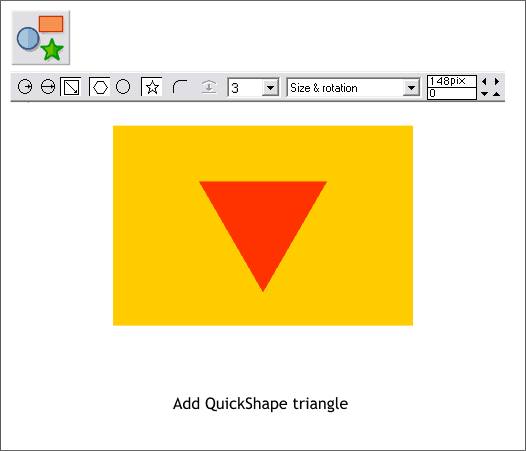
Select the QuickShape Tool. Select 3 from the Number of Sides drop down list and draw a triangle. Hold down the Ctrl key while you draw the triangle. Change the fill color to red orange and set the outline to none either by selecting None from the Width drop down list or right clicking on the cross hatched box to the left of the screen colors. Center the triangle over the rectangle. This is the first frame of our animation.
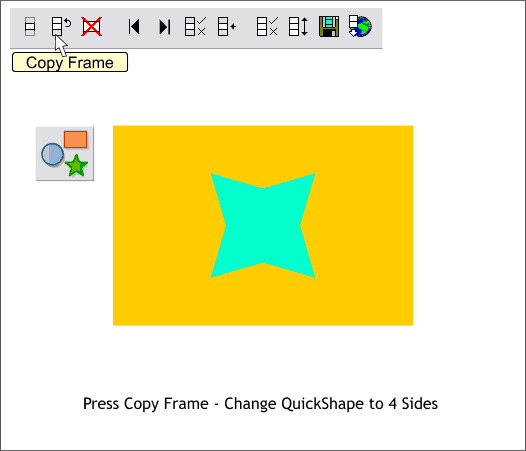
Press the Copy Frame icon. This copies the contents of the current frame to a new frame (Frame #2). Select the triangle with the QuickShape Tool and change the Number of Sides to 4 and change the fill color to turquoise green. This is frame #2.
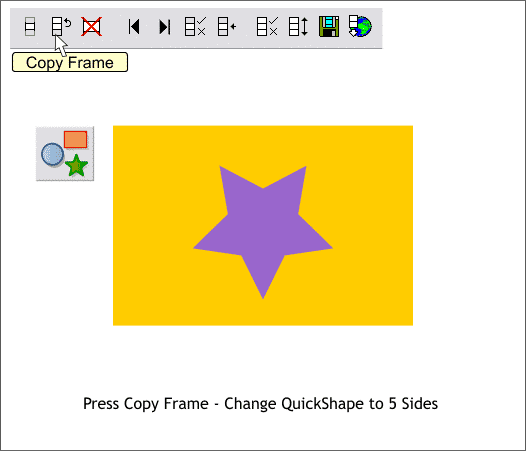
Press Copy Frame again. Change the Number of Sides to 5 and change the color. This is frame #3. (In the next version of Xara X1, one would hope there would be a display of the frame numbers).
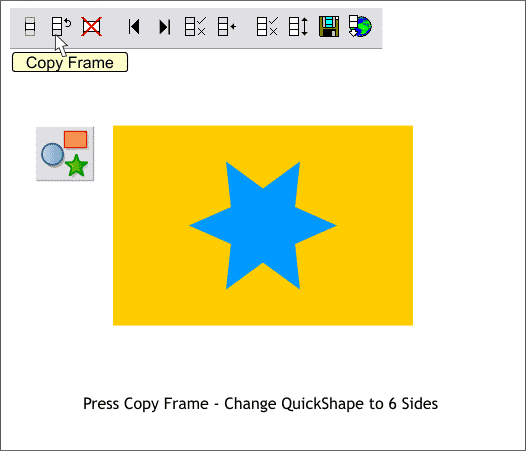
Press Copy Frame, change the number of sides to 6 and change the color. If you are counting, this is frame #4.
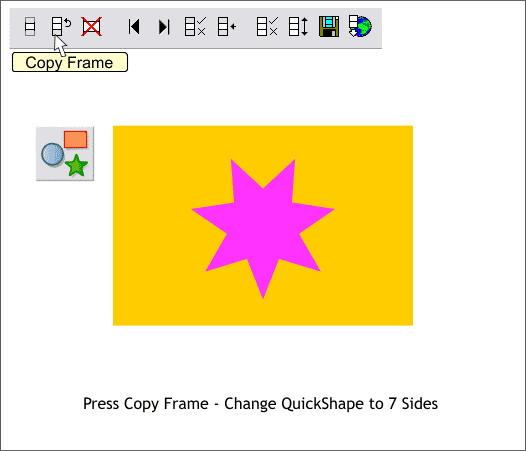
We could go on forever, but we'll make this the last frame. Press Copy Frame. Increase the Number of Sides to 7 and change the color. This is frame #5.
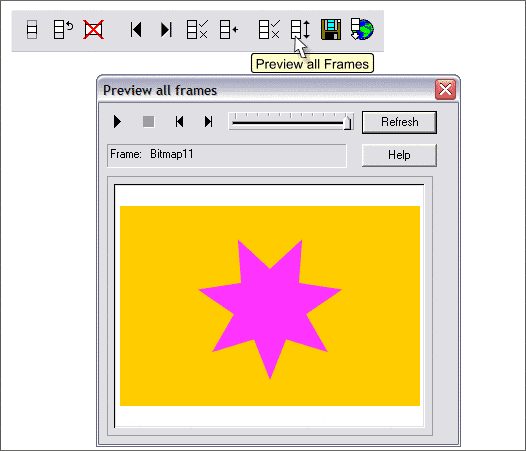
Xara provides several ways to preview your animation, the most direct of which is to click the Preview all Frames icon. This opens a small animation player and plays your animation. You can also press the globe icon to preview the animation in your web browser. This option runs the animation in your browser as it will appear on the web. It also shows you file size, download time, number of colors and other useful information.
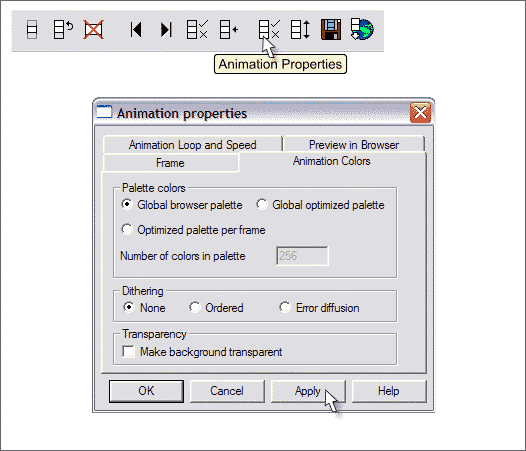
Press the Animation Properties icon. Check the Global Browser Palette radio button and press Apply. In this dialog you can also define the number of times the animation will play, the length of time each frame will be displayed, and color options. NOTE: For each modification you make, press Apply. When you are finished, press OK to exit the dialog. If you make several changes and then press OK without having pressed Apply with each change, only the last change will be applied.
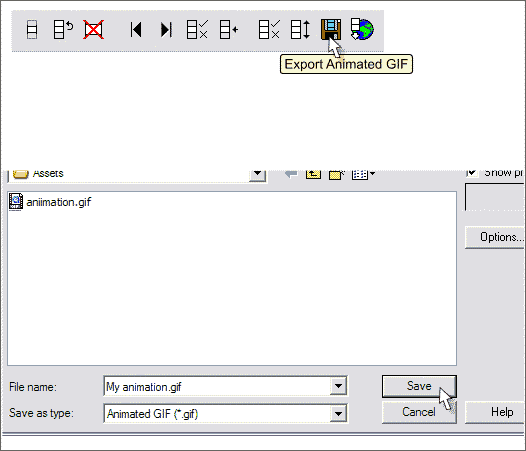
When you are done, press Export Animated GIF. Select Animated GIF (*.gif) from the Save as Type drop down list, give your animation a name, and press Save . Your animation is now ready to be added to your web page and will play automatically in your visitor's browser as shown below. TIP: I left the Help button in the image above for a good reason. Most all of Xara's menus have context sensitive Help files that apply directly to the nature of the dialog. In this case pressing Help will also give you an overview of the animation process as well as explain the various options. When in doubt, seek Help.
|
||
|
|


