|
|
|
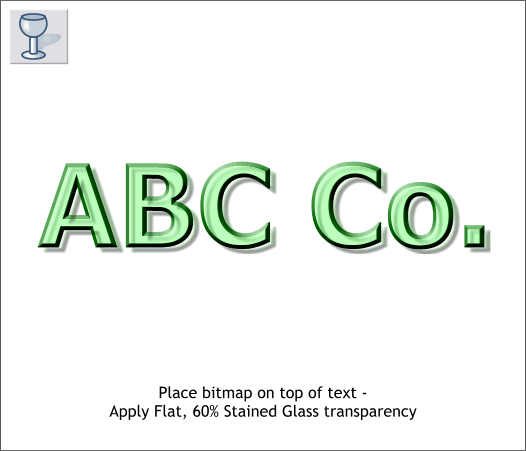
I came upon this technique recently and thought I would share it with you, generous fellow that I am. The process combines a bevel and a contour and a bitmap to create the illusion of transparent plastic letters.
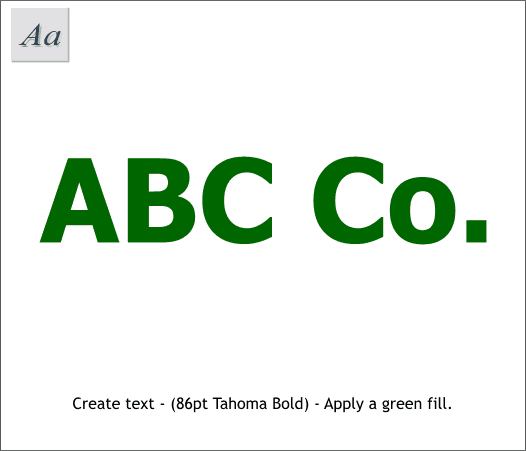
Using the Text Tool, create some text to the size shown. Apply a green fill.
Select the text with the Bevel Tool. Select Flat from the Bevel Type drop down list and click the Inner Bevel icon (the 4 arrows pointing to the center). Select Size from the Slider Type drop down list and change the Size to 4pix.
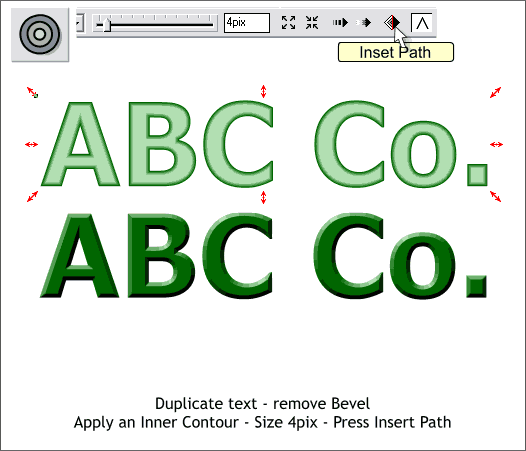
Clone the beveled text (Ctrl k). Select the clone with the Bevel Tool and set the Bevel Type to None. Now select the cloned text with the Contour Tool and drag inwards to create an Inner Contour. In the Bevel Width text entry box on the Infobar, enter 4pix and press Enter to apply the change. Click the Inset Path icon. The Insert Path icon eliminates all but the end contour.
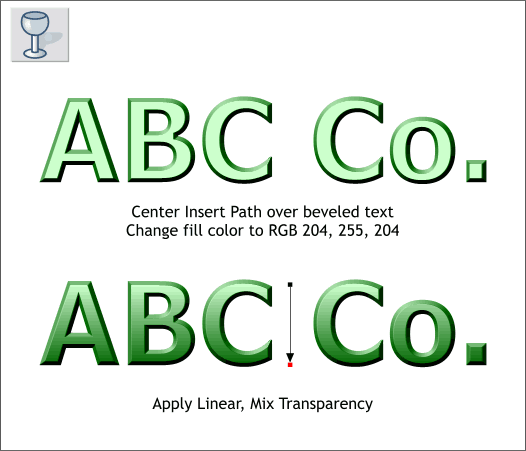
Change the fill color for the cloned text to very pale green. Click the top of the cloned text with the Transparency Tool. Hold down the Ctrl key and drag from top to bottom to create an intuitive Linear transparency. This creates the look of shiny plastic. Next we'' create the transparent part.
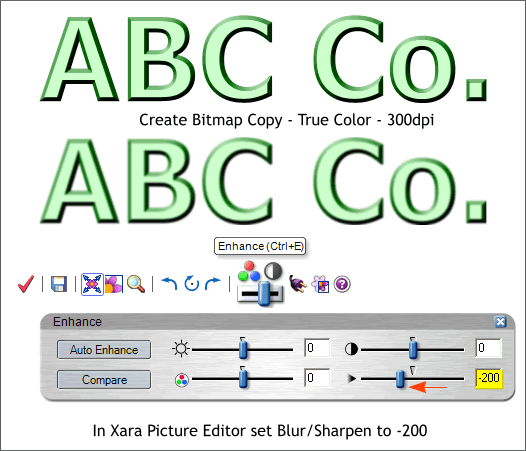
Select the beveled and cloned text and from the Arrange menu, select Create Bitmap Copy... Use the True Color color depth option. Hold down the Shift key and press Create to place the bitmap directly on top of the text. Right click on the bitmap and from the pop up menu, select Xara Picture Editor. Move the Blur/Sharpen slider to the left to -200 (or key in -200 in the text entry box and press Enter ). This blurs the bitmap as shown above. Press the red check icon to accept the changes and exit from XPE. TIP: If you have a mouse with a wheel, you can position the cursor over the slider handle and use the wheel to move the slider one way or the other. This works with most Xara sliders
Move the bitmap down and to the right about 6 pixels in each direction. (You can use the arrow keys on your keyboard to move the bitmap). Apply a Flat, Stained Glass transparency by selecting the bitmap with the Transparency Tool, then selecting Stained Glass from the Transparency Type drop down list and moving the Transparency slider to 60%. By placing the bitmap on top of the text, and using a Stained Glass transparency, we get the effect of the shadow showing through the transparent text. You can see the difference if you move the bitmap to the back ( Ctrl b). Not nearly as effective, is it?
|
||
|
|


