 |
 |
|||||||
| 0 1 2 3 4 5 6 7 8 9 10 11 Download Zipped Tutorial | ||||||||
|
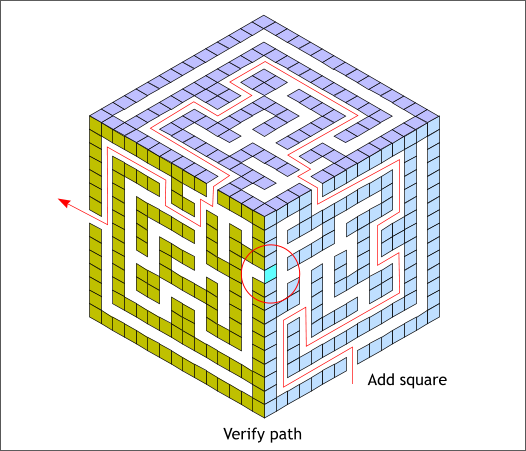
Before we go to the next step, let's take a moment to make certain our maze works and that there are no holes. I discovered after it was too late (and I had to redo the end of the tutorial) that there was an opening in the left side of the blue maze which needs to be plugged. Otherwise I would most certainly hear from one or more of you eagle-eyed readers that you can escape without going through the purple maze. So, make sure there is only one correct route.
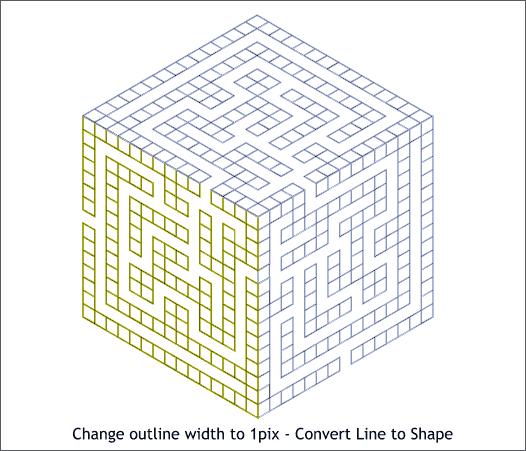
If we select one of the sides, ungroup the sides and Add Shapes, the results will be a hodgepodge of shapes and not at all what we want. So we won't do that. Instead, select the three grouped sides and change the outline Width to 1pix by selecting 1pix from the Width drop down list on the Infobar. The outline will become whatever your default line color is. I have changed the outline colors back to pale purple, green and light blue. You'll see why in the next step.
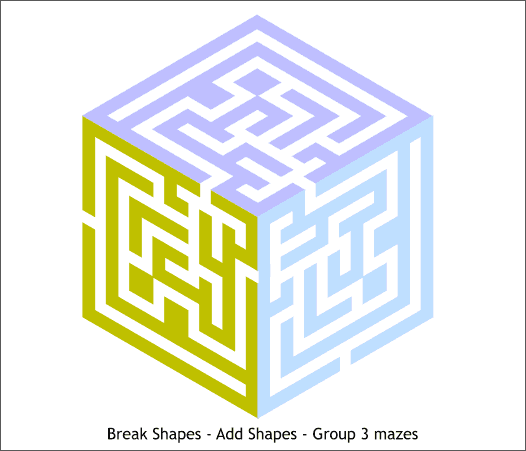
Select the purple maze (the top) and from the Arrange menu, select Break Shapes. Marquee Select (drag a selection rectangle around all the shapes with the Selector Tool) all the broken top shapes and from the Arrange menu, select Combine Shapes... > Add Shapes (or press Ctrl 1 the keyboard shortcut). The status bar in the lower left area of the screen should read 1 Shape on Layer 1. Add Shapes creates one continuous outline. Repeat this step for the green maze and then for the blue maze. Select all three mazes and group them (Arrange > Group or Ctrl g).
|
||||||||
|
|
||||||||


