 |
 |
|||||||
| 0 1 2 3 4 5 6 7 8 9 10 11 Download Zipped Tutorial | ||||||||
|
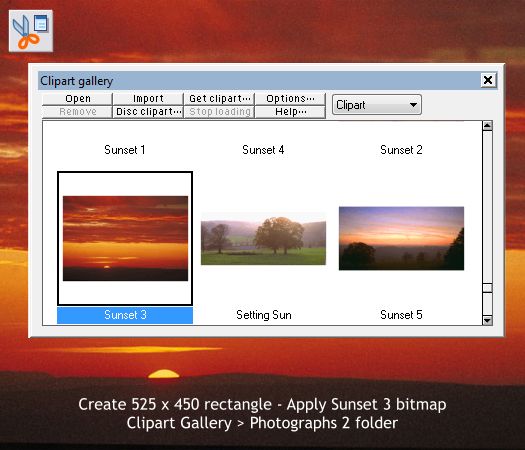
Draw a background rectangle 525 pixels wide by 450 pixels tall. Open the Clipart Gallery (Shift F10) and then open the Photographs 2 folder. Scroll down to the Sunset 3 image shown above. If you are using Xtreme 3.2 or Xtreme Pro 3.2, hold down the Shift key and drag the image from the dialog and drop it onto the rectangle. If for some foolish reason you have not upgraded to Xtreme 3.2 or Extrme Pro 3.2, and why not may I ask?, click Import. Select the rectangle, open the Bitmap Gallery (F11) and press Fill . You can delete the imported bitmap as there is a copy automatically placed in the Bitmap Gallery.
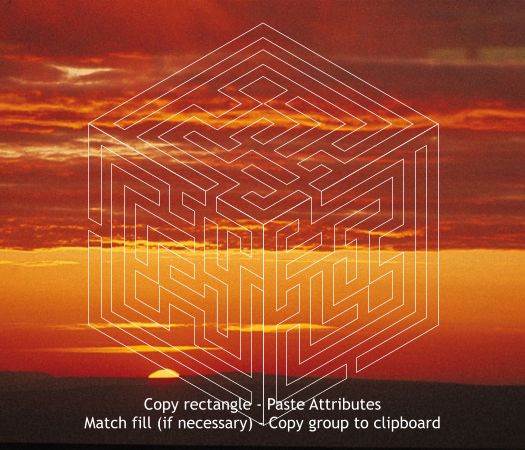
Copy the rectangle to the clipboard (Ctrl c or Edit > Copy). Center the cube over the rectangle and Edit > Paste Attributes or press Shift Ctrl v. With any luck, the fill will match exactly. If not select the cube group then switch to the Fill Tool (F5 ), select one of the small squares at the end of the fill path arrows, and use the left or right arrow keys on your keyboard to enlarge or reduce the fill until it matches. In the example above, the vertical fill path arrow will be tangent with the top of the rectangle. TIP: Here's a sure fire way to make certain the fill matches exactly. Group the cube group and the rectangle. Paste Attributes, then Ungroup once. I have added a white outline because otherwise the three sides would not be visible. You may want to do this as well. Copy the cube group to the clipboard (Ctrl c).
|
||||||||
|
|
||||||||

