Clone your line (Ctrl k or Arrange > Clone).
Select the second group of circles. Click Create Brush on the
Infobar. Name this new brush, "Highlight".
Set line width to 72 pt and draw a line. Give it the same settings than above, except that in Fill properties, Hue setting remain on 0 degree,
Cut this line (
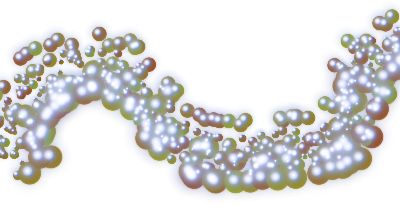
Ctrl x). Select the cloned line seen above and paste attributes (Ctrl Shift a or Edit > Paste Attributes) Right click on the white color swatch on the screen palette. Now you
should see something that resembles highlights on your pearls. Slightly nudge this line (about 1 or 2 pt above and to the left).

Select the Shadow Tool. Add a Wall shadow with these settings: Blur 0 pt, Transparency 0 pt, Horizontal position 1 pt, Vertical position --1 pt.
Keep the highlights selected and click the Selector Tool. Press Tab to select the shadow. Click the Mid Blue-Blue color swatch on the screen palette.
Now you may select and delete your initial circles.
Press Tab once again to select your "Pearl" line below, Select the
Shadow Tool and select Wall shadow with these settings: Blur 4,5 pt, Transparency 36%, Horizontal position 3,8 pt, Vertical position --3,8 pt. Do not change the color!
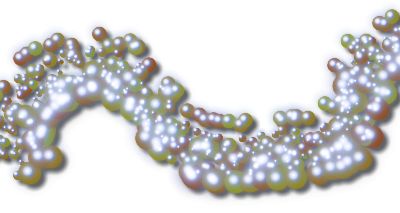
Your string of pearls should look like the illustration above.
Please take a moment to fill out the tutorial evaluation form on
the next page to let me know if you found this tutorial useful. Questions, comments and criticisms are welcome as well.