|
 1
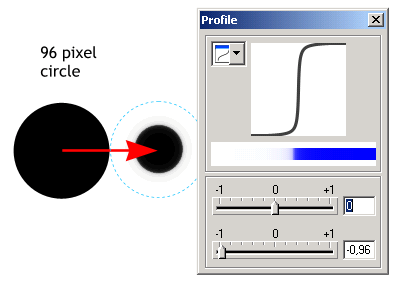
Draw a black 96 pixel circle with Ellipse Tool, holding down Ctrl key while dragging to constrain the ellipse to a circle. Apply a Circular transparency. Press the transparency Profile icon
(the arrow) on the Infobar and set the upper profile to zero and the lower profile on -0.96. 1
Draw a black 96 pixel circle with Ellipse Tool, holding down Ctrl key while dragging to constrain the ellipse to a circle. Apply a Circular transparency. Press the transparency Profile icon
(the arrow) on the Infobar and set the upper profile to zero and the lower profile on -0.96. 2 Create two clones (Ctrl k or Arrange > Clone) and resize
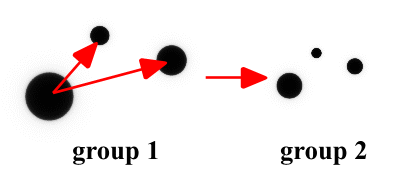
them so they are slightly smaller. Group the three circles (Ctrl g). 3 Clone the group (Ctrl k) and resize this second group so that it is slightly smaller.  Create a clone of the two groups. Create a clone of the two groups.
Holding down Ctrl + Shift, click successively on the six circles of the two newly created
groups. Ctrl Shift selecting selects each circle in the group independently.  With the six cloned circles
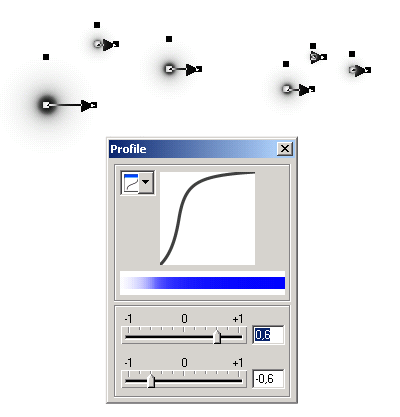
independently selected, select the Transparency Tool, open the transparency Profile dialog and change the upper profile settings to 0,6 and the lower profile setting to -0,6. With the six cloned circles
independently selected, select the Transparency Tool, open the transparency Profile dialog and change the upper profile settings to 0,6 and the lower profile setting to -0,6.
TIP: keep holding down Ctrl Shift while your group of circles is selected. Then if you click on
one transparency center/handle, all the others centers/handles are selected at the same time. Select the first group and its cloned group, then select the
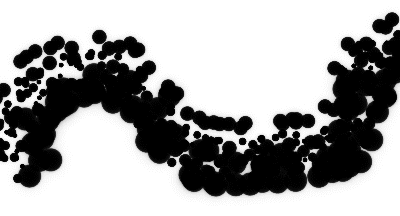
Freehand and Brush Tool, and on the Infobar, click Create Brush. Name your new brush "Pearls".  Set the
Line Width to 72 pt and draw a wavy line. Set the
Line Width to 72 pt and draw a wavy line.
Keep the line selected and press Edit Brush on the Infobar. Change the settings in the tabbed sections as follows:
- Spacing:
4%, Sequence forward
- Rotation:
Uncheck Rotate Along Path, Random: 0-180 degrees
- Fill Properties:
Check All Brush Colors, Hue: 0-20 degrees.
|

