 |
 |
 |
 |
 |
 |
 |
Monthly Feature — Making Neon
Now that you know just about all there is to know about lines, let's use some of this knowledge to create a glowing neon text effect.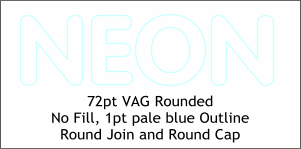 Step 1. Key in the text NEON. I've used a font called VAG Rounded which sort of looks like neon. Make the outline color
pale blue and set the fill to none. Select the text, open the Line Gallery and select Round Join and Round Cap.
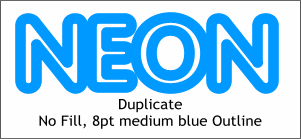 Step 2. Make a duplicate of the text (Ctrl K), change the outline weight to 8 points and change the outline color to medium blue.
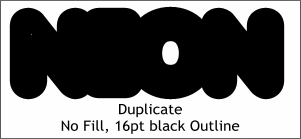 Step 3. Make another duplicate of the text (Ctrl K), change the outline weight to 16 points and change the outline color to black.
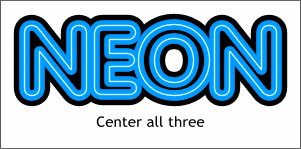 Step 4. Center all three NEONs bringing the copy with the slimmest line weight to the front (Ctrl F) and sending the copy with the heaviest line weight to the back (Ctrl
B).
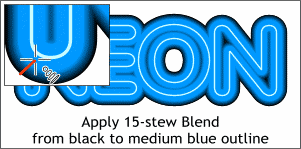 Step 5. Using the Zoom Tool (the magnifying glass icon) zoom in close on the bottom of
 ![]() the N. Select the Blend Tool from the main tool bar on the left of the screen. Drag from the black outline to the medium blue outline to create the blend. Change the number of Blend Steps
to 15 on the Infobar.
the N. Select the Blend Tool from the main tool bar on the left of the screen. Drag from the black outline to the medium blue outline to create the blend. Change the number of Blend Steps
to 15 on the Infobar.
Add a black background and there you have it, instant, well almost instant, neon.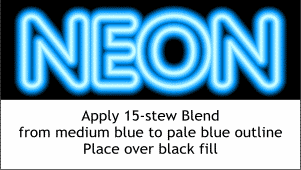 Step 6. Using the Blend Tool, now drag from the medium blue text to the pale blue, 1 point outlined text. The Blend Steps will automatically be 15.
You can use any color for the background you like, just make the heaviest outline the same color as the background so the neon blends into background color.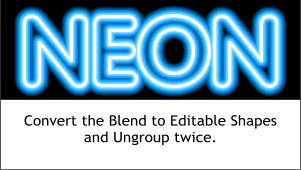 Step 7. Convert the Blend to Editable Shapes (Arrange menu). Ungroup the Blend twice (Ctrl U). Select the text on top, change the line weight to
2 points and the outline color to white.