 |
 |
 |
 |
 |
 |
A Mini Tutorial Using the Emboss Filters
Draw a 120 x 120 pixel square. Add a smaller white circle and a bold black X. Change the rectangle's fill to 50% black, the circle to white and the X to black.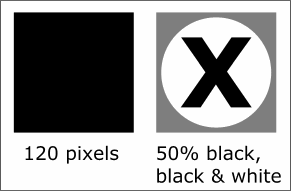 Here's a mini-tutorial that shows how to
use Sean Sedwards Share Emboss Filter.
Select the three elements and from the Arrange menu, select Create Bitmap Copy. Use the settings shown below: Color Depth 24-bit,
Bitmap Size 96 dpi (for web page resolution or viewing on screen, use 266 or 300 for commercial printing. 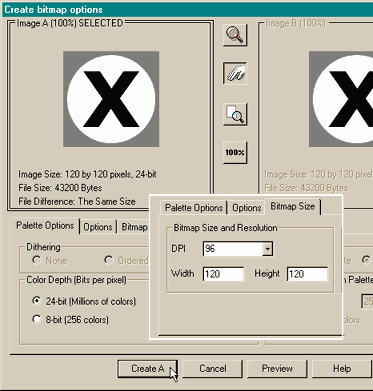
NOTE: Most plug-in filters (in fact all plug-in filters that your
editor is aware of) only work with bitmaps, and the majority of these only work with 24-bit RGB bitmaps. NOTE 2: In order for the filters to work, the bitmap must be selected.
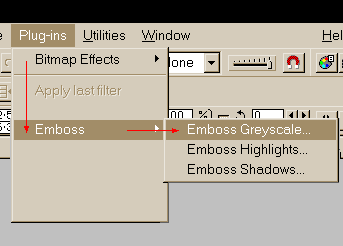 With the bitmap selected, from the
Plug-ins menu select Emboss > Emboss Grayscale
The Direction setting
determines the direction of the light source. Using the default settings create a grayscale emboss by pressing OK.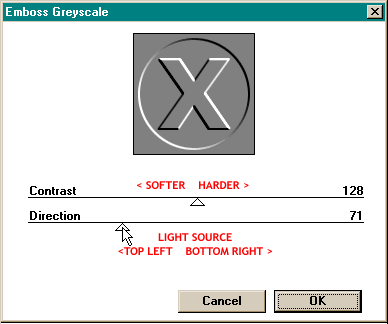 The shareware version of
Sean's Emboss filter has an adjustable control shown on the right. The Contrast slider makes the bitmap softer or harder by adding greater or smaller amounts of blurring.
Th The bottom two illustrations show the other two emboss settings; Emboss Highlights and Emboss Shadows. On the next page I'll show you how these bitmaps work with Xara's transparency filters
to create an embossed image.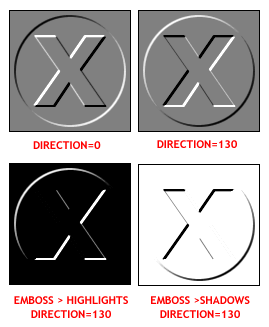 e top illustrations demonstrates the effects caused by changing the Direction of the
light source.
NOTE: As you may have noticed, black comes forward the most and white recedes the most with the other 254 shades of gray somewhere in between.