One of the more popular website features is pop up galleries. There are
at least two ways to do this. We’ll look at the easy way first and for
those more creative and adventurous readers, we’ll look at the harder
but more impressive way later.
One of the more popular website features is pop up galleries. There are
at least two ways to do this. We’ll look at the easy way first and for
those more creative and adventurous readers, we’ll look at the harder
but more impressive way later.
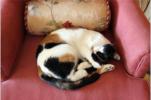
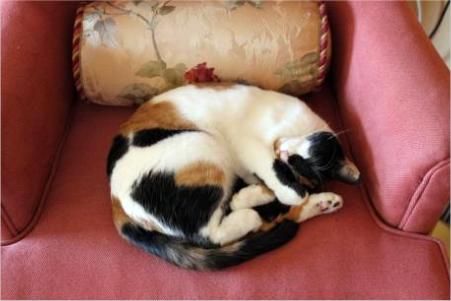 OK. Here’s a photo of my adorable cat, Chloe (a remarkable cat in
every way). I simply dragged the image from the desktop onto the
page. Now it is ready to be made into a pop-up.
OK. Here’s a photo of my adorable cat, Chloe (a remarkable cat in
every way). I simply dragged the image from the desktop onto the
page. Now it is ready to be made into a pop-up.
 The first step is to physically reduce the size of the image to a
thumbnail. The resolution at this size is over 600dpi. The larger version
is 240dpi. Windows screen display is 96dpi so this is really overkill. But
we will address this issue in a moment.
The first step is to physically reduce the size of the image to a
thumbnail. The resolution at this size is over 600dpi. The larger version
is 240dpi. Windows screen display is 96dpi so this is really overkill. But
we will address this issue in a moment.
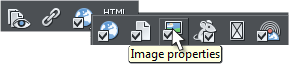 Click the globe icon to open the Web Properties options and click on
Image Properties.
Click the globe icon to open the Web Properties options and click on
Image Properties.
 With the photo selected and the Image section of Web Properties
open, check Pop-up Photo, set the Pop-up Width you want for the pop-
up photo, add an Image Caption (optional), and select JPEG or PNG.
PNG is best for graphics or images with large areas of solid color,
and/or text though it will create a larger file size. JPEG is best for
photos (it says that doesn’t it?), and 75 for Quality is a good balance of
image quality to file size. If you need higher quality for your image
then a setting between 80-90 is good. But preview the image at
different settings. 75 is usually ideal.
When you are done press Apply. Whenever you see an Apply button,
remember to press it or your changes will not be applied. Clicking OK
often just closes the dialog but does not apply the changes.
With the photo selected and the Image section of Web Properties
open, check Pop-up Photo, set the Pop-up Width you want for the pop-
up photo, add an Image Caption (optional), and select JPEG or PNG.
PNG is best for graphics or images with large areas of solid color,
and/or text though it will create a larger file size. JPEG is best for
photos (it says that doesn’t it?), and 75 for Quality is a good balance of
image quality to file size. If you need higher quality for your image
then a setting between 80-90 is good. But preview the image at
different settings. 75 is usually ideal.
When you are done press Apply. Whenever you see an Apply button,
remember to press it or your changes will not be applied. Clicking OK
often just closes the dialog but does not apply the changes.
 Click here
Click the photo to see the pop-up. Notice I have added a Wall Shadow
to the thumbnail. This will also appear behind the pop-up photo. You
can see the caption we added as well. If you add a bevel to the
thumbnail, the pop-up will also have a bevel. If you crop the photo, the
pop-up will likewise be cropped. It is all so logical. Yes?
There is a lot you can do with captions, including formatting the text
and making the caption scroll. Steve Ledger covers this in Workbook 84.
Click here
Click the photo to see the pop-up. Notice I have added a Wall Shadow
to the thumbnail. This will also appear behind the pop-up photo. You
can see the caption we added as well. If you add a bevel to the
thumbnail, the pop-up will also have a bevel. If you crop the photo, the
pop-up will likewise be cropped. It is all so logical. Yes?
There is a lot you can do with captions, including formatting the text
and making the caption scroll. Steve Ledger covers this in Workbook 84.
 Pop-ups can also be vector objects, which as you may know, scale up to
any size without losing detail or sharpness. You can use pop-ups to get
your visitor to see something like the tiny type in the middle of this
vector image.
Click here
Pop-ups can also be vector objects, which as you may know, scale up to
any size without losing detail or sharpness. You can use pop-ups to get
your visitor to see something like the tiny type in the middle of this
vector image.
Click here


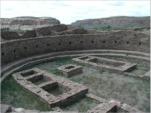

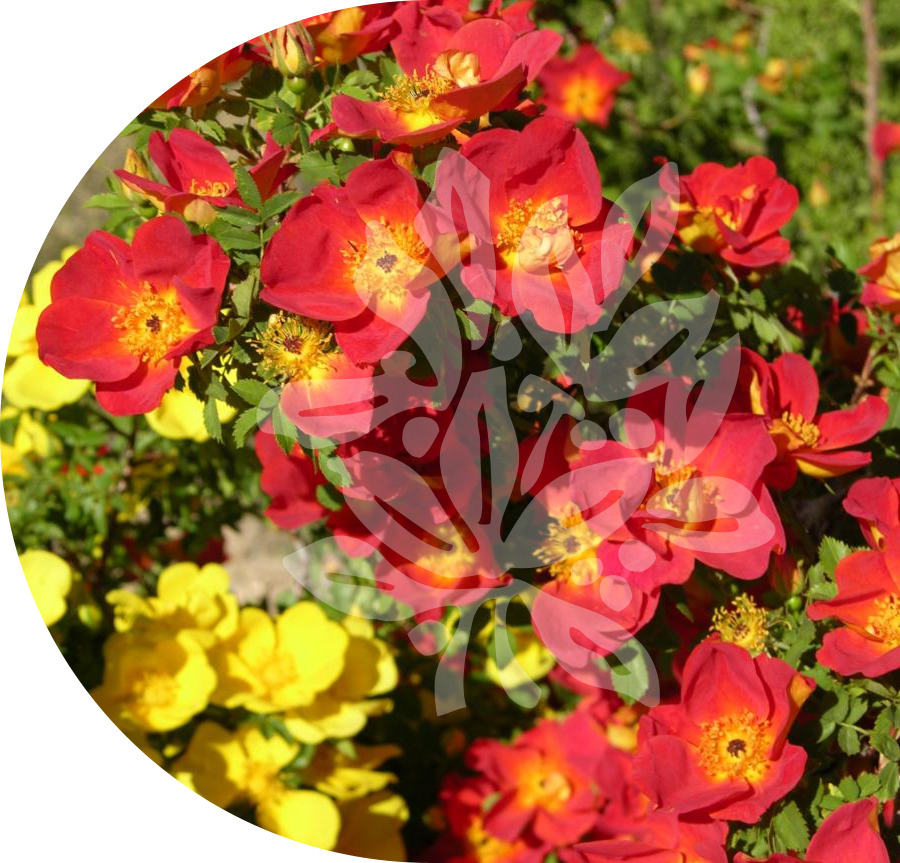
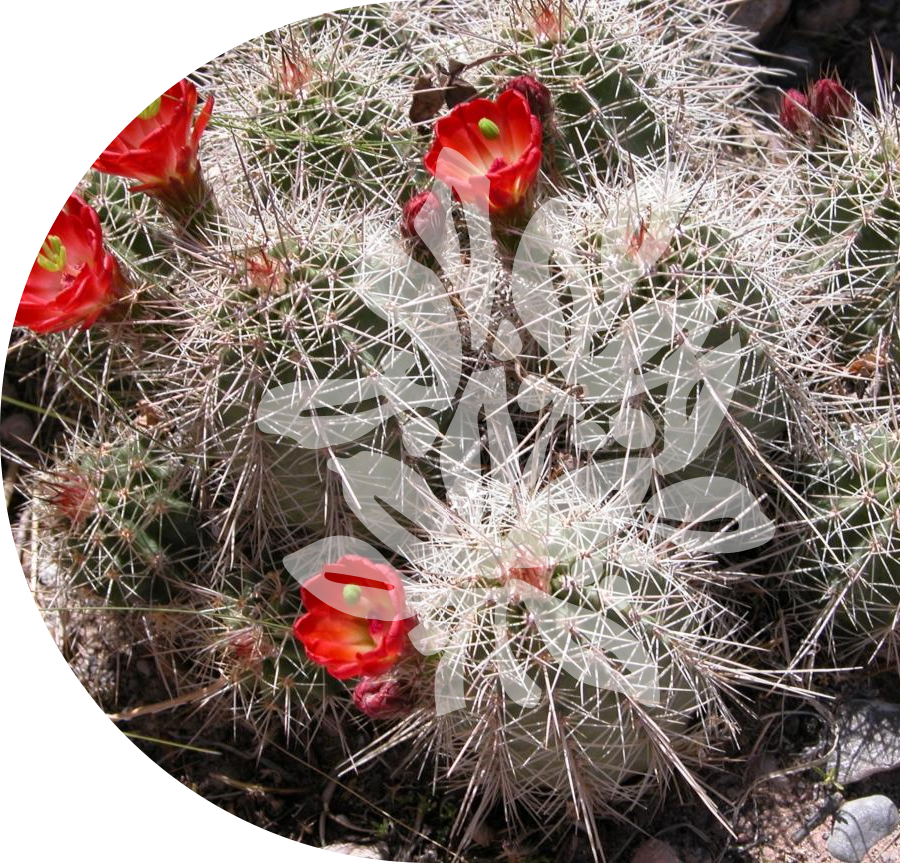
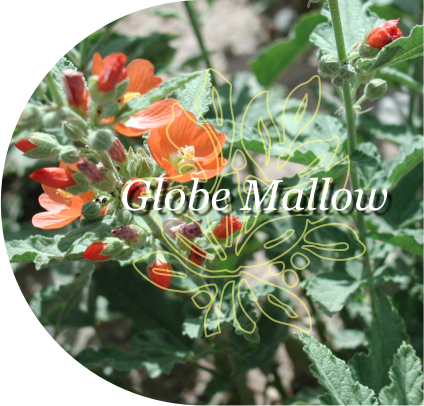
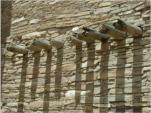 You can create a cool gallery by creating some evenly-spaced
rectangles like those shown above, then dragging and dropping images
onto each of the rectangles. (Hold down the Shift key as you drop the
image onto the rectangle unless it already contains a photo).
You can create a cool gallery by creating some evenly-spaced
rectangles like those shown above, then dragging and dropping images
onto each of the rectangles. (Hold down the Shift key as you drop the
image onto the rectangle unless it already contains a photo).
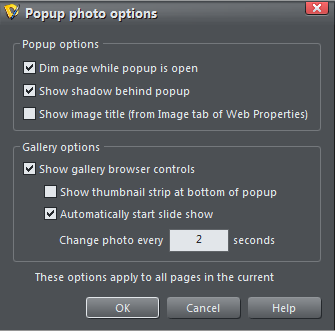 You can create an easy and effective slide show by clicking on the
Options button in the Image section and selecting your options.
The results of these settings are shown below. Click on any thumbnail
to start the slide show.
There are two things you astute readers will see in the slide show: the
images are not centered in the middle of the page, and after all the
slides have been shown, every other image on the page becomes part of
the slide show. Ack! Ack indeed! Unless the only images on your page
are for your slide show, this could appear to be a major gaff.
If you want to center the slide show images on the page, just add the
script below to the body section of a placeholder on the page:
<script type="text/javascript">hs.align = "center";</script>
You can prevent other graphics on the page from becoming part of your
slide show by naming each image NoHighSlide To do this, select all of
the non-slide show images, press the yellow Names tag icon, enter
NoHighSlide and press Add. How easy was that?
There is another way to show pop-up images that I prefer to the
HighSlide pop-ups. Call me a snob, but I just don’t like the HighSlide
Pop-ups. My technique requires a small investment in time but produces
a more customized result.
My method simply uses links to pop-up layers, A pop-up layer is just a
new named layer in the Page and Layer Gallery that you create and on
which you place your images, text, videos, what have you.
You can create an easy and effective slide show by clicking on the
Options button in the Image section and selecting your options.
The results of these settings are shown below. Click on any thumbnail
to start the slide show.
There are two things you astute readers will see in the slide show: the
images are not centered in the middle of the page, and after all the
slides have been shown, every other image on the page becomes part of
the slide show. Ack! Ack indeed! Unless the only images on your page
are for your slide show, this could appear to be a major gaff.
If you want to center the slide show images on the page, just add the
script below to the body section of a placeholder on the page:
<script type="text/javascript">hs.align = "center";</script>
You can prevent other graphics on the page from becoming part of your
slide show by naming each image NoHighSlide To do this, select all of
the non-slide show images, press the yellow Names tag icon, enter
NoHighSlide and press Add. How easy was that?
There is another way to show pop-up images that I prefer to the
HighSlide pop-ups. Call me a snob, but I just don’t like the HighSlide
Pop-ups. My technique requires a small investment in time but produces
a more customized result.
My method simply uses links to pop-up layers, A pop-up layer is just a
new named layer in the Page and Layer Gallery that you create and on
which you place your images, text, videos, what have you.
 The screen shot above shows five new pop-up layers I just created for
this page, named appropriately, pop-up-1, etc. You can give the new
layers any name you want, especially if it helps you remember what is
on each layer.
The screen shot above shows five new pop-up layers I just created for
this page, named appropriately, pop-up-1, etc. You can give the new
layers any name you want, especially if it helps you remember what is
on each layer.


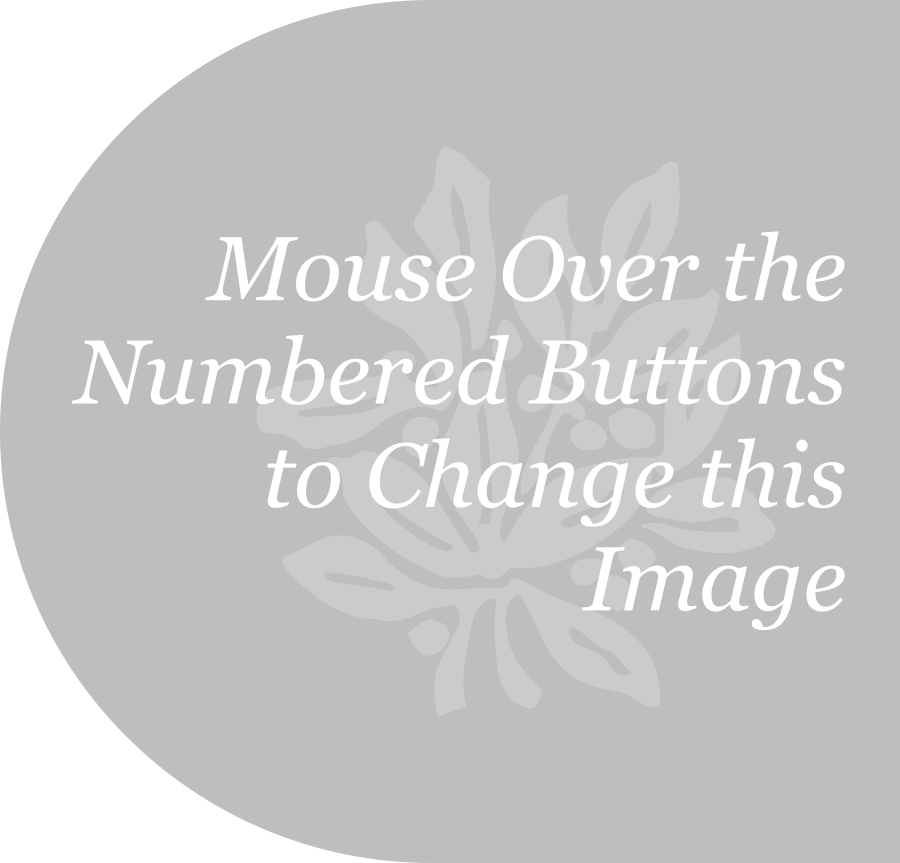
 The dark gray shape on the right will be pasted in place on each layer
and will display different content when the visitor mouses over any of
the numbered buttons. The content can be a photo, a graphic, text, or
a combination of any or all of these. Right now nothing is linked and
there is no content. You can modify this technique any way you want
and the options are endless.
The dark gray shape on the right will be pasted in place on each layer
and will display different content when the visitor mouses over any of
the numbered buttons. The content can be a photo, a graphic, text, or
a combination of any or all of these. Right now nothing is linked and
there is no content. You can modify this technique any way you want
and the options are endless.


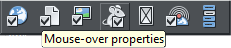
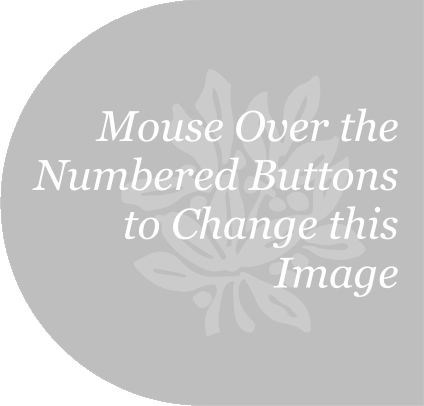 Buttons are linked
via the
Mouse-Over >
Show Pop-up Layer
to the five
pop-up layers
Mouse over
the buttons
Buttons are linked
via the
Mouse-Over >
Show Pop-up Layer
to the five
pop-up layers
Mouse over
the buttons
 You can also use the standard Link > Pop-up Layer option in which case
you need a button to close the pop-up. It can be a simple red square
with an X. You need to name (the yellow Names tag icon) the button
popup:close.
For button 6, I applied a Fade transition effect to a new Pop-up Layer
(which creates a soft fade in for the image. Right click on any layer and
select Layer Properties > Web Transition. These transitions can be
very effective if not overused.
You can also use the standard Link > Pop-up Layer option in which case
you need a button to close the pop-up. It can be a simple red square
with an X. You need to name (the yellow Names tag icon) the button
popup:close.
For button 6, I applied a Fade transition effect to a new Pop-up Layer
(which creates a soft fade in for the image. Right click on any layer and
select Layer Properties > Web Transition. These transitions can be
very effective if not overused.
 Button linked via
the Link > Pop-up
Layer option
Fade Effect
applied
to this layer
Button linked via
the Link > Pop-up
Layer option
Fade Effect
applied
to this layer
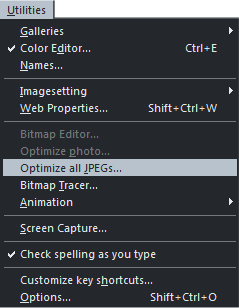 Once you have created your page
and all of your images are the size
you want them, from the Utilities
menu, select Optimize all JPEGs.
This reduces the resolution for all
of your images to 96dpi, Windows
screen resolution, and greatly
reduces the file size of your web
site document. It does not effect
the images in the browser as these
are automatically reduced to 96dpi
upon publishing.
Once you have created your page
and all of your images are the size
you want them, from the Utilities
menu, select Optimize all JPEGs.
This reduces the resolution for all
of your images to 96dpi, Windows
screen resolution, and greatly
reduces the file size of your web
site document. It does not effect
the images in the browser as these
are automatically reduced to 96dpi
upon publishing.

Links to pop-up 1
Links to pop-up 2
Links to pop-up 3
Links to pop-up 4
Links to pop-up 5

) Click here
Click the photo to see the pop-up. Notice I have added a Wall Shadow
to the thumbnail. This will also appear behind the pop-up photo. You
can see the caption we added as well. If you add a bevel to the
thumbnail, the pop-up will also have a bevel. If you crop the photo, the
pop-up will likewise be cropped. It is all so logical. Yes?
There is a lot you can do with captions, including formatting the text
and making the caption scroll. Steve Ledger covers this in Workbook 84.
Click here
Click the photo to see the pop-up. Notice I have added a Wall Shadow
to the thumbnail. This will also appear behind the pop-up photo. You
can see the caption we added as well. If you add a bevel to the
thumbnail, the pop-up will also have a bevel. If you crop the photo, the
pop-up will likewise be cropped. It is all so logical. Yes?
There is a lot you can do with captions, including formatting the text
and making the caption scroll. Steve Ledger covers this in Workbook 84.
) Pop-ups can also be vector objects, which as you may know, scale up to
any size without losing detail or sharpness. You can use pop-ups to get
your visitor to see something like the tiny type in the middle of this
vector image.
Click here
Pop-ups can also be vector objects, which as you may know, scale up to
any size without losing detail or sharpness. You can use pop-ups to get
your visitor to see something like the tiny type in the middle of this
vector image.
Click here
 You can create a cool gallery by creating some evenly-spaced
rectangles like those shown above, then dragging and dropping images
onto each of the rectangles. (Hold down the Shift key as you drop the
image onto the rectangle unless it already contains a photo).
You can create a cool gallery by creating some evenly-spaced
rectangles like those shown above, then dragging and dropping images
onto each of the rectangles. (Hold down the Shift key as you drop the
image onto the rectangle unless it already contains a photo).
 Buttons are linked
via the
Mouse-Over >
Show Pop-up Layer
to the five
pop-up layers
Mouse over
the buttons
Buttons are linked
via the
Mouse-Over >
Show Pop-up Layer
to the five
pop-up layers
Mouse over
the buttons