Xara’s approach to website design is simply this, put the objects on the
page anywhere you want them and Xara will take care of the rest.
Anyone who has struggled with and been frustrated by Adobe
Dreamweaver will appreciate the Xara way. And unlike most website
design applications, everything you need is under the same roof: design
tools, photo editing tools, text tools, and publishing tools.
If you are artistically challenged, you will find everything you need to
create a website from professionally designed templates to graphics,
buttons, headers and all the rest in the Designs Gallery.
But for me at least, the real fun is in doing it yourself. From scratch. In
this Workbook, I’ll try cover the basics so that even new users will be
ready to start designing by the time you reach the last page.
If you have questions, press the e button on the Navigation Bar to send
me an e-mail, or visit the Web Design Chat Forum on TalkGraphics.
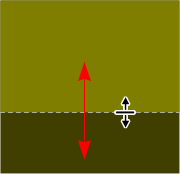
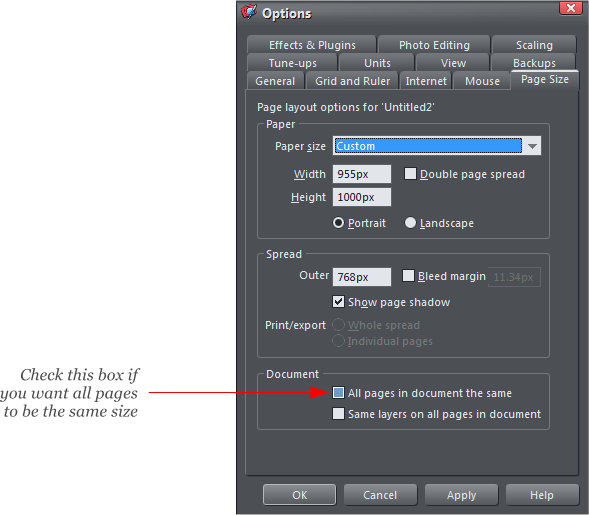
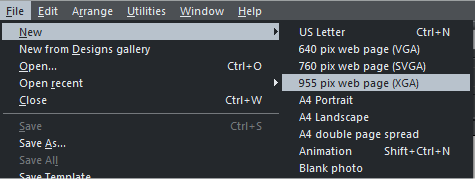 To start, we need to determine the size of the page. There are two
ways to do this. The easiest way is select New from the File menu and
then select a web page size from the fly out menu. Select the size that
feels right for you. I like the 955 (XGA) size.
If you want to set up a custom page size, right click on the page or
pasteboard (the area outside the page) and select Page Options... In
the Page Size tabbed section, select Custom from the drop down Page
Size list and specify your page dimensions.
To start, we need to determine the size of the page. There are two
ways to do this. The easiest way is select New from the File menu and
then select a web page size from the fly out menu. Select the size that
feels right for you. I like the 955 (XGA) size.
If you want to set up a custom page size, right click on the page or
pasteboard (the area outside the page) and select Page Options... In
the Page Size tabbed section, select Custom from the drop down Page
Size list and specify your page dimensions.
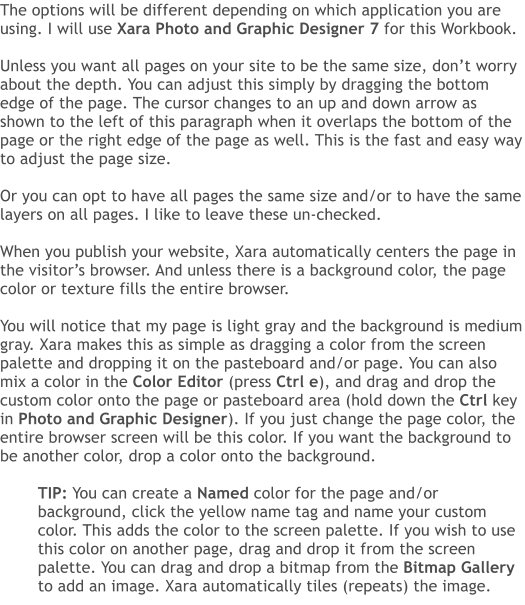
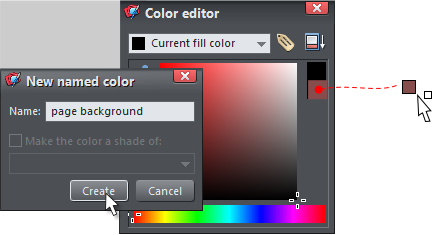
 Drag and drop a
custom color onto the
page or pasteboard
to change the color
Name your custom
color and it
will appear on the
screen palette
Drag and drop a
custom color onto the
page or pasteboard
to change the color
Name your custom
color and it
will appear on the
screen palette
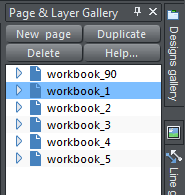
 You can add a new page to your site by clicking the Page icon on the
Infobar. There are three page options icons in the fly out menu: Insert a
Duplicate Page, Insert a Blank Page, or
Delete the Current Page.
These page options also exist in the Page
and Layer Gallery which is docked on the
right side of the screen. Click twice on the
page title to edit the title. You can change
the page order by dragging and dropping a
page in a new location.
We’ll cover Layers a bit later on.
NOTE: In Photo and Graphic Designer 7 you need to hold down
the Ctrl key when you drag and drop a color or bitmap onto the
page or the pasteboard area. No need for the Ctrl key in Designer
7 or Web Designer 7.
You can drag and drop a bitmap onto the page or pasteboard. The
image will tile automatically. If you are going to do this be aware that
if the image is very large, it may slow down the page when it is loading.
Often by the time your page has loaded, your visitor is long gone.
So best to use a small tiling bitmap. This way only the one instance of
the bitmap loads and the browser automatically repeats it.
You can add a new page to your site by clicking the Page icon on the
Infobar. There are three page options icons in the fly out menu: Insert a
Duplicate Page, Insert a Blank Page, or
Delete the Current Page.
These page options also exist in the Page
and Layer Gallery which is docked on the
right side of the screen. Click twice on the
page title to edit the title. You can change
the page order by dragging and dropping a
page in a new location.
We’ll cover Layers a bit later on.
NOTE: In Photo and Graphic Designer 7 you need to hold down
the Ctrl key when you drag and drop a color or bitmap onto the
page or the pasteboard area. No need for the Ctrl key in Designer
7 or Web Designer 7.
You can drag and drop a bitmap onto the page or pasteboard. The
image will tile automatically. If you are going to do this be aware that
if the image is very large, it may slow down the page when it is loading.
Often by the time your page has loaded, your visitor is long gone.
So best to use a small tiling bitmap. This way only the one instance of
the bitmap loads and the browser automatically repeats it.