|
|
|
I was playing around with creating a Flash movie by manipulating a blend. I wondered if applying a Position or a Attribute Profile would have any effect. You know what? It does!
Click the New Animation icon to open a new animation window. Xtreme's New Animation window is exactly like the Drawing window, except there are some new icons on the Infobar that are used in creating animations.
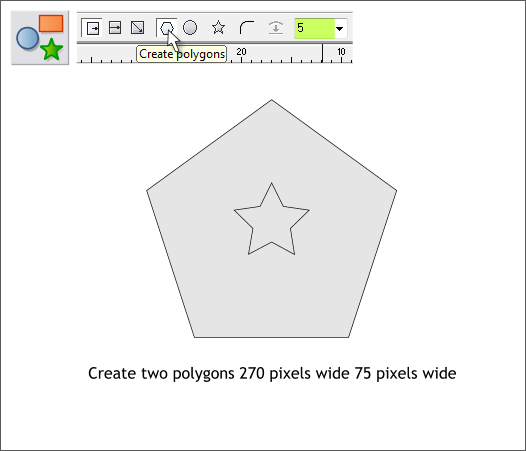
Select the QuickShape Tool (Shift F2). Click the Create Polygons icon and set the Number of Sides to 5. Draw a large pentagon and a smaller pentagon. The size is not critical but keep these shapes within the page. Select the smaller polygon then press the star icon (Starred Shapes) to convert the smaller polygon into a star.
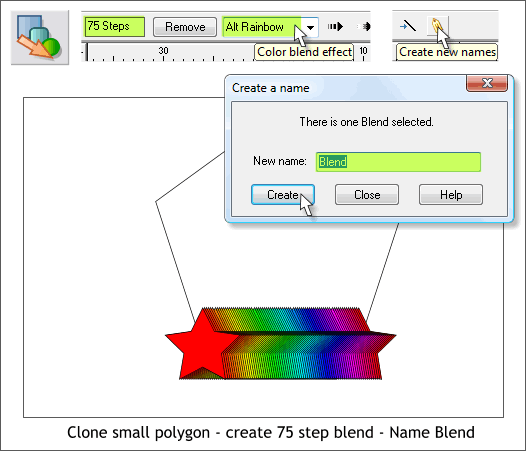
Select the large pentagon and set the fill to none. Apply a solid red fill to the small star. Clone the star and drag the clone to the right. Select the Blend Tool (F7 or w). Click on one star and drag to the center of the other star. Change the number of Blend Steps on the Infobar to 75 and press Enter to apply the change. From the Color Blend Effect drop down list, select Alt Rainbow. Click the small yellow tag icon on the Infobar (Create New Names). Xtreme suggests Blend which is fine. Press Create. NOTE: To create in between animation steps (called tweening), objects must be named and the tweening has to take place between the named object and copies of the named object on subsequent frames. You cannot tween, for example between an object on frame 2 and frame 4 unless a copy of the named object also appears on frame 3.
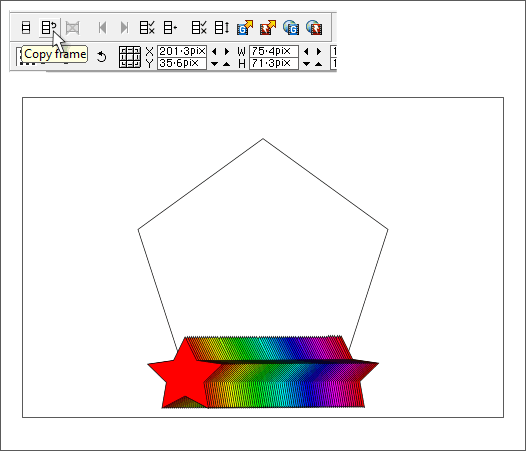
Press the Copy Frame icon on the Animation Infobar. This creates an exact copy of the first frame in a new frame, (Frame 2). In the illustration above, the Next Frame and Previous Frame left and right-facing triangle icons are grayed out. But as soon as you Copy Frame, the Previous Frame icon will become enabled. Also the Delete Frame X icon will appear enabled in red.
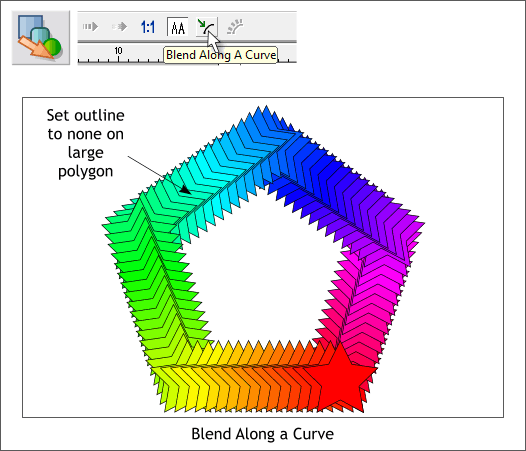
Select the blend and select the pentagon shape with the Blend Tool (F7 or w). Press the Blend Along a Curve icon. Hold down the Ctrl key and click on the large pentagon outline to select just the pentagon. Set the outline to none. Go back to frame one and set the outline to none for the large pentagon as well.
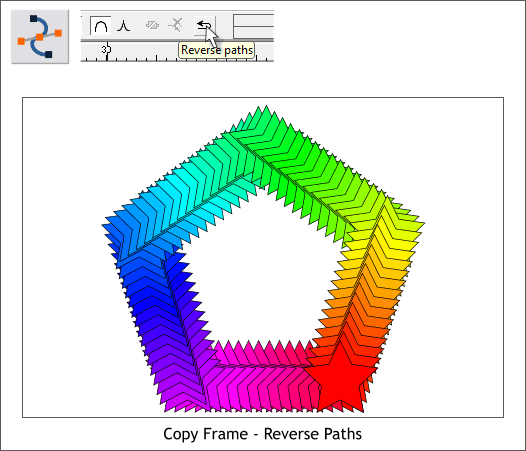
Press the Next Frame icon to return to Frame 2. NOTE: It would be nice if there were a reference on the Infobar to let you know what frame is the current frame. But alas, there isn't! However, you can open the Frames Gallery (F12) and see all the frames, frame properties, and selected frame. You can jump ahead or behind by clicking on any frame's title bar. Press Copy Frame to create a new frame. Select the blend then switch to the Shape Editor Tool (F4). Click the Reverse Paths icon. This little maneuver makes the shape rotate 180 degrees.
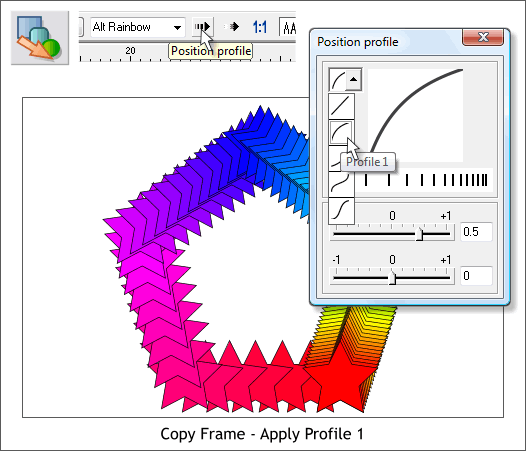
Press Copy Frame to create a new frame. Select the blend with the Blend Tool. Click the Position Profile arrow icon. From the drop down list of presets, select Profile 1. This bunches all the stars up on the right and spreads the stars out on the left.
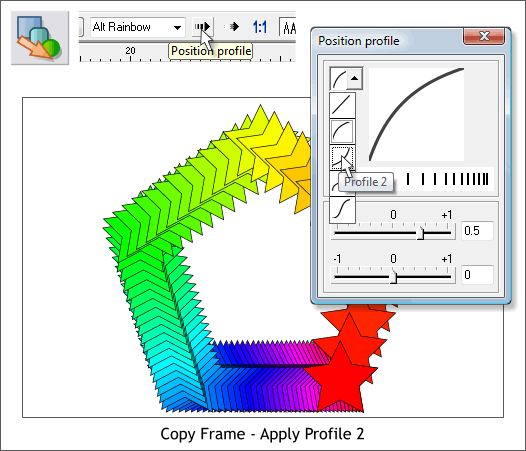
Press Copy Frame to create a new frame. Change the Profile to Profile 2. This does the reverse of Profile 1.
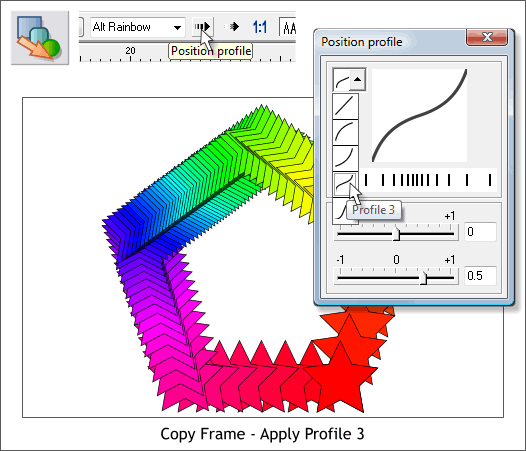
Press Copy Frame to create a new frame. Change the Profile to Profile 3.
|
||||||
|
|


