|
|
|
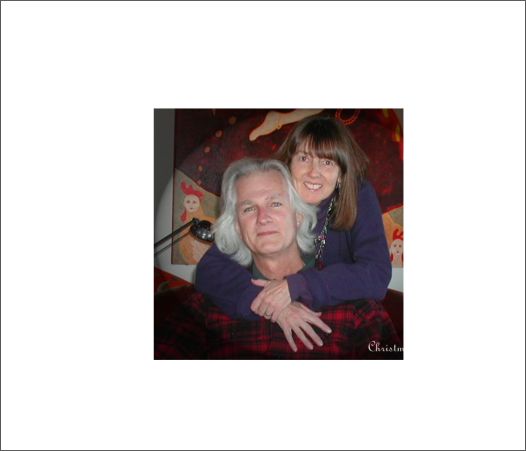
In this tutorial we'll create a festive holiday reflective ornament with a reflection of your choice. But for sake of this tutorial, I'll use an older photo of your editor and his long-suffering wife, Mary Carter.
Start with a photo of your choice of reflection material cropped in a square and preferably at 300 dpi. The resolution is important because the higher the resolution, the less distortion.
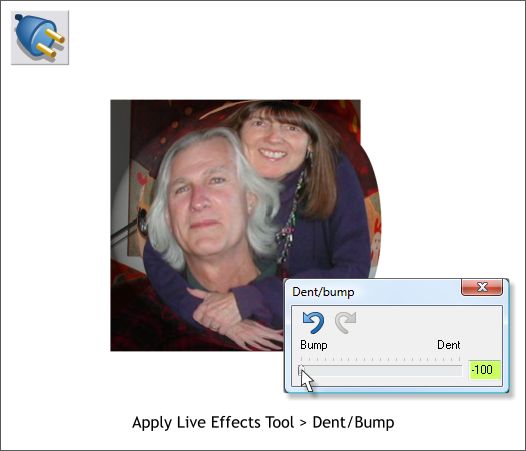
Select the photo with the Live Effects Tool (Ctrl F5). Click New > on the left side of the Infobar and from the New drop down list select Deformation Filter > Dent/Bump . Drag the slider all the way to the left to -100. This creates a better fisheye lens distortion than the Fisheye Perspective filter and one similar to the reflection in a glass ornament.
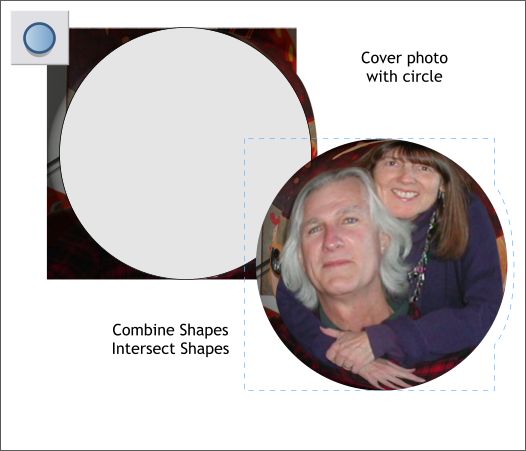
Create a circle with the Ellipse Tool (L) about the same size as the photo. Hold down the Ctrl key when you draw to constrain the ellipse to a circle. Center the circle over the photo and from the Arrange menu, select Combine Shapes > Intersect Shapes or use the keyboard shortcut, Ctrl 3.
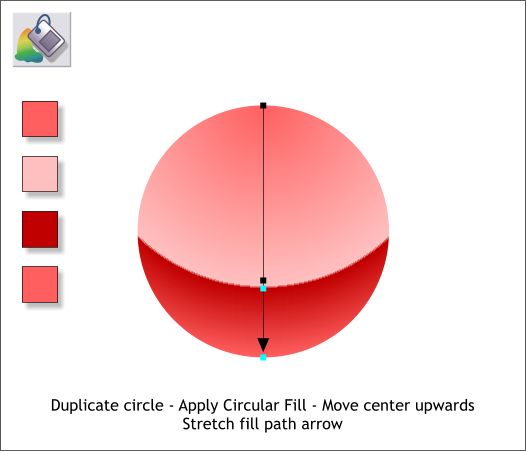
Create a new circle to the same size. Select the Fill Tool (F5) and from the drop down list of Fill Types on the Infobar, select Circular. Drag the center of the Circular fill to the top center of the circle and drag the bottom of the fill path arrow to the bottom. Double click on the fill path arrow to add two new color control points. Use colors similar to those shown on the left. TIP: Make your Xtreme window a bit less wide so you can see the four colors shown above in your browser. Drag the color picker (the eyedropper tool) from Xtreme to the browser window and pick the colors from the squares. You can sample colors from any window open on your computer. Even from your desktop.
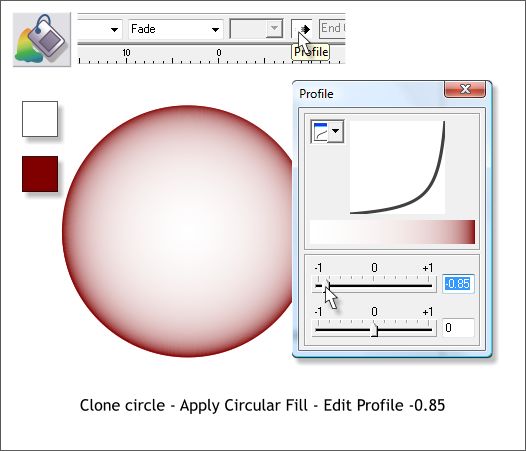
Clone the circle (Ctrl k) and apply a Circular fill using white and a deep red. Press the Profile icon on the Infobar. Move the top Profile slider to the left as shown to about -0.85. This expands the white portion of the fill and forces the darker color closer to the edge of the circle. Click the red X to close the dialog.
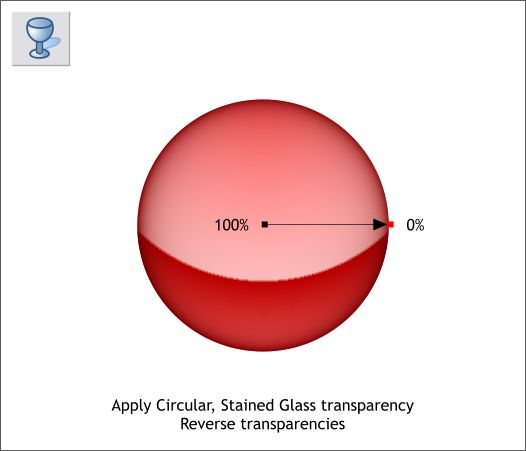
Select the Transparency Tool (F6). From the drop down list of Transparency Shapes on the left side of the Infobar, select Circular and from the drop down list of Transparency Types, select Stained Glass. Click in the center and change the Transparency slider setting to 100%. Click on the outside control point and change the slider setting to 0. If you keyed in the amount rather than dragged the slider handle, press Enter to apply the change. TIP: If you have a wheel mouse, click on the Transparency slider handle on the Infobar and roll the mouse wheel to increase or decrease the transparency amount. You can use this trick with most of Xtreme's sliders.
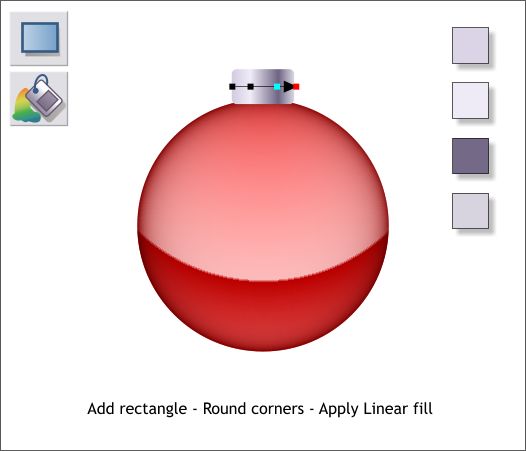
Draw a small rectangle with the Rectangle Tool (m). Double click on any corner of the rectangle with the Rectangle Tool to round the corners. Select the Fill Tool (F5) and apply a Linear fill using the colors shown. Add the two new colors to the fill path arrow by double clicking on the fill path arrow.
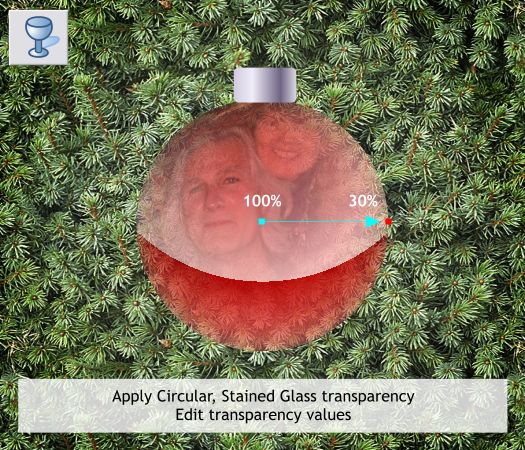
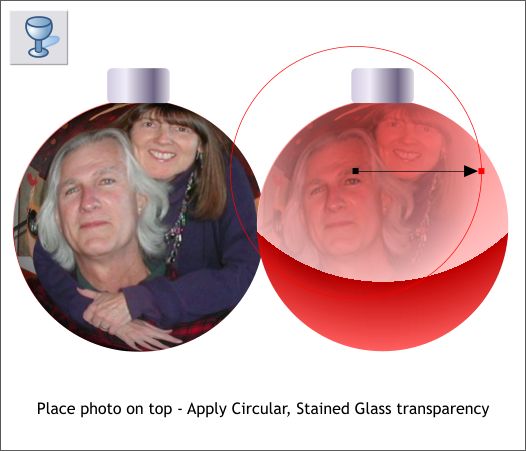
Apply a Circular, Stained Glass transparency to the circular photo. Drag the center of the transparency up and to the left.
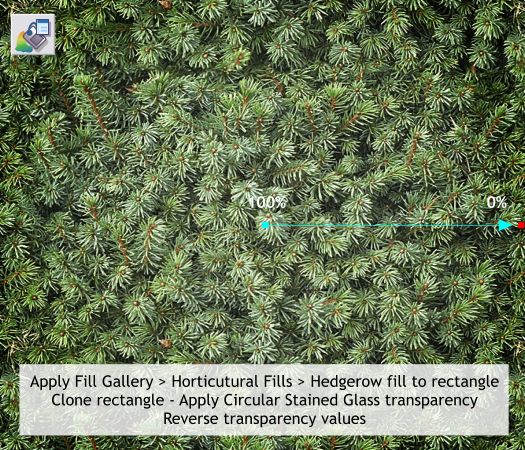
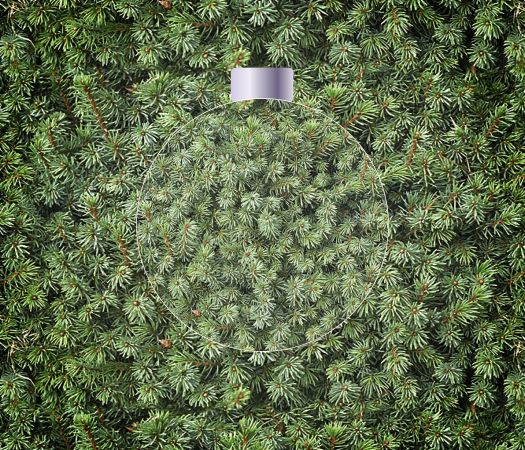
In this example I have added a rectangle and applied a fill from the Fill Gallery (Shift F11) shown above. It's called Hedgerow but looks more like pine needles. Clone the rectangle (Ctrl k). Apply an Elliptical, Stained Glass transparency. Reverse the transparency slider values so the center amount is 100% and the outside amount is 0%.
Center the ornament objects over the pine needles/hedgerow rectangle. Clone the top circle. Select the clone with the Fill Tool and from the drop down list of Fill Types, select Flat. With the circle still selected, open the Bitmap Gallery (F11), select the Hedgerow image, and press Fill to apply the Hedgerow fill.
Apply a Circular, Stained Glass transparency reversing the Transparency slider settings as shown.
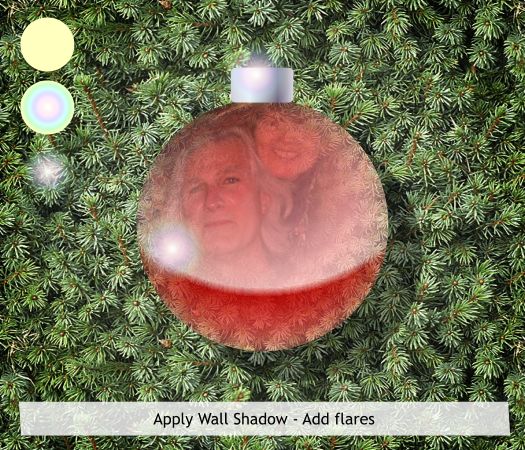
Here's the final image. I grouped all the objects then applied a Wall Shadow with the Shadow Tool (Ctrl F2). I extended the Horizontal and Vertical position to the right and bottom. I also added a simple flare to the metal top and to the ornament. To create a flare, create a small circle. Apply a pale yellow and white fill (white in the center). Select Alt Rainbow from the Fill Effect drop down list on the Infobar. Apply a Circular transparency.
|
||||||
|
|
||||||


 Bring the photo to the top (Ctrl f). If the photo is
hidden beneath the circular filled circle or the transparent circle, hold down the Alt key and click on the circle. The status bar at the lower left of the screen will let you know (kind of) when the
photo is selected. It will read something like 1 Ellipse on Layer 1. But instead of a red thumbnail at the top left of the status bar, it will show an empty hatched square.