|
|
|
I keep a file of requests made or questions that come up in the Xtreme Conference on TalkGraphics. One request was for a repeating basketweave pattern. I know it has been some time but here goes.
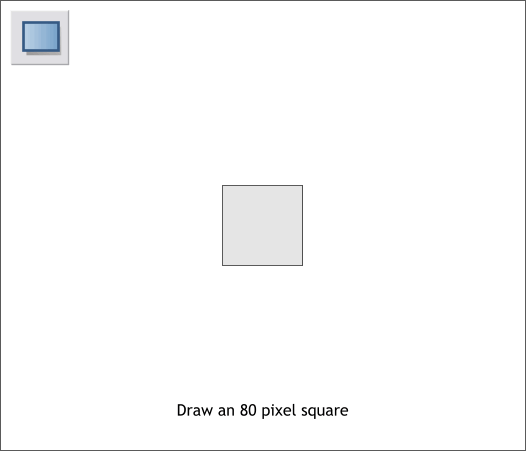
Draw an 80 pixel square. (Or a small square, the size is not important).
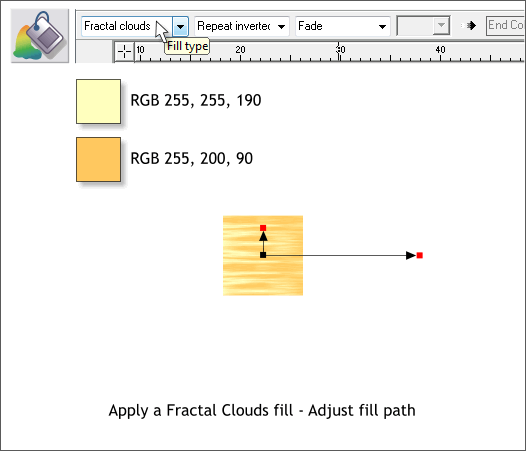
Select the square with the Fill Tool (F5). From the drop down list of Fill Types on the Infobar, select Fractal Clouds. Use the two colors shown. Click on either of the squares at the ends of the fill path arrows and edit the color using the RGB Color Model in the Color Editor (Ctrl e). Click on the center square where the two arrows come together and edit the color using the other RGB color. Adjust the position of the fill path arrows. Hold down the Shift key to drag each arrow independently.
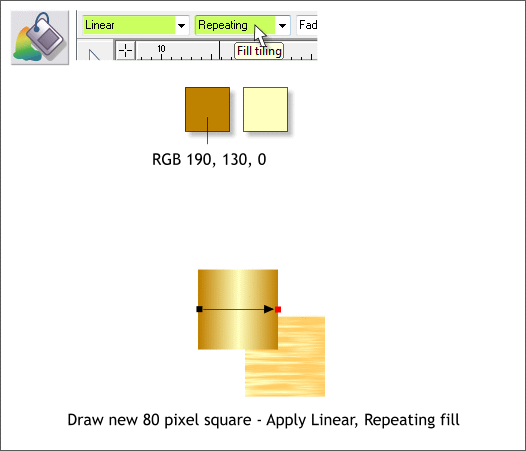
Duplicate the square (Ctrl d). Change the Fill Type to Linear and from the Fill Tiling drop down list, select Repeating. Drag the fill path arrows from the left side to the right side and apply the two RGB colors shown. If the darker color is in the middle instead of the outside as shown above, reverse the colors.
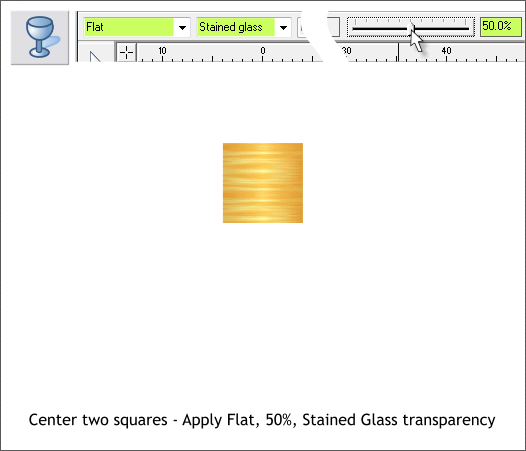
Center the two squares with the Linear filled square on top. Use the Alignment menu (Arrange > Alignment) to center the two squares. Select the top square then select the Transparency Tool (F6). From the Transparency Type drop down list, select Stained Glass. Move the Transparency slider to 50% . Or highlight the amount in the Transparency text entry box and key in 50 and press Enter or Return). Select the two squares and group them (Ctrl g).
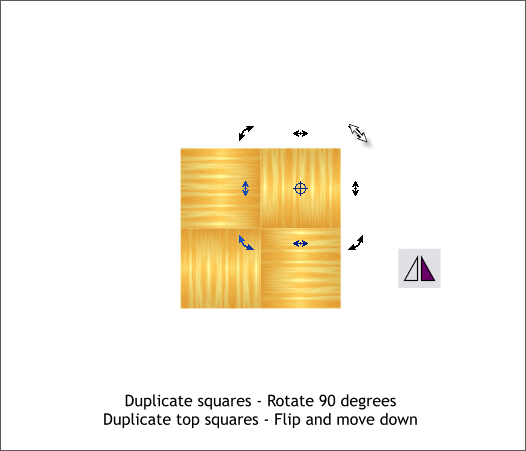
Duplicate the square (Ctrl d) and rotate the square 90 degrees (click twice to enable rotate skew mode, hold down the Ctrl key to constrain the angle and drag any of the corner curved arrows until the square snaps to 90 degrees). Align the duplicate to the right of the original. Duplicate the two two squares, move them down under the top two and press the Flip Horizontally double triangle icon on the Infobar to flop them as shown.
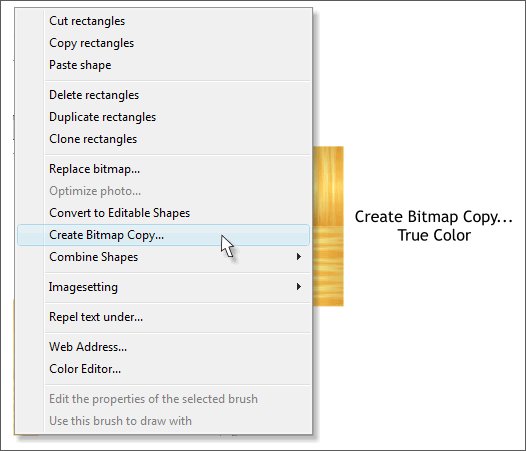
Select the four squares by dragging a rectangle around them with the Selector Tool (the arrow pointer). Right click on the selection and from the pop up menu, select Create Bitmap Copy.... In the Create Bitmap Options menu, select True Color for the Color Depth and press Create.
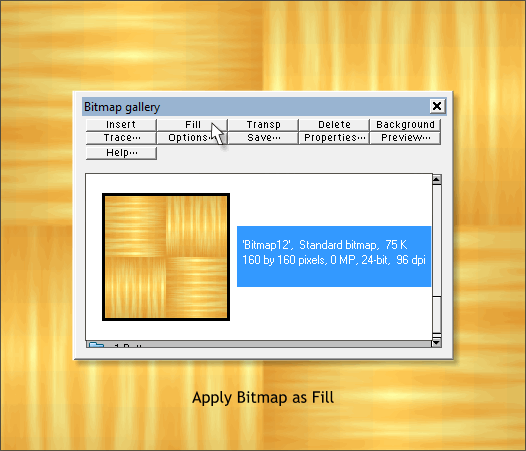
Now we will apply the basketweave pattern as a repeating fill. Select a rectangle or any shape then open the Bitmap Gallery (F11). Select the bitmap image in the Bitmap Gallery, then press Fill. By default, Xtreme 4 .0 fills the entire area with the pattern. So we need to adjust the size to make the repeating pattern smaller.
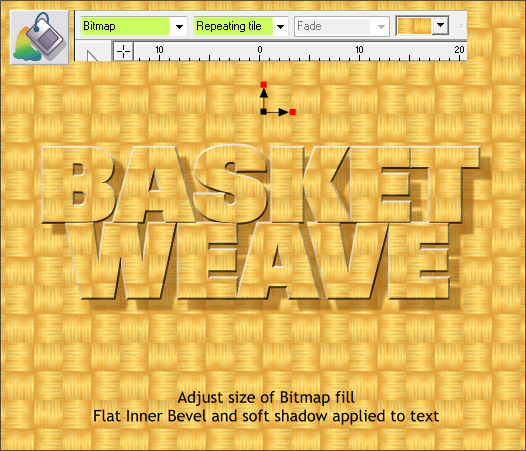
Select the filled object with the Fill Tool (F5). A set of fill path arrows will appear. From the Fill Tiling drop down list, select Repeating Tile. Select either of the outside control handles (the small squares at the end of the arrows). Hold down the Ctrl key and drag inwards to reduce the size of the pattern. TIP: With either of the outside control points selected on the fill path arrows press the left arrow key on your keyboard to reduce the size of the pattern. (Press the right arrow key to increase the size). Hold down the Shift key to increase or decrease in 10X increments. I also applied the fill to the text shown and added a Flat, Inner Bevel with the Bevel Tool (Ctrl F3) and a Wall Shadow with the Shadow Tool (Ctrl F2).
|
||||||
|
|


