|
|
|
Since we are in the midst of the winter solstice gift-giving season (that's what it seems to have come down to), what better project that creating your very own custom folding gift tags, you know the ones inside which you write, to Mary xxoxx Gary. It's easy enough to do. You just need a box of heavy matte finish photo paper and an inkjet printer.
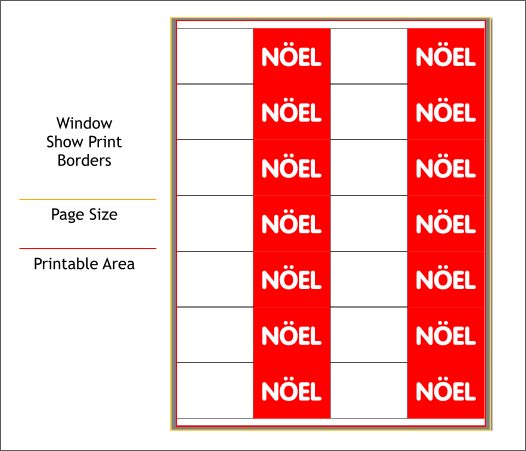
Here's the basic tag design. Not very fancy really, just a front and a back. You can make your tags any size you want. The rectangle for the back side of the tag has a thin light gray outline. Just enough to determine the trim line.
Inkjet printers all have a different printable area. So before you begin, go to the Window menu and select Show Print Borders. The yellow outline is the page size. The white rectangle with the red outline is the printable area. Anything outside the printable area, will not be printed. In the example above, I have created the front and the back of the tags (the red rectangle is the front. The back half of the tags has a thin outline so I know where to trim. And the tag has been duplicated on the page many times to make the best use of the printing paper. Print your tags using the File > Printer Settings to adjust your printer settings. TIP: Before you print on your good paper, print one page on regular inkjet paper. Just to make sure that everything is how you want it before sending through a sheet of good paper.
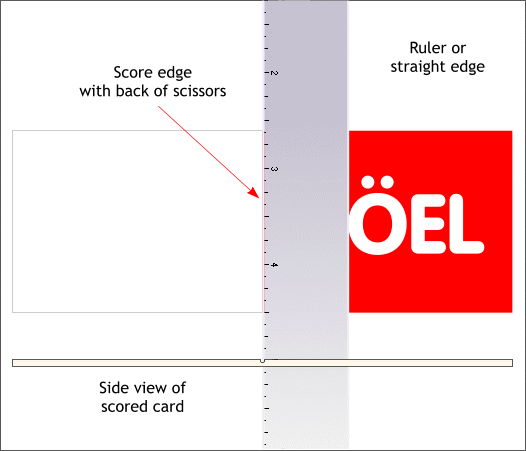
Before you trim out your tags, using a ruler and a dull blade such as the back end of a scissors, score the center of the tags. Scoring is making a groove in the paper (but not a cut) that makes the heavy paper fold cleanly. I actually use the smooth pointed handle of a chrome nail clipper which is perfect for the task. But any blunt blade is fine as long as you groove but do not cut the paper.
Cut out your tags. I recommend a pair of scissors for this task unless you have a paper cutter. I use a #11 X-Acto blade but I am a trained professional and have the missing fingertips to prove it. If you do use a matte knife or X-Acto knife, only cut with a metal ruler or straight edge. And be very, very careful. I am not kidding when I say I have the missing fingertips. Here's the tag folded for those who cannot visualize what I am talking about.
For those who are artistically challenged here are some serving suggestions for tags. And of course you don't have to just use one or the other. The tags above use clip art from the Clipart Gallery (Shift F10) Festivals and Holidays folder. I added a Linear fill behind the holly image and solid fills behind the bottom two tags. The Father Christmas image would require the tags to be oriented in the vertical. But you already knew that I bet.
Here are some more ideas this time using clip art from the Borders and Corners folder. Good luck with the Musical notes one. This is a very old Illustrator conversion and all the objects are sliced and diced ten ways to Sunday.
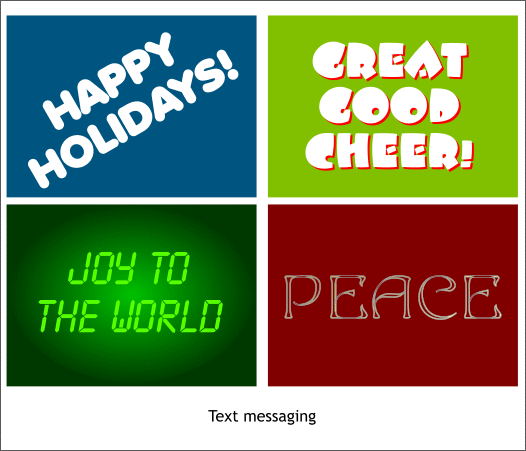
The more design-oriented among you may wish to create some text messages such as the designs shown above. And of course, feel free to mix and match. Every holiday season, I purchase a few boxes of 11 x 8.5" pre-scored card paper with envelopes and print my own holiday cards. It's a lot nicer than store bought cards and a lot cheaper too.
|
||||||
|
|


