|
|
|
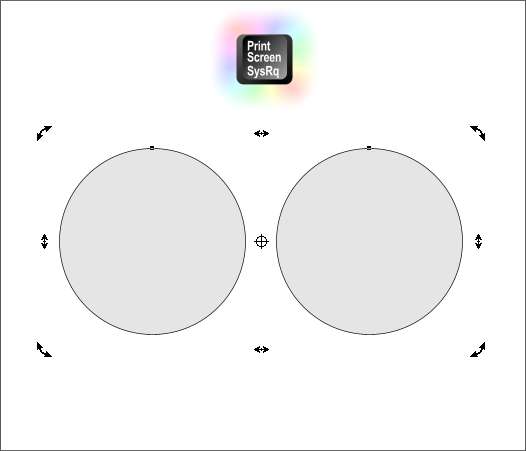
Your Editor (that's me), has several pages of tool icons, tool bars, and buttons especially created for doing these tutorials that have been created over the years as vector objects. The Print Screen button shown below is an example. These come in handy and unlike bitmaps, because they are vector objects, they can be scaled up and down with no loss of quality. I have even made a set of rotation skew arrows like those shown below.
But sometimes it is easier when I am working on a tutorial to do a screen capture. The example above is a screen capture and as long as it is shown at about 100% zoom factor (1:1) it looks fine. I used to use CorelCAPTURE to do my screen shots. But it was always one thing or another with that pesky utility and so I gave it up. Now I just use the standard Windows operation, Print Screen , which is quick, simple, and effective. Unfortunately, Print Screen does not capture the cursor but I have dozens of pre-made cursors I can add to the screen shot. Until about 5 minutes ago I used to use Shift Print Screen which might have been a throwback to an earlier version of Windows? But Paul Söderholm alertly notified me that the Shift key is not only not necessary, but that Shift Print Screen more often than not does not capture the Tool Tips text that appears when you hover the cursor over an icon or button.
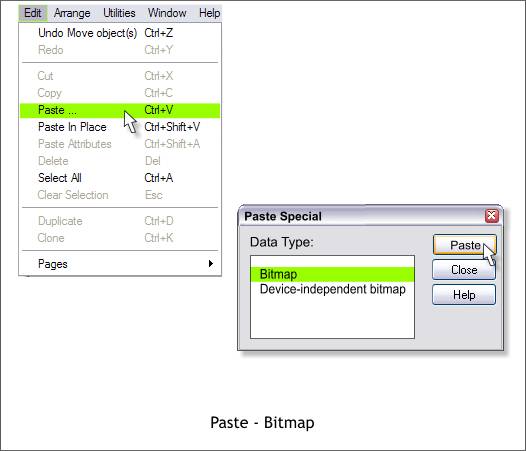
This will be a very short tutorial because the entire procedure is painfully simple. Arrange your elements on the page as you want them to appear, and press the Print Screen button on your keyboard. The entire contents of your screen will be captured almost instantly. That is a lot of pixels! As I mentioned previously the cursor is not captured but things such as rotation/skew arrows, bounding box handles, fill path arrows and other such items are captured however. The screen shot is copied to the clipboard and remains there until you copy something else to the clipboard. Select Paste from the Edit menu or press Ctrl v the keyboard shortcut. The Paste Special dialog appears. (Anyone care to guess how I got that Paste Special dialog screen shot?) Select Bitmap and press Paste.
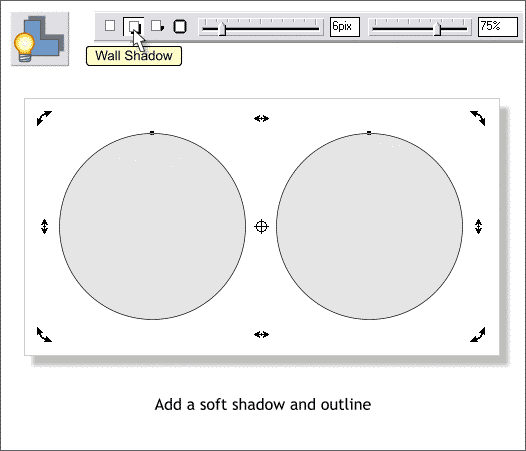
Unless you wish to use the entire screen, create a rectangle the size you want to crop to and place it over the pasted screen shot. Select the rectangle and the screen shot and Arrange > Combine Shapes > Intersect Shapes. You can add an outline and drop shadow to make the material look more important. A final note. Even though you have cropped the screen shot, all of the screen remains. It is masked inside the rectangle shape. You can select the corner control points with the Shape Editor Tool (F4 ) and extend the sides revealing more of the image. And the screen shot can be cropped to any shape. Anyone try to capture the Paste Special dialog? Not easy is it?
|
||||||
|
|


