|
|
|
One of the most frustrating aspects for new Xtreme users is why an open path cannot be filled. The answer is simple. For a fill to be applied to a shape, the outline must be continuous, like an ellipse or rectangle. But it really is not that hard once you know how to do it. Here's a multitude of ways in which to create a closed path. Take your pick.
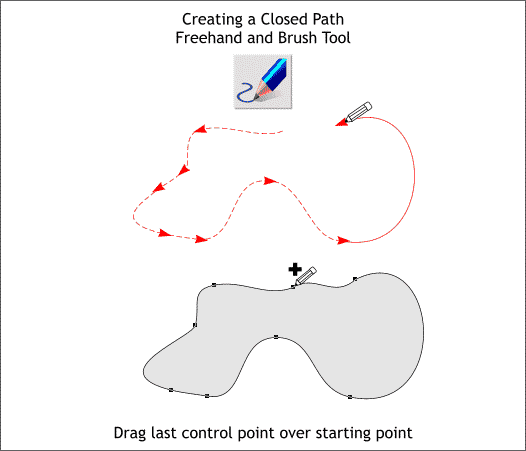
Using the Freehand and Brush Tool (F3), draw a freehand shape. Draw the end of the path directly over the starting point. When you are over the starting point, the cursor will display a + to indicate the shape will be closed and the shape will fill with your default fill color.
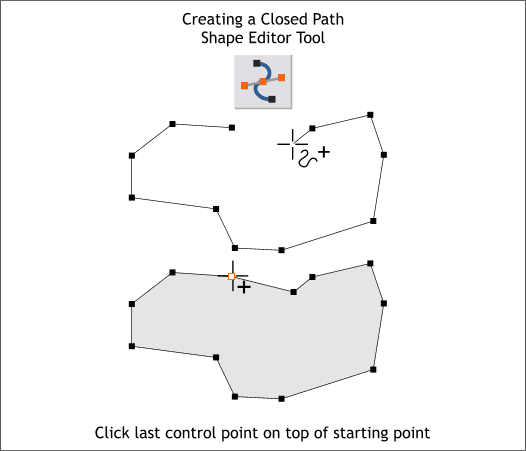
Or... You can use the Shape Editor Tool (F4) and draw a series of connected lines. Click on the page to add a control point and click again to add the end of the line segment. Continue to click to add more line segments. Click the last control point on top of the first. The cursor will display a + to show the shape is about to be closed and the shape will fill with your default fill color.
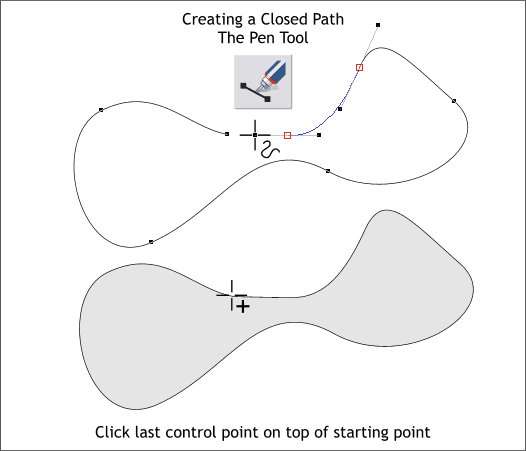
Or... You can draw with the Pen Tool (Shift F5) if you prefer this method. Just be sure to drop your last control point on top of the first, etc.
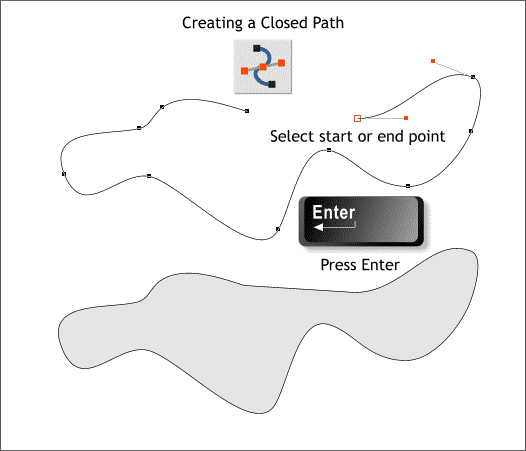
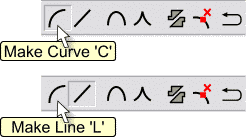
If you have an open path and want a quick way to close it, select the path with the Selector Tool (F2) then switch to the Shape Editor Tool (F4). Select either the starting or end control point and press Enter and the path will automatically close. If your Selector Tool Infobar line setting is Make Curve, (see below) the connecting line segment will be curved. If your setting is Make Line, the connecting segment will be a straight line.
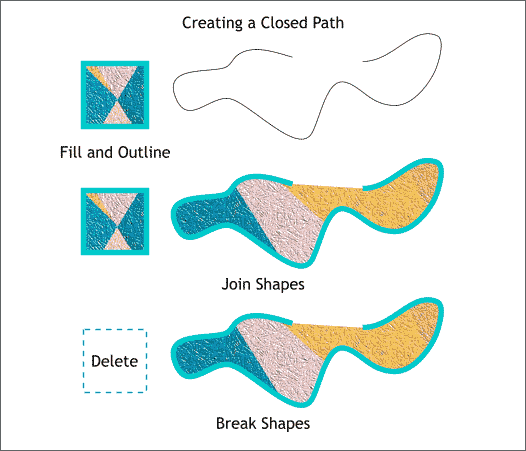
Or... If you have an open shape which you would like to fill with an existing fill and or outline, select the target shape and your open path and Arrange > Join Shapes. Then Arrange > Break Shapes . Delete the target object.
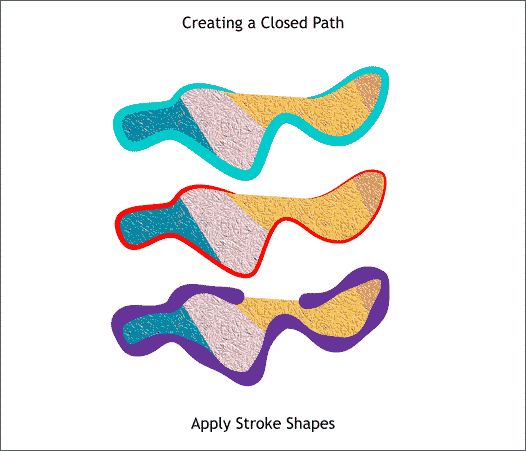
You can also apply stoked lines shapes to the outline if desired using the Freehand and Brush Tool and selecting a stroke shape from the Select an Existing Stroke Shape drop down list. Heavier line Widths work better.
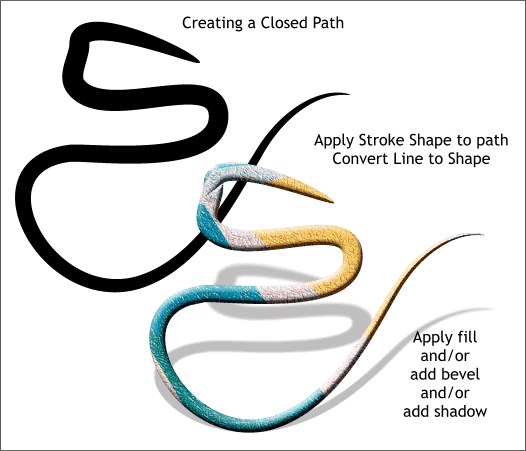
Or... You can created a stroked line and then Arrange > Convert Line to Shape, which as the words indicate, the line now becomes a shape to which any of Xara's fills, bevels, contours, shadows, etc. can be applied.
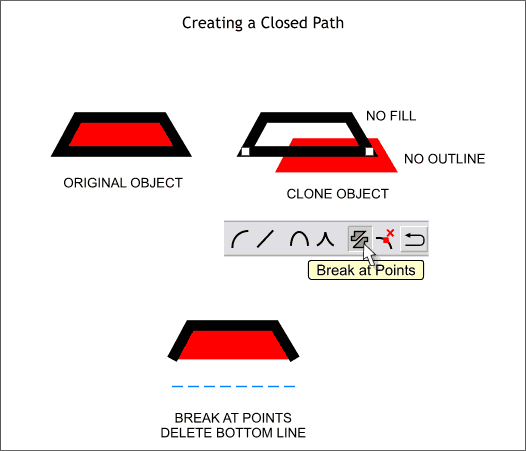
What prompted the above exercise was a recent question in the Xtreme Conference about how to create a filled shape with an open path. The solution above uses a clone of the original shape. The clone has an outline but no fill. The original has a fill but no outline. Then the clone can be edited and any of the closed path can be removed using the Shape Editor Tool and the Break at Points command. There is always at least one way to do it in Xtreme.
|
||
|
|


