|
|
|
I know this valentine is a day late, but you can use it for next year (only 364 days to go). It was inspired by Giovanni in the Xtreme Conference who wanted to know how to create a carved in a tree bark effect. Unlike the real thing, this effect will not put your fingers in danger.
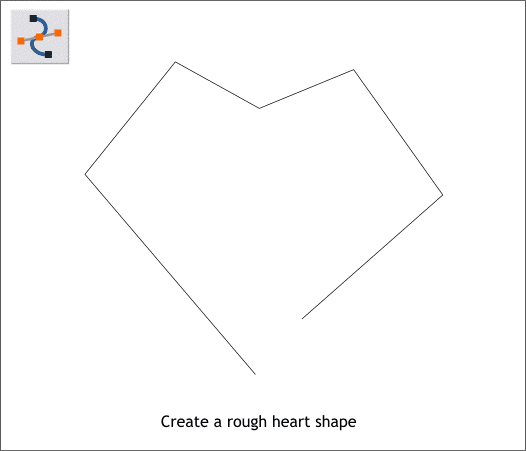
Using the Shape Editor Tool (F4) click a series of lines to make a kind of heart shape. Don't close the shape.
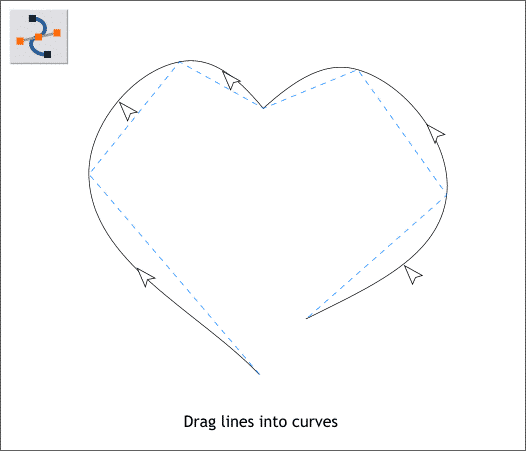
With the shape selected, switch to the Shape Editor Tool and drag the lines into curves as shown above.
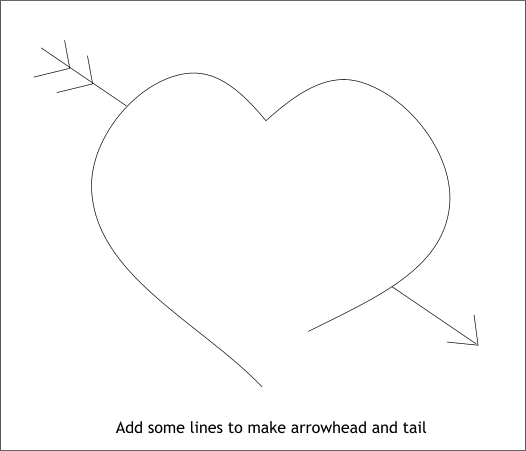
Using the Shape Editor Tool, add some lines to make an arrow head and arrow tail. (The V-shapes are separate lines).
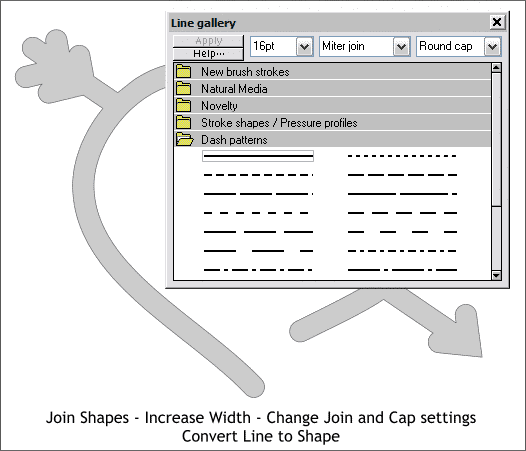
Select all the lines (hold down the Shift key and click on each of the lines to multiple select, or drag a selection rectangle (a marquee) around all the lines with the Selector Tool (F2). Open the Line Gallery (F12). Change the Width to 16pt (this width may change depending on the size of your drawing), and select Miter Join from the Set Join Type list and set End Cap from the Set Line Cap list. Press Apply to apply all the changes. With all the lines selected, from the Arrange menu select Join Shapes, then Arrange > Convert Line to Shape. As you can see by the outline above, the lines are now a single shape to which any of Xtreme's fills can be applied.
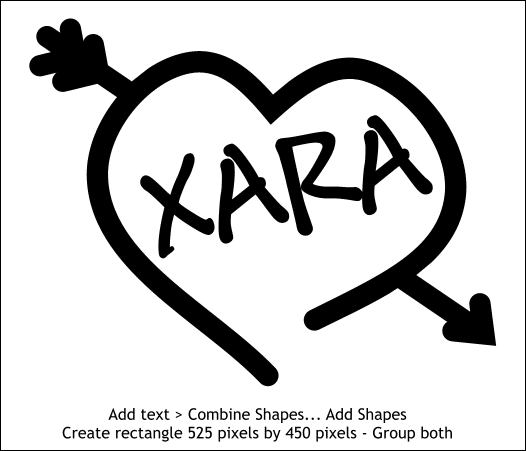
Add some text in a cartoon type font. Select the text and the heart shape and Arrange > Combine Shapes... Add Shapes (or keyboard shortcut Ctrl 1). Create a rectangle about the size of the one shown here and group the heart shape and the rectangle (Ctrl g).
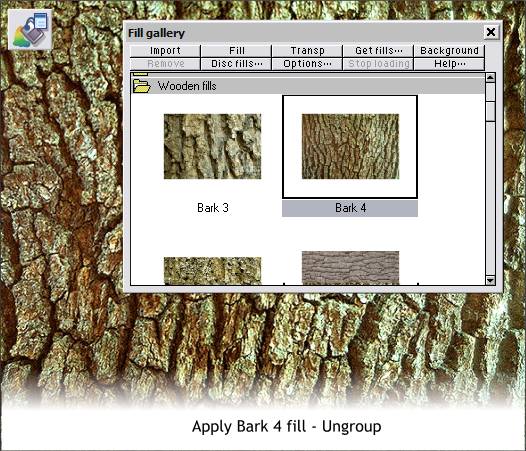
With the grouped objects selected, open the Fill Gallery (Shift F11) and from the Wooden Fills folder, select Bark 4 and press Fill. Ungroup (Ctrl u) the rectangle and the heart objects.
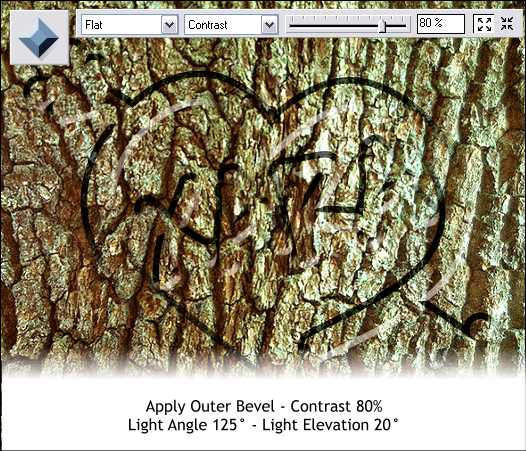
Select the heart objects and then select the Bevel Tool (Ctrl F3). From the Bevel Type drop down list, select Flat to apply an Outer Bevel. Move the Contrast slider to about 80% . From the Slider Types drop down list, select Light Angle and change the slider setting to 125° (you can also drag the arrow in the center of the bevel to the opposite direction). Select Light Elevation from the Slider Types list and change the slider setting to 20°. This gives the effect of an old carving in the bark. But since our love is new, we need the effect to look like it was just carved. TIP: To make the above effect more believable, make a clone copy of the heart shape and set the bevel to none. Change the fill to 50% black and apply Flat, Stained Glass transparency.
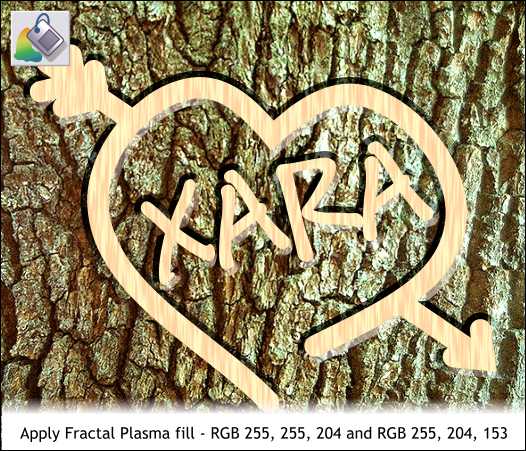
Select the center of the bevel and then open the Fill Tool (F5). From the Fill Type drop down list, select Fractal Plasma. Change the two colors to those shown above and lengthen the vertical fill path arrow while scrunching in the horizontal fill path arrow. The bevel being separate from the fill, retains the bark fill.
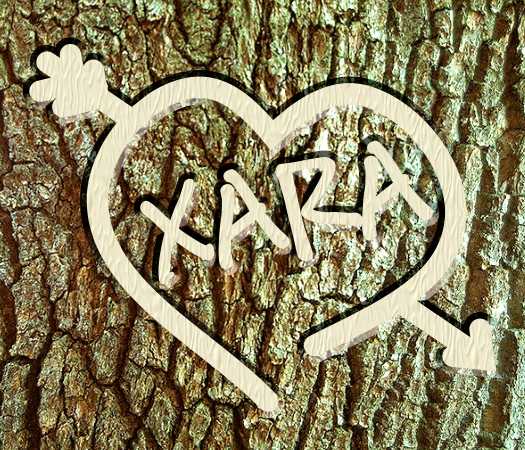
Here's a variation. Often the exact fill you are trying to create has already been created. In this case the fill was in the Fill Gallery, Low Res - Coarse Textures folder and is called Moreworm.jpg . The texture was applied and then switching to the Fill Tool, the fill path arrows were tweaked until the texture was up and down and looked like rough pocket knife cuts. Happy Day After Valentine's Day!
|
||
|
|
