|
|
|
Another Xara user wrote and asked how to create an embossed "watermark". I was not altogether clear on exactly what being requested but after a few more questions and answers, it became clear that this user wanted to place a transparent copyright symbol over her images. What follows is 3, count them, 3, different methods. You pick the one that works best for you.
To create a copyright symbol in Xara X, with the Num Lock key enabled on your keyboard's keypad, hold down the Alt key and key in 0169 on the numeric keypad. Format the copyright symbol in a font of your choice. I have used Verdana Bold at 250pt. Apply a 50% Black fill.
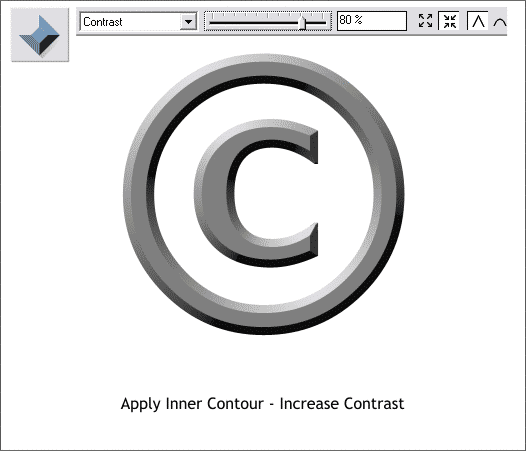
Select the copyright symbol with the Bevel Tool and apply a Flat, Inner Bevel. (Drag any of the red arrows towards the center a small amount to apply the Inner Bevel). Increase the Contrast slider setting to 80%.
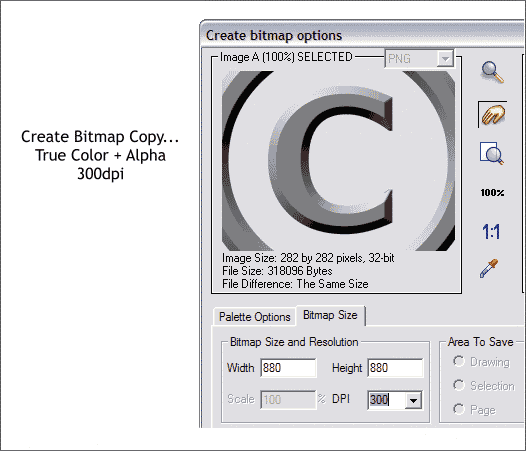
Create a Bitmap Copy (Arrange menu). Use the True Color + Alpha Color Depth option and in the Bitmap Size tabbed section, select 300 from the DPI list.
Place the bitmap over a photo or drawing and apply a Flat, Brightness transparency. Adjust the Transparency slider setting to the desired amount of transparency. You can also edit the Contrast amount for the bitmap in the Xara Picture Editor (Ctrl e for Enhance).
Method #2.
Place a white rectangle behind the copyright symbol. My rectangle has an outline so you can see the edge of the rectangle. Your rectangle should not have an outline. Select the symbol and the white rectangle and Arrange > Create Bitmap Copy... Use the True Color Color Depth option. Make a duplicate copy of the bitmap (Ctrl d).
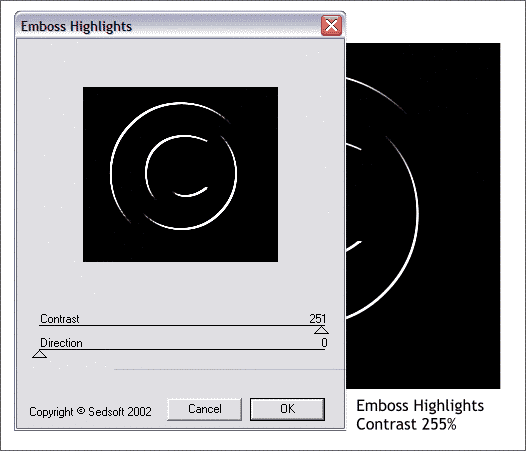
This technique requires Sean Sedwards' Emboss Plug-in filter which you can read about how to use and download here. You may also need a file called MSVCRT10.EXE which you can download here. If you need help installing the plug in filter, you will find a readme file in the ZIPPED document. Or refer to Xara's Help for installing Plug-in filters. Right click on one of the bitmaps, and select Bitmap Effects and Plug-ins... From the list of plug-in filters select Emboss > Emboss Highlights. Move the Contrast slider all the way to the right (it should be 255, not 251 as shown in my screen captureómy eyeballs are getting old).
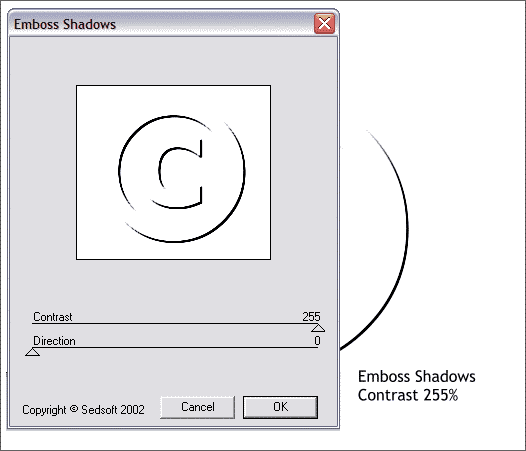
Select the other bitmap and this time select Bitmap Effects and Plug-ins Emboss > Shadows. Move the slider all the way to the right.
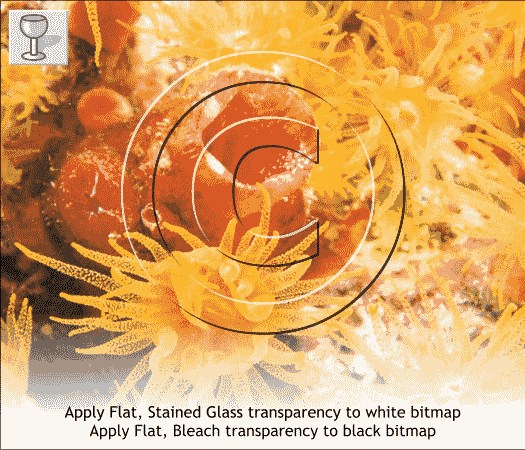
Center the two bitmaps over your image. Hold down the Alt key and click twice on the top bitmap (to drill down to the next bitmap). If the top bitmap has a white background then the next one down is the black or highlight bitmap. Apply a Flat, Bleach transparency. Select the top bitmap and if it has a white background, apply a Flat, Stained Glass transparency. Adjust the Transparency slider to make each bitmap more subtle if desired.
Method #3
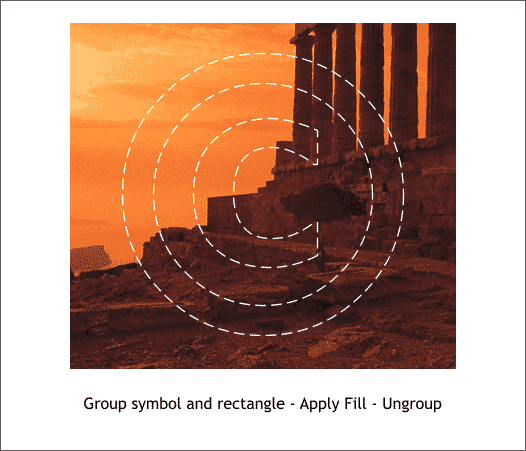
Group the copyright symbol and a rectangle. Open the Bitmap Gallery (F11), select the bitmap and press Fill. Arrange > Ungroup the two objects. (I have added a white dashed outline so you can see the copyright symbol. NOTE: If the bitmap image is not in the Bitmap Gallery, you need to Import it into Xara. Imported bitmaps are then automatically placed in the Bitmap Gallery.
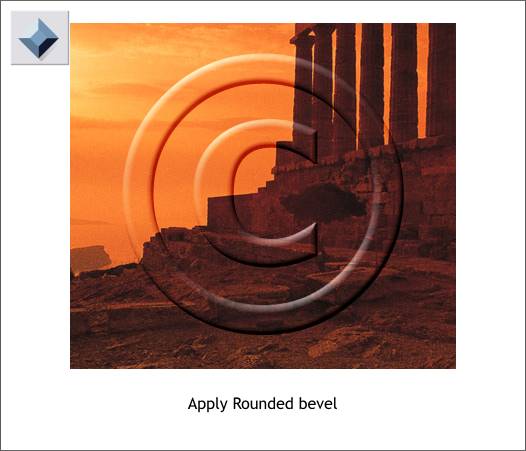
Apply a bevel of your choice. I have used a Rounded bevel in the example shown above. Because the fill applied to the copyright symbol matches the background image, the effect has a very transparent appearance. Anyone have another way of doing this?
|
||
|
|


