|
|
|
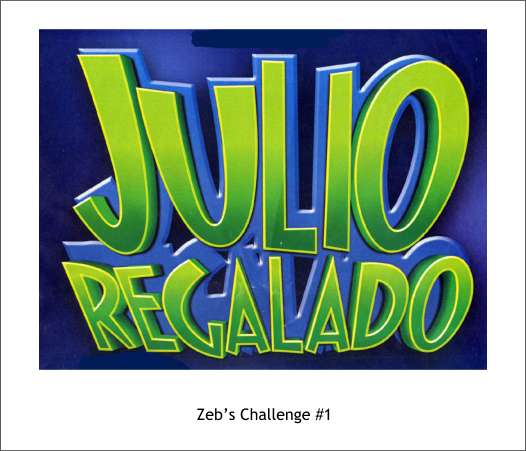
Zeb, the cartoonist, writes: Hi! From time to time you ask for requests for tutorial subject matter. Attached are two files with title effects I'd like to see how to simulate in Xara. I believe they were both originally done in Photoshop. Well as we know, Photoshop was invented for people who like to do things the hard way. I don't have the font used in Zeb's example, but here is how I think we could replicate the effect in Xara X.
Shown above is the sample Zeb sent for me to recreate.
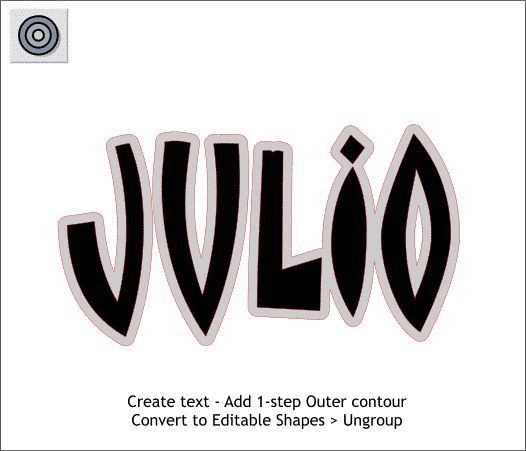
I used a font called Matisse which is nothing like the one used in Zeb's image but hey, it's not a perfect world, OK? Add a 1-step Outer Contour. Convert to Editable Shapes (Arrange menu) and Arrange > Ungroup. I added a red outline to the original text so I could see how wide to make the contour.
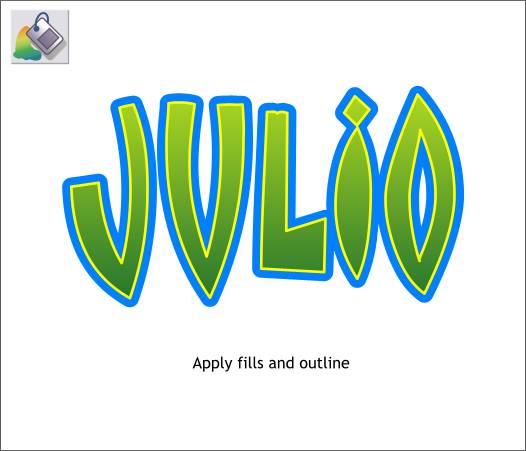
Apply a blue fill to the contour shape and a light green to dark green Linear fill to the text. Add a 2pt yellow outline to the text.
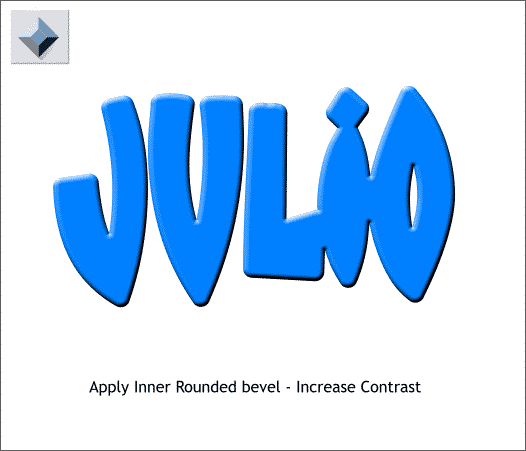
Apply an Inner, Rounded bevel to the blue contour shape. Increase the Contrast setting. The setting used here was 100% you may want less.
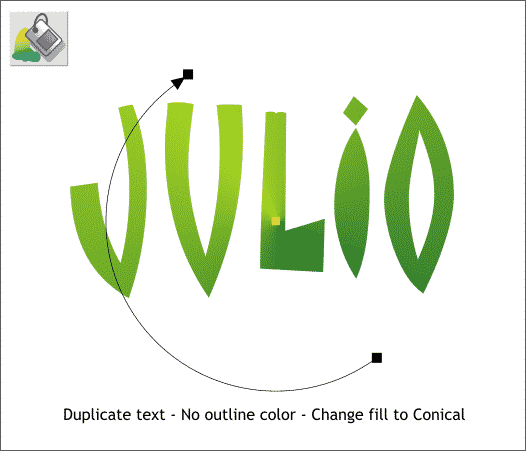
Duplicate the text. Change the fill to Conical (select Conical from the drop down list on the Fill Tool Infobar).
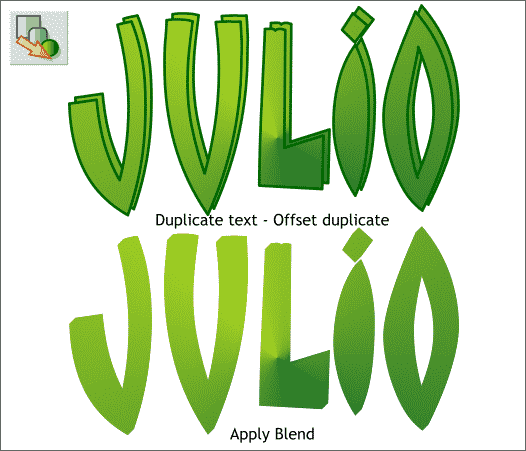
Clone the conical filled text (Ctrl k) and nudge it up and to the right. (I added green outlines so you could see both text objects). Apply a 20-step Blend as shown.
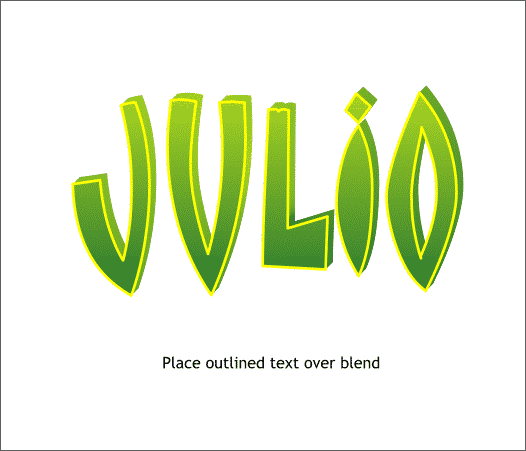
Place the text over the blend as shown above.
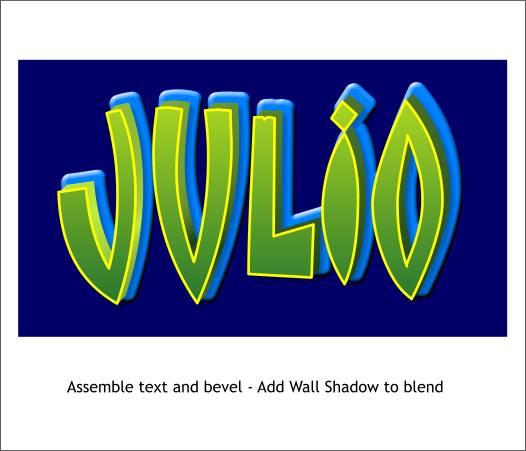
Assemble the various objects and place them over a dark blue background.
|
||
|
|
