|
|
|
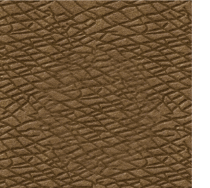
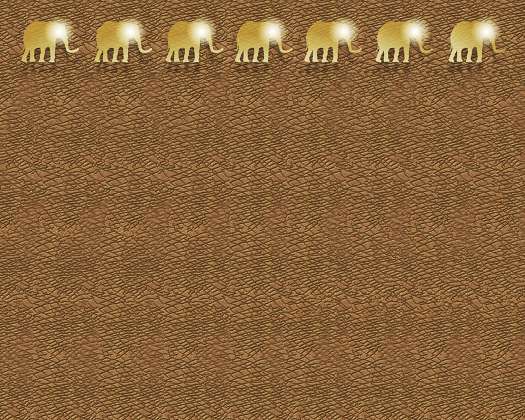
Recently, I needed an elephant hide texture for a Stereogram I was making in which the hidden 3D image was an elephant's head and trunk. None of my usual sources of textures had anything close to elephant hide and I was left with two alternatives, to purchase a stock photo image of elephant hide for an exorbitant amount of money, or to create my own texture . What I finally came up with is shown on the left. As you can see the pattern is very complex and took me literally half a day to create. On the other hand, the pattern was perfect for the hiding the 3D Stereogram image and so it was worth the effort. What makes this pattern work is the crisscrossed lines are very random in length and random in spacing as well. I applied a bevel to all the shapes and then waited for what seemed like forever for the bevel to apply. What I will show you in this tutorial has been greatly simplified but will give you an idea of the process.
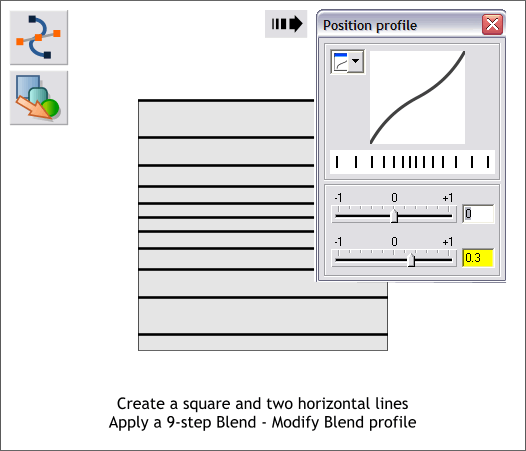
Draw a square. Add two horizontal lines top and slightly up from the bottom. Using the Blend Tool, click and drag from the top line to the bottom to apply a Blend. Increase the number of Blend Steps to 9 and press Enter to apply the change. Press the Position Profile arrow icon on the Infobar to open the Position Profile dialog. Change the bottom slider setting to 0.3. This creates a random spacing to the lines.
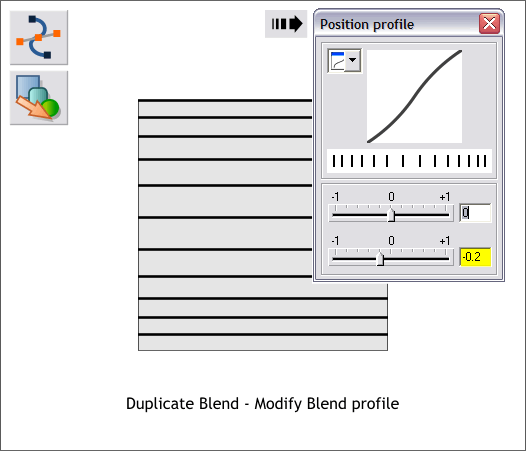
Duplicate the blend (Ctrl d) and modify the second slider setting to -0.2.
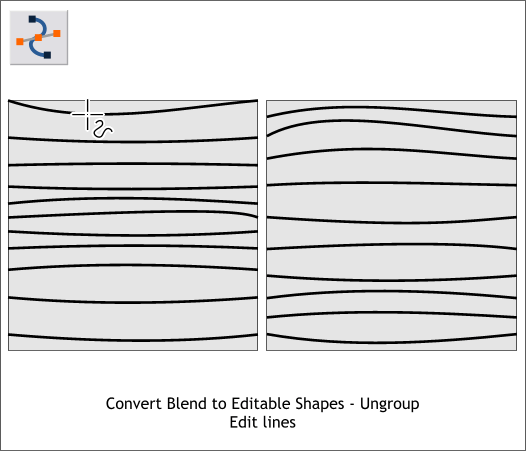
Convert each blend to editable shapes (Arrange > Convert to Editable Shapes). Then from the Arrange menu, select and Ungroup each of the blends. Select each line first with the Selector Tool then with the Shape Editor Tool. Drag each line so that each is cureved slightly different. TIP: You can toggle back and forth between the Selector and Shape Editor Tools by pressing the Spacebar on your keyboard.
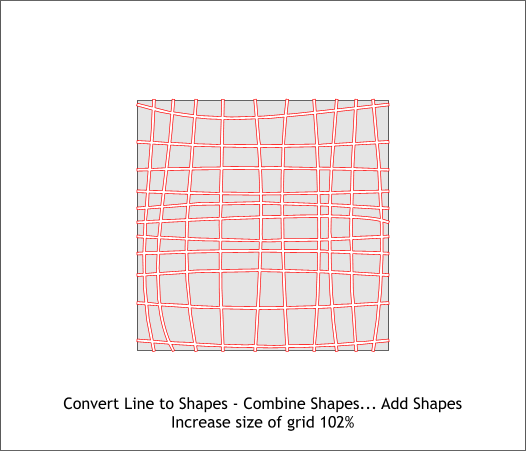
Select one of the sets of lines and rotate the lines 90 degrees. Select all the lines (but not the square) and Arrange > Convert Line to Shape. Then with all the line shapes selected, Arrange > Combine Shapes... Add Shapes. Increase the size of the combined lines slightly so the ends of the line shapes are just a little wider than the square. I've added a red outline around the line shape so you can see that all the lines are now really one shape.
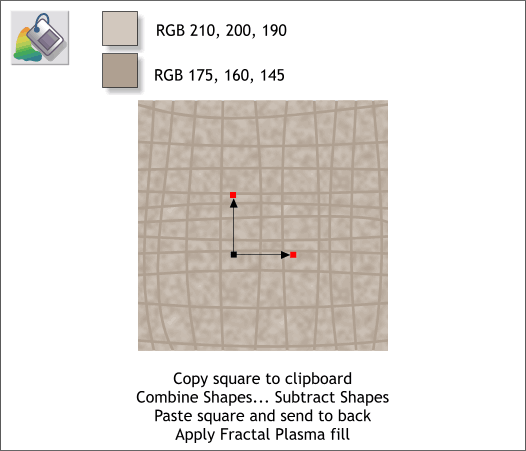
Copy the square to the clipboard (Ctrl c). Select the line shapes and the square and Arrange > Combine Shapes... Subtract Shapes. This will leave you with a bunch of irregular shapes. Paste the square in place using Shift Ctrl v. Select the irregular shapes with the Fill Tool and select Fractal Plasma from the drop down list of Fill Types on the Infobar. Adjust the fill path arrows and use the two colors shown. Apply the darker color to the square. If you need help with applying and editing fills see Workbook 31 New Users' Guide.
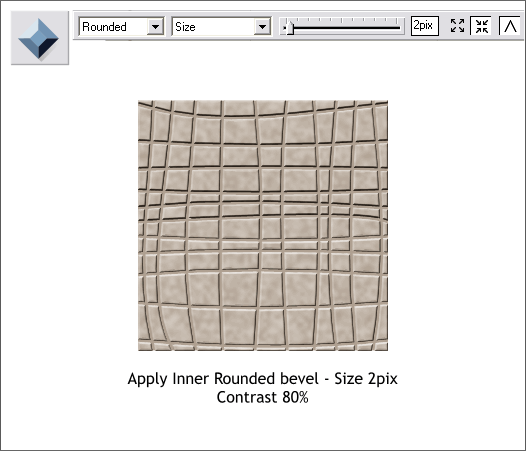
Select the irregular shapes with the Bevel Tool. Apply an Inner, Rounded bevel, Size: 2 Pixels, and increase the Contrast to 80%.
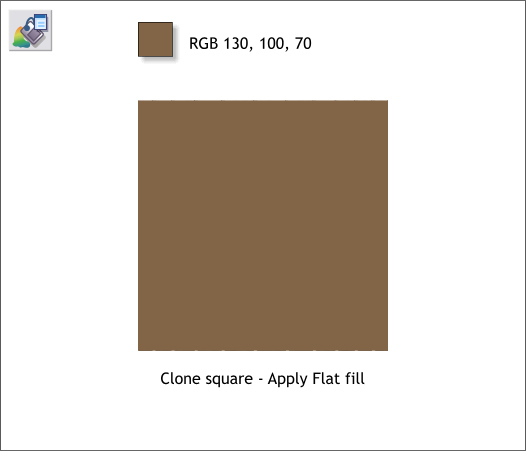
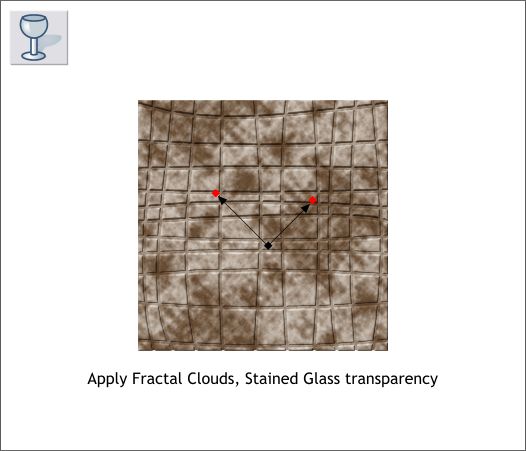
Clone the background square and change the fill color.
Apply a Fractal Clouds, Stained Glass transparency to the solid color square and rotate and resize the control handles as shown.
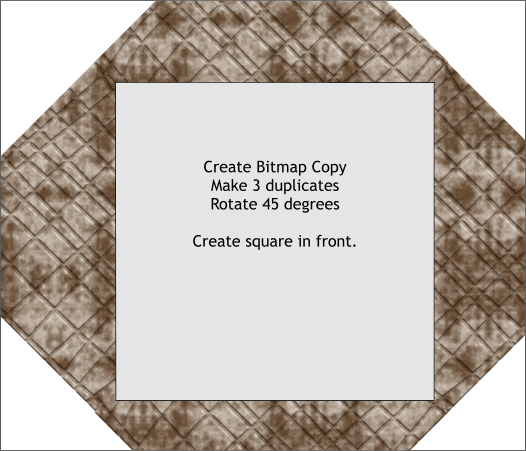
By now the beveled shapes are going to start slowing down Xara to a crawl. So we will create a bitmap copy of the texture and save the beveled version. First save the beveled version. Now Arrange > Create Bitmap Copy . Select True Color and increase the Bitmap Resolution to 300dpi. Delete the beveled version and save your file. Close Xara and then reopen Xara and the file. Rotate the bitmap 45 degrees. Make 3 copies and arrange them in a diamond shape. Draw a square that covers the center of the four bitmaps.
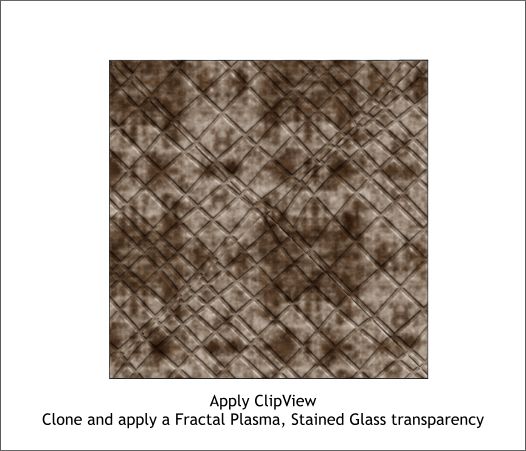
Send the square to the back and select the four bitmaps and the square and Arrange > Apply ClipView. Clone the ClipView and apply a Fractal Plasma, Stained Glass transparency. Looking at the final results, it is obvious that the crisscrossing lines would be better if the lengths were more random and if many of the lines did not extend all the way. You more adventurous people can experiment with more random line lengths and let me know what you come up with.
Here is a small version of my Elephant Head Stereogram. I'm afraid it is not one of my best and the image is difficult to see. But if you have luck seeing hidden Stereogram images, give it a try.
|
||
|
|


