|
|
|
Sometimes you have a photo of something that you wish was on a different background. Building on the technique from the last page, we can do this easily and effectively.
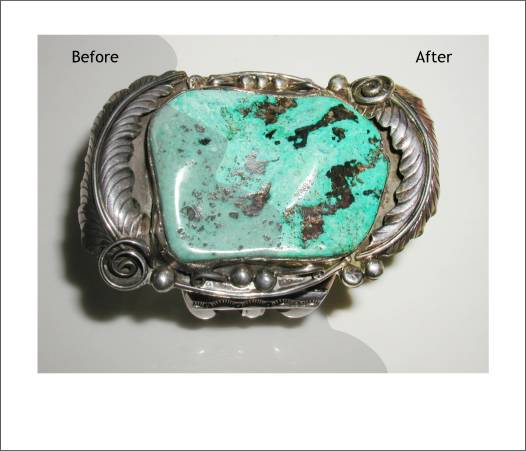
The photo above is of a large Navajo turquoise and silver bracelet. It was photographed on a simple background. But it would look better on a surface that was a little more southwestern.
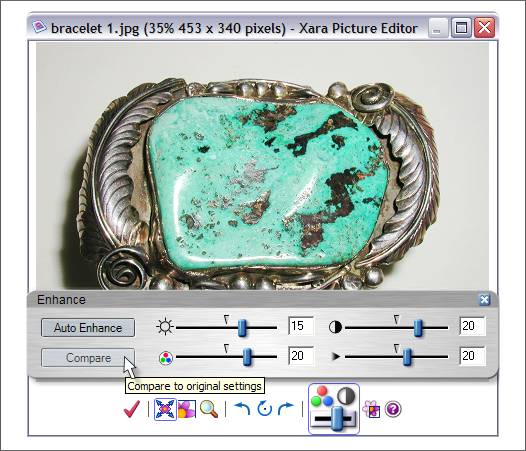
The image above shows the image modifications made in XPE. All the settings were increased adding more color, more contrast and more sharpness. Remember you can press Compare to go back and forth to the original photo and then the new settings.
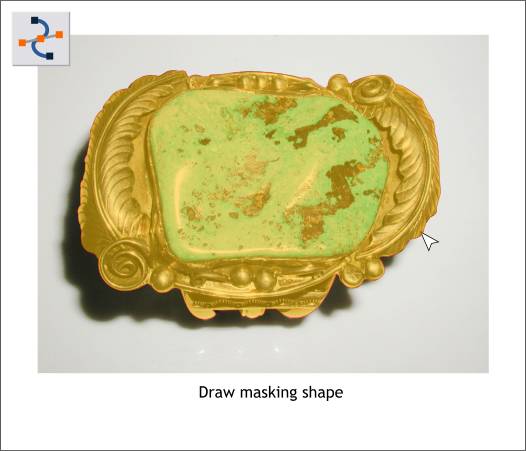
Using the Shape Editor Tool, an outline was created of just the bracelet shape. Click here for a tutorial on using the Shape Editor Tool . Simply stated, create a series of straight lines with the Shape Editor Tool that start and end on a curved portion and then drag the lines into graceful curves. The mask was colored orange and transparency applied so you could see how well the mask fits the bracelet. TIP: Zoom in close and change the outline color to a contrasting color to make it easier to distinguish the outline from the shape you are masking.
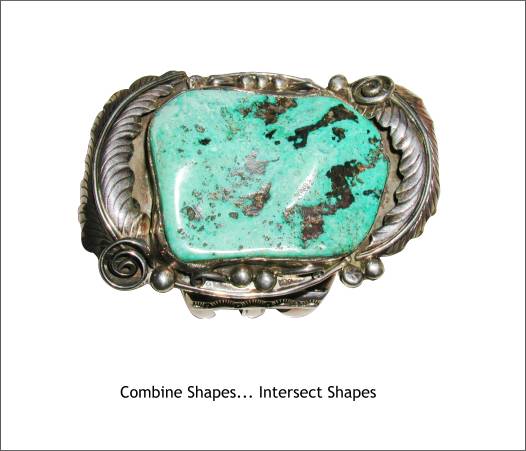
Select the mask shape and the photo and Arrange > Combine Shapes... Intersect Shapes. The bracelet remains and all the background is removed.
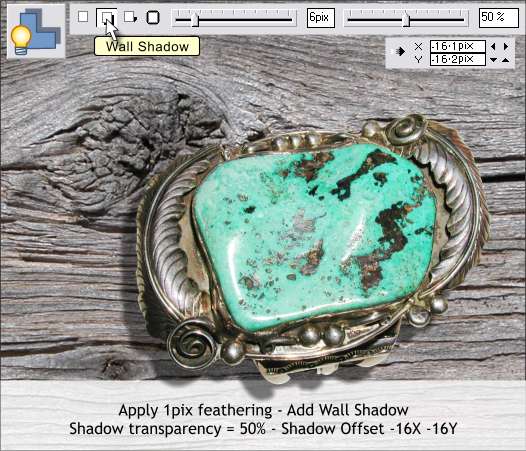
Remember, before we dropped out the background, the light was coming from the right casting a dark shadow to the left. The bracelet was placed over a bitmap image of weathered wood. A Wall Shadow was applied using the Shadow Tool. The Shadow Transparency setting was reduced to 50% making the shadow darker. The shadow itself was positioned down and to the left approximately 16 pixels in each direction. The bracelet and background work well together and the wall shadow blends the two into one image. The final touch was to add a very small amount of feathering to the bracelet to soften the edges.
|
|
|
|


