|
I scanned a black and white illustration of a duck and ducklings from a book of public domain clip art. The bitmap is black and white. If you do not have access to a scanner or clip art, download this image from your Internet
browser (Right click on the image and select Save image as...) and crop the image in Xara to just the black and white art. Arrange > Create a Bitmap Copy of the cropped bitmap.
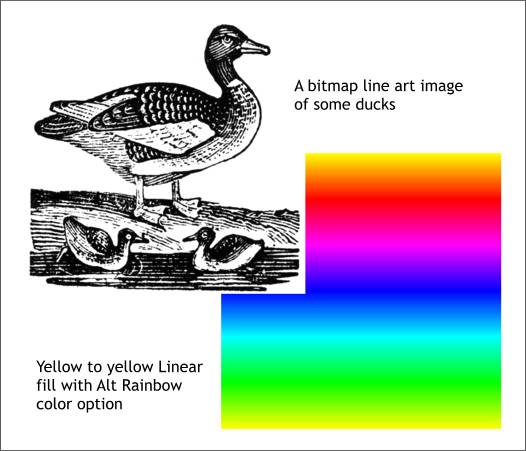
Create a rectangle the exact size of the black and white bitmap image. Apply a Linear fill with the Alt Rainbow Color Option. Make both the starting and ending color yellow.
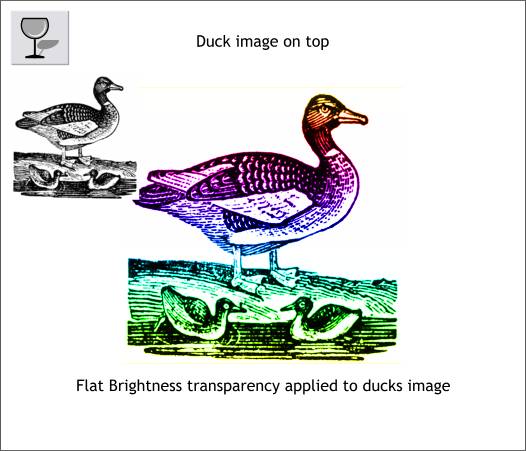
With the ducks image on top (Ctrl f to bring to front), select the image with the Transparency Tool, and apply a Flat, Brightness transparency. This
maintains the opacity of the white and lets the color show through the black.
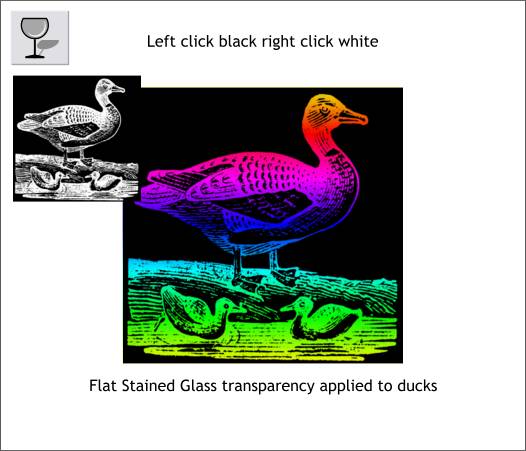
Select the bitmap, left click on the black color square in the on-screen palette. Right click on the white color. This creates a negative version. Now apply a Flat, Stained Glass
transparency. Again, the color shows through.
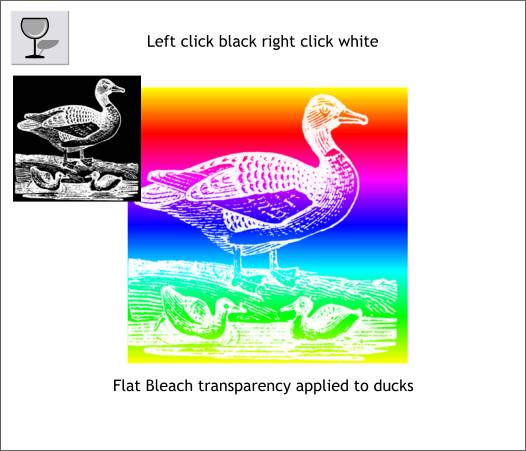
If you apply a Flat, Bleach transparency, the white becomes opaque (no transparency) and the black becomes transparent letting most of the background fill show through behind the white line art image.
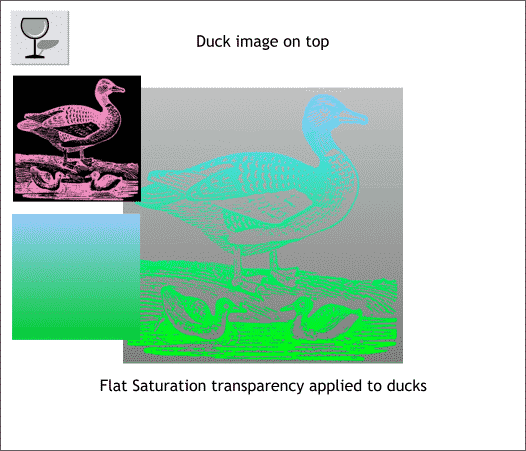
In this example I right clicked on a pink color to make the bitmap pink and black. The Linear fill was also modified to pale blue and green. A Flat, Saturation transparency created this interesting effect.
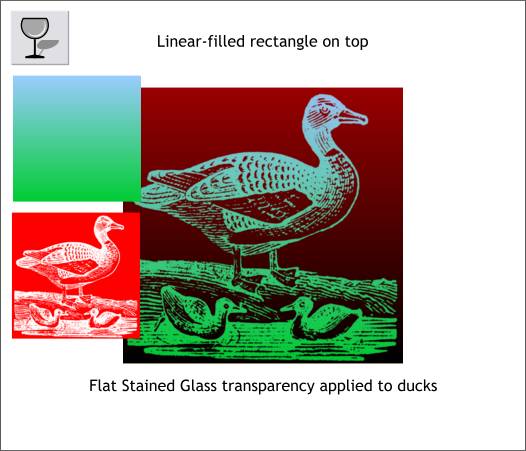
Changing the bitmap to white on red produces this effect when you apply Stained Glass transparency.
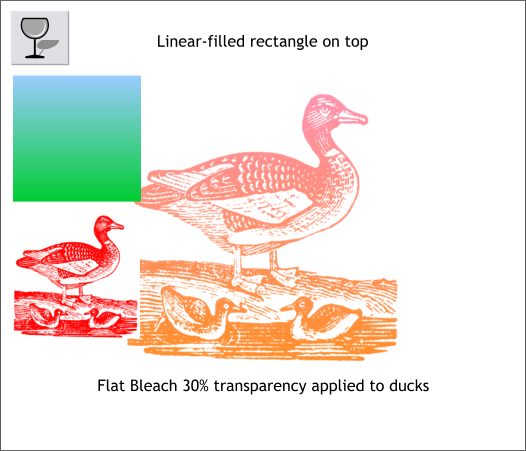
Finally, the colors on the bitmap were reversed to red on white. A Flat, Bleach 30% transparency produced this effect.
Experiment and see what kinds of cool effects you can come up with using different bitmap color combinations, transparency types, and fills.
TIP: To get back to the original colors (black on white in this case) right and left click on the cross hatched square to the left of the screen palette which sets the line and fill colors to none.
|

