|
|
|
|
|
||||
 |
|||||
|
Hamish Mc Millan asked for a tutorial on creating gears. So gear up, release the clutch, and here we go.
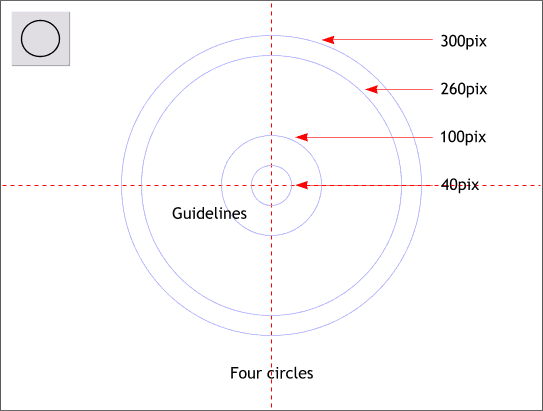
Step 1 Using the Ellipse Tool, hold down the Ctrl key and draw a series of four circles to the sizes shown. Dragging a vertical and horizontal guideline from the screen rulers onto the page ( Window > Bars > Rulers or press Ctrl L), and making sure Snap to Guides (Window > Snap to Guides) is enabled, will make the job easier.
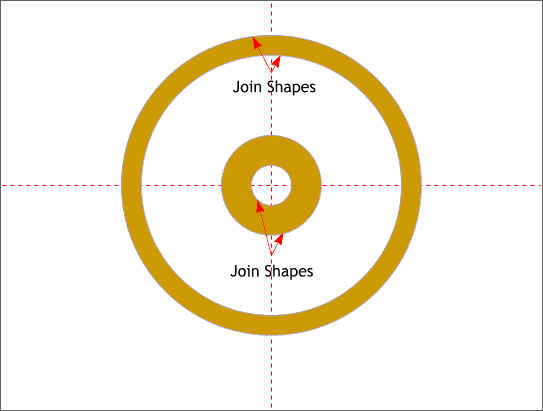
Step 2 Select the two larger circles and Arrange > Join Shapes. This creates an O-shape. Repeat this step and Join the two smaller shapes. We have just invented the wheel!
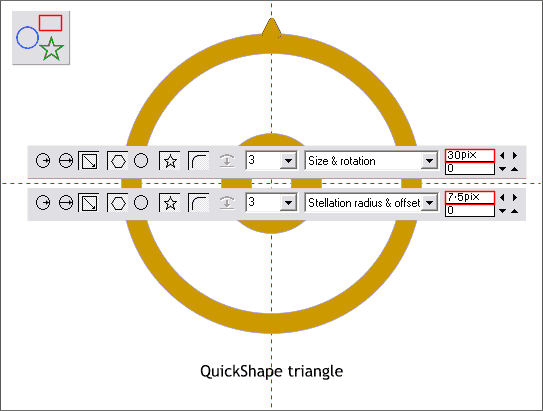
Step 3 Select the QuickShapes Tool. Set the number of sides to 3 (from the drop down list) and click the star icon on the Infobar. Draw a small triangle. Click the arc icon to round the corners of the triangle. (You can also double click on the control points with the QuickShapes Tool to round the corners). Change the size in the Size and Rotation mode to 30pix. Select Stellation Radius and Offset from the drop down list and set the amount to 7.5pix . Center the triangle over the top O-shape and let it overlap the O-shape a bit.
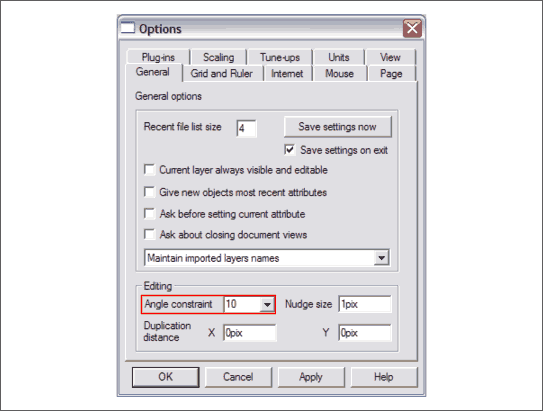
Step 4 In this next step, we need to rotate the gear tooth around the outside of the O-shape. Unfortunately, Xara does not have a "repeat last operation" command. But we can do the next best thing. Right click on an empty portion of the page and select Page Options... Select the General tabbed section in the Options menu. Change the Angle of Constraint setting to 10 and press Apply or OK to apply the change. (OK applies the change and closes the dialog).
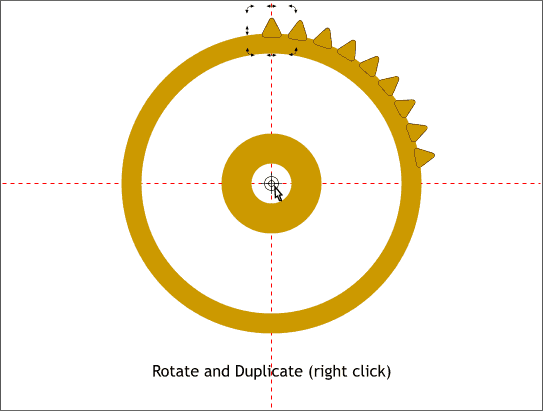
Step 5 Click twice on the tooth to enable rotate/skew mode. Drag the center of rotation bulls eye to the intersection of the two guidelines. Hold down the Ctrl key and drag the top right control handle (the rounded arrow) clockwise (to the right). The tooth will rotate 10 degrees as we set up in the last step. Before you release the left mouse button, press the right mouse button to drop a duplicate. Do not release the left mouse button but continue to rotate and duplicate again, and again and again until you have 9 teeth as shown above. Now you can release the left mouse button. Dragging and right clicking is known as drag and drop and works in a variety of situations.
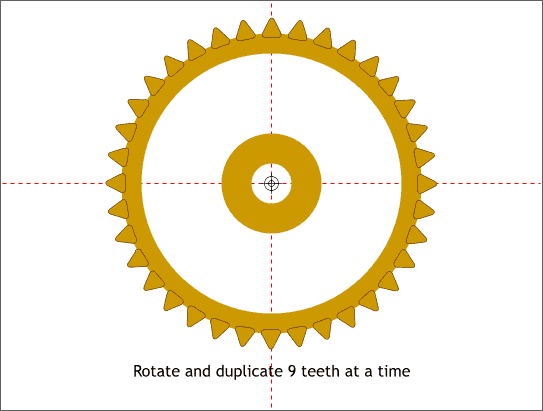
Step 6 Select all nine teeth, click again to enable rotate/skew mode, and drag the center of rotation bulls eye to the intersection of the two guidelines. Rotate the entire 9 teeth to add the next nine teeth and press the right mouse button to drop the nine teeth into place. Repeat this twice more to drop all the teeth into place. |
|
