|
|
|
|
|
|||||
 |
||||||
Copper
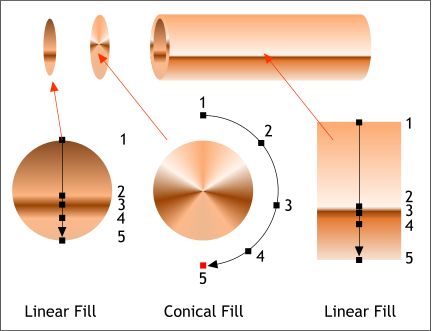
The gradients on the left represent a range of copper colors from very pale, mint new copper, to dull old copper on the right. Creating these two gradients creates a range of copper colors from which we can select using the Color Picker (the eye dropper) in the Color Editor to create copper colored fills.
Colors from the two gradients were used to create this shiny copper pipe. If you want to recreate this image, use the Color Picker (the eye dropper) in the Color Editor (Ctrl e) to sample the various colors. Placing the darkest and lightest of the copper colors very close together on the side of the pipe gives the impression the pipe is very shiny.
Using darker colors and a gentler gradient of three colors creates the appearance of older copper that has gotten dull with age. As copper is exposed to the elements it sometimes acquires a mottled green patina (this look is often accomplished by placing certain acids on the copper to turn the copper green). Here's how we can recreate this verdigris green look in Xara.
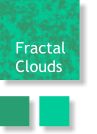
Adjust the Fractal fill control handles (the arrows) so the shapes are small and pretty evenly divided between the two colors.
|
||||||


|
|
 Make a clone (Ctrl k) duplicate of the three pipe objects and combine
them into one shape (Arrange > Combine Shapes... Add Shapes). Place the shape over the pipe elements. Change the fill to the green fill shown on the left. Apply a Flat, Brightness
, 0% transparency.
Make a clone (Ctrl k) duplicate of the three pipe objects and combine
them into one shape (Arrange > Combine Shapes... Add Shapes). Place the shape over the pipe elements. Change the fill to the green fill shown on the left. Apply a Flat, Brightness
, 0% transparency.|
On the next page, we'll create a tubular copper G. |
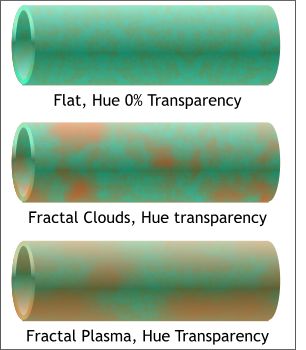 Here are three variations with varying degrees of verdigris (the
green oxidized surface texture). All three use the same Fractal Clouds fill and the three different Hue transparency types (found in the Transparency Types drop down list).
Here are three variations with varying degrees of verdigris (the
green oxidized surface texture). All three use the same Fractal Clouds fill and the three different Hue transparency types (found in the Transparency Types drop down list).
|