|

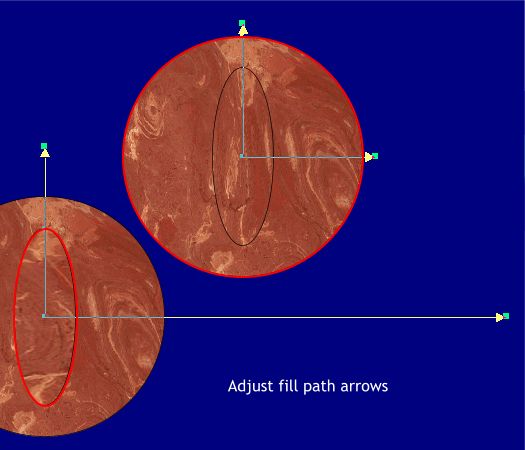
Select the large circle with the Fill Tool. Adjust the fill path arrows as shown above. Select the tall ellipse with the Fill Tool. Adjust the fill path arrows as
shown. Hold down the Shift key to resize the fill path arrows individually.

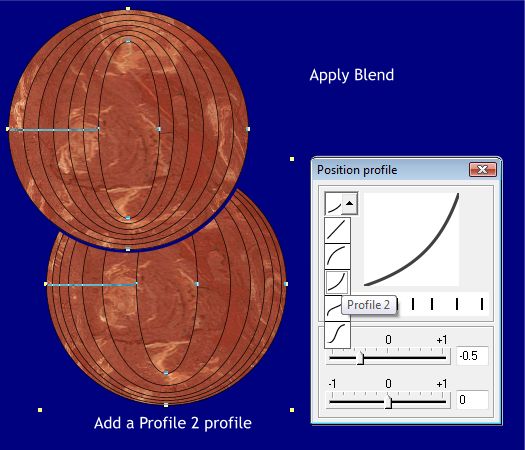
Select the Blend Tool. Click on the circle and drag to the center of the tall ellipse to blend the two ellipses. Press the Profile arrow icon on the Infobar. Select Profile 2 from the drop down list.

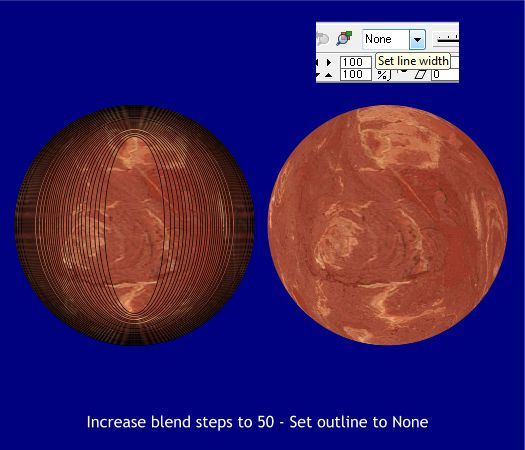
Increase the blend steps to 50 and press Enter to apply the change. Remove the outlines (select the blend and Shift-click on Set 'no color' cross hatched
box next to the Color palette, or select None from the Width drop down list on the Infobar).
Depending on the texture the blend will look more or less spherical. If it doesn't look good then try to reposition the texture a bit, or try another
texture. But no matter how good the texture is, the result will still look a bit flat at this stage. We will fix that next.

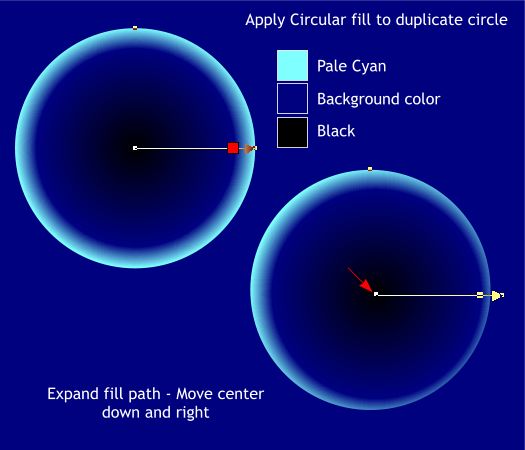
Select one of the extra circle copies we made in the beginning. Apply a Circular fill. Set the start color (the center) to black and the end color (the arrow head) to pale cyan.
Add Medium-dark blue color to the fill path arrow by dragging the color from the Color palette and dropping the color onto the fill path arrow as shown
above. Remove the outline by Shift-clicking on the No color cross hatched box next to the Color palette. Increase the gradient a small amount by dragging
the arrow head slightly beyond the edge of the circle. Move the center of the Circular fill a short distance, diagonally down and to the right.
|