|
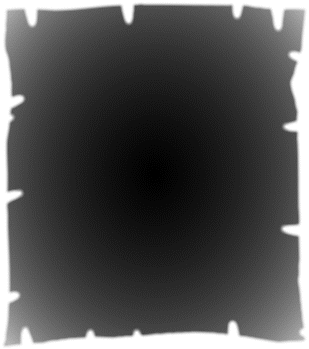
Select the shadow object and apply an Elliptical, Mix transparency with Profile option set to Profile 2 and end transparency set to about 70%. Move
the end transparency handles (the two arrow heads of the fill) slightly outside of the shadow shape. Apply 5.5 pixels feathering.
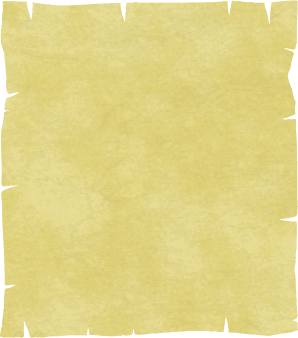
Make a bitmap copy of the ClipView map paper and do another
bitmap trace. This gives the edges a more hand drawn look.
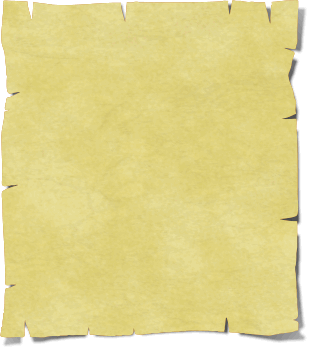
Move the shadow behind the paper object (Ctrl+B). You may need to resize the shadow a bit to make it look right.
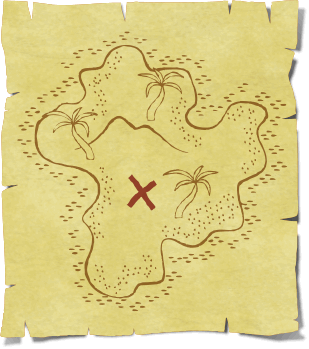
To finalize the treasure map, take the island image and place it on the paper, resize it to fit. Apply a Flat, Stained Glass transparency set to 30%.
I extracted the ‘X’ and applied a dark red fill instead of the the brown color. In retrospect it would look cool with some ship wrecks, sea dragon and a
compass rose, but I leave that up to you to add.
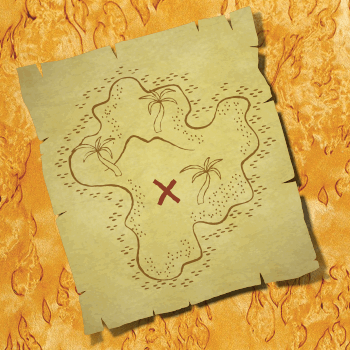
Here’s the finished map placed over a wood grain fill from the Fill Gallery, Wood Fills section. There was one final step. To make the edges of the map
appear to bend upwards, I cloned the map paper shape and applied a Flat dark brown fill. To this I applied an Elliptical, Stained Glass transparency
with a Profile 2
profile preset. I made the center of the Elliptical transparency 100% transparent and the outside setting 80%.
Just enough to curl the edged.
Comments or questions are always welcome.
Paul Söderholm
Guest Tutor
www.gnurf.net/
Send e-mail
|