|
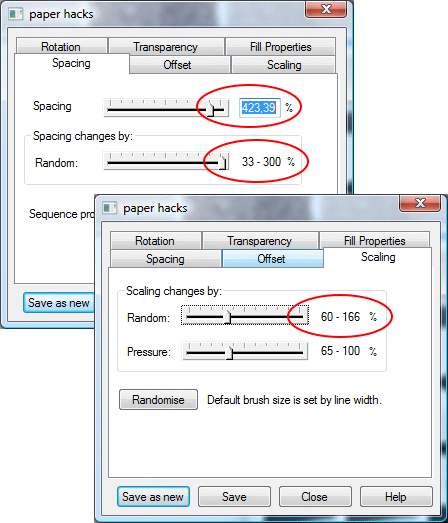
The triangle brush settings.
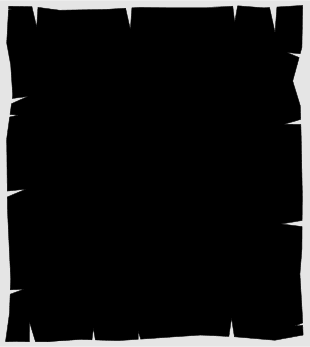
Select the triangular shapes and the cloned paper shape. Subtract Shapes (Ctrl+2). Make a rectangle slightly larger than the paper shape. Apply a light
color and put it to back (Ctrl+B)
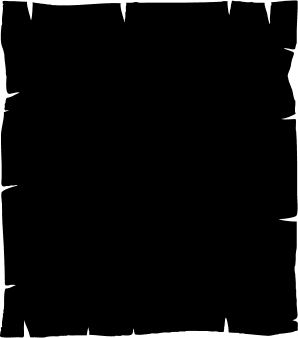
Select both objects and make a bitmap copy with the same setting as with the first bitmap. Trace the bitmap copy with same settings as previously. We
will use the bitmap copy because the edges are a bit rougher and will look more like old paper
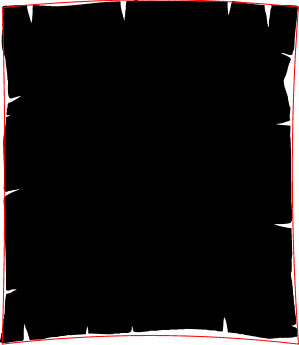
Make a copy of the paper shape and bend the sides with the Mould Tool (Shift+F6). I applied the Default Envelope, and bent the edges towards the
center. This object will be the drop shadow of the map. Move it aside from the rest of the objects for a while.
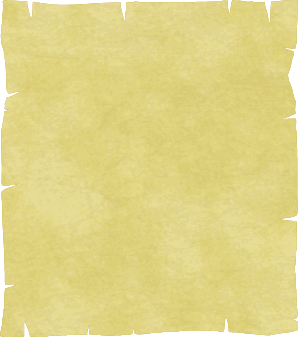
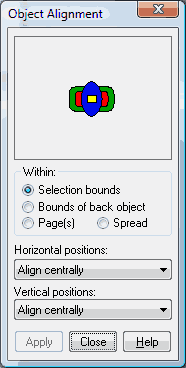
Select the paper shape and send it to back (Ctrl+B). Select the paper texture rectangle (there should be three of them) and the paper shape. Align them centrally with the
Object Alignment dialog (Ctrl+Shift+L). Apply ClipView (Q).
|