|
The Xara Xone Workbook - The best, easy and fun Xara X tutorials |
|
|
|
THE XARA CONFERENCES | XARA.COM | XARA ONLINE | GRAPHICS.COM TOP SITES | ALL WORKBOOKS |
|
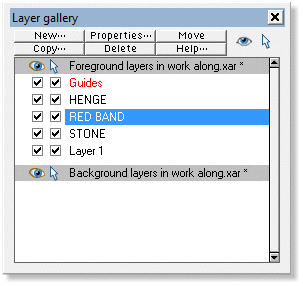
It will be easier to use layers for this next stage. Create two new layers, and put the HENGE shapes into the top layer, the red band into the middle layer, and the STONE shapes into the bottom layer. Disable selection on the red band layer, though you might want to increase the transparency of the band first.
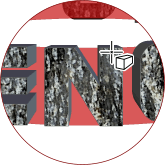
Now, select the N in HENGE, and with the Extrude tool on, place your cursor on the front face of the N. The cursor should look like a box with four little arrows. Hold the left mouse button and drag it around, and the orientation of the N should change. Aim to tilt it forward at the top, but not to rotate it left or right, as this character is being viewed from the front. You will then need to slide the shape down a little to align its rear edge with the top of the red band. Use Alt-S to switch temporarily into select tool mode for this.
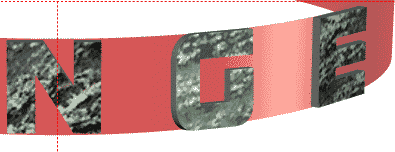
Now select the G, and try orienting it. Because it isn't centered within its sizing pixel bounding box, it will also change position around the centre of the bounding box. Aim to have the top and bottom edges of the rear of the G appear to be flat against the red band. Get the orientation looking correct first then use select to slide the shape up or down to align the edges to the band. You will find that the characters will reduce in size as they are rotated away from their original positions due to the change in perspective, so once their orientations look about right, use the select tool and align the bottom rear edges against the red band and then use the tool bar size field to readjust the size till the top and bottom rear edges of each character sit against the edge of the red band. It is a repetitive process, I am afraid, but it should only take two or three tries to get something that looks good.
|
||||||


