|
The Xara Xone Workbook - The best, easy and fun Xara X tutorials |
|
|
|
THE XARA CONFERENCES | XARA.COM | XARA ONLINE | GRAPHICS.COM TOP SITES | ALL WORKBOOKS |
|
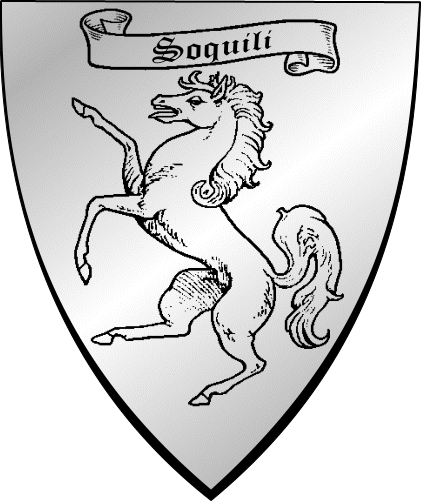
Many times someone will ask how to make a raster (bitmap) image rotate in Xara 3D 6. Raster images can only be used as a texture for a shape/text, or the background. A vector shape in .XAR, .WEB, .WMF, or .EMF file format can be imported into Xara 3D 6. Fonts are actually vector shapes and you can use any font you have installed on your system. Dingbat fonts consist of shapes that can be used as well. Xara 3D 6 installs some vector files you can use. They are in the C:\Program Files\Xara\Xara3D\Samples2D Shapes\Shapes folder on your hard drive. Now that you know where the shapes are located let us use one in a project. I have this raster image of an ancient family crest just created about an hour ago ;-). I want to make it spin and put it on my website.
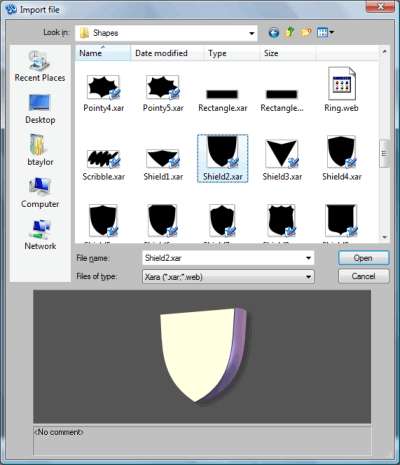
The raster images I am using in the tutorial are in the X3D-Tut-Files.zip file that is available by clicking the link. If I try to import the raster image an error message will pop up saying it failed to import. The file is a .PNG and can only be used as a texture in Xara 3D 6. I will need a shape to put the texture on before I can see the crest. Fortunately one of the 2D shapes provided with Xara 3D 6 is a shield.
Select the Shield2 file and click Open. There are 10 additional shield shapes for use within Xara 3D 6 available at www.xaraxone.com/html/templates.html
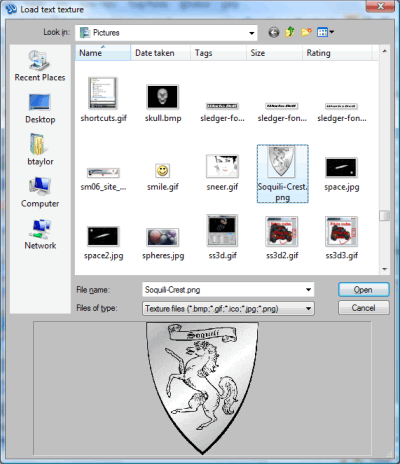
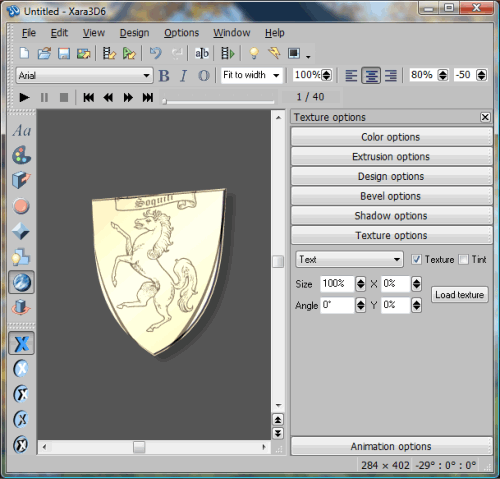
I thought the round bevel did not look right for a shield and so I changed the bevel type to Round Incut. Open the Texture Options and click in the Texture check box. The Text texture load dialog will open.
Navigate to where you have the image you want to use as a texture. Select the file and click Open.
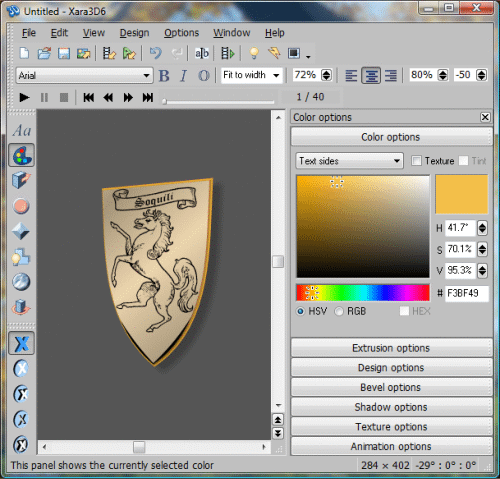
The image is a little smaller in width than the shield. We can correct that by changing the Aspect ratio of the shield shape. Click on the Aspect ratio spin control and drag down to 72%.
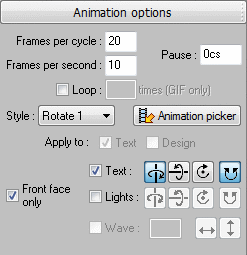
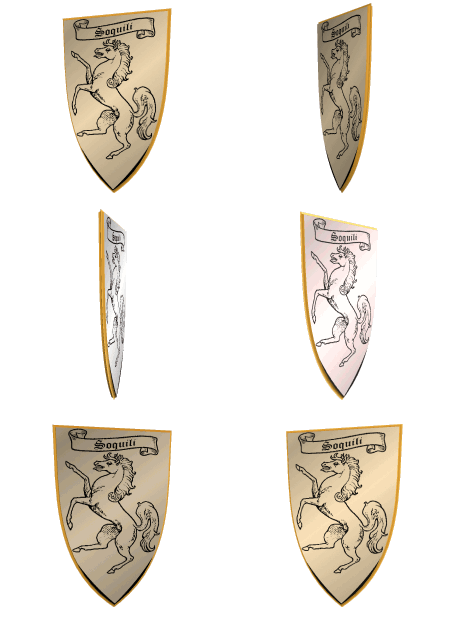
With the Aspect ratio set to 72% the shape and the texture fit together better. I gave the Text Sides an orange/gold color, the Light 2 a lighter color, and moved Light 1 up and to the right. Open the Animation Options and select the Style, number of Frames per cycle, Frames per second. Export your animation and save your .x3d file so you can make changes if you decide to later.
In the finished animation you may notice I turned off the Shadow. In the work area I also changed the background color to the same as this page. By making the background in Xara 3D 6 the same as the page where the animation will be used, the anti-aliasing fringe around the shape is less noticeable.
|
||||||
