|
The Xara Xone Workbook - The best, easy and fun Xara X tutorials |
|
|
|
THE XARA CONFERENCES | XARA.COM | XARA ONLINE | GRAPHICS.COM TOP SITES | ALL WORKBOOKS |
|
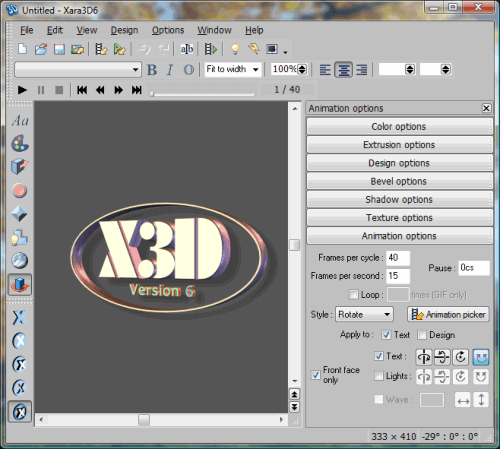
Xara 3D 6 is very easy to use but to someone new to computer graphics some things may not be obvious. In the Xara 3D forum on Talkgraphics.com there are several questions that are asked frequently. I will try to answer some of them in this tutorial. Start Xara 3D 6 on your system. We will begin by removing the default text and saving a new default document.
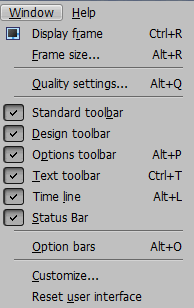
What's that? Your version doesn't look like this? When you first install Xara 3D 6 the default interface does not show the Animation Options bars and the Time Line. You can turn on or off interface features using the Window menu.
If you have a large resolution screen you may want to turn on the Option bars, and the Time Line and keep them open. You may decide to have a larger work area and only turn on the Options and Time Line when you need them. If you like a clean work area when you first open Xara 3D 6 you can save a new default template. We can begin creating the template by removing the Border around the text.
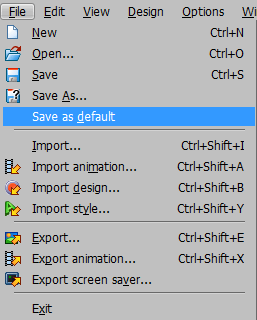
Make any other changes to the interface that you want to be available when you start the program. Click the File menu and select the Save as Default option.
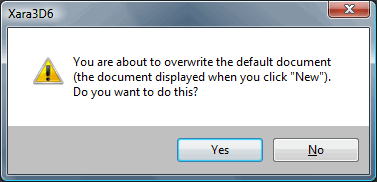
You will see a warning message that you are about to overwrite the default document. Click Yes to save your new default document. The next time you start Xara 3D 6 you will have a clean workspace to begin your newest masterpiece.
|
|||||||
|
|
|||||||


