|
The Xara Xone Workbook - The best, easy and fun Xara X tutorials |
|
|
|
THE XARA CONFERENCES | XARA.COM | XARA ONLINE | GRAPHICS.COM TOP SITES | ALL WORKBOOKS |
|
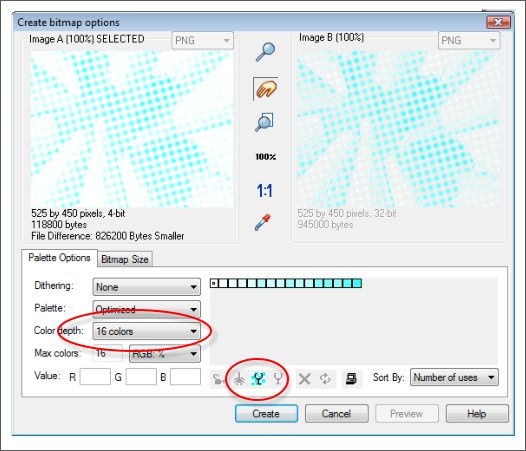
Make a bitmap copy (Ctrl Shift C), set the Color Depth: to 16 colors with no transparency.
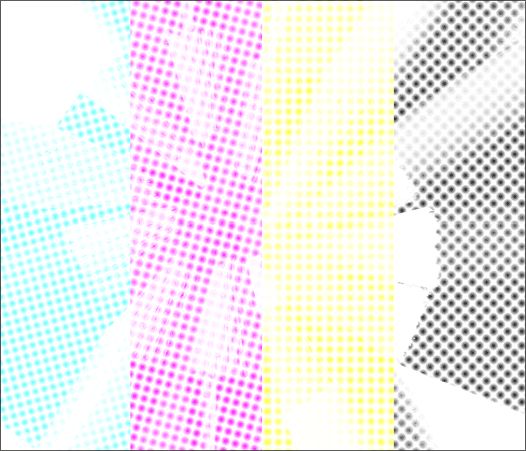
Set the Cyan bitmap aside and change color mode to Show Magenta. Change the angle of the raster to 75 degrees and set the resolution to the same as you used for Cyan, and make another bitmap copy and put it aside. Repeat these steps for Yellow (angle 90), and Black (angle 45). When you change back to Window > Show Printer Colors > Screen Colors you will notice you have four copies matching each color plate as shown above. NOTE: In retrospect, it may be easier to switch back and forth from Screen Colors to the specific CMYK color. For example, switch back to Screen Colors, rotate the raster pattern with the Transparency Tool, then switch back to the C, M, Y, or K color and create your bitmap copy.
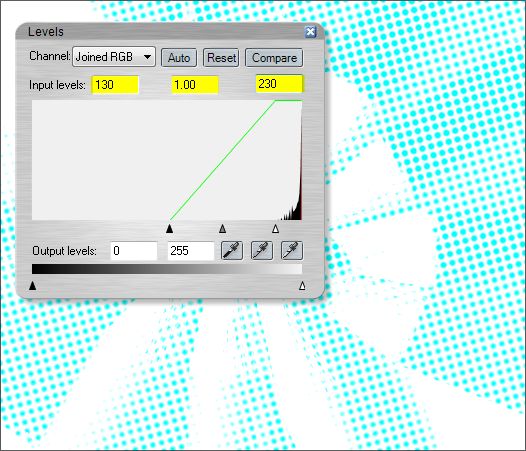
We need to increase the contrast of the rasterized "plates". Open each bitmap copy in XPE and adjust the Levels > Input Values as shown above and then press the red check mark icon to Accept the change and exit to Xara. Use the same values for all four images.
|
||||||
|
|
||||||


