|
|


|
Click Bevel Options. Select Angled (you can try other settings as well, most will work fine) and set the Depth to 6. The Bevel Depth determines the width of the bevel. We just want a small amount of depth to make the edges of the puzzle pieces more distinct.
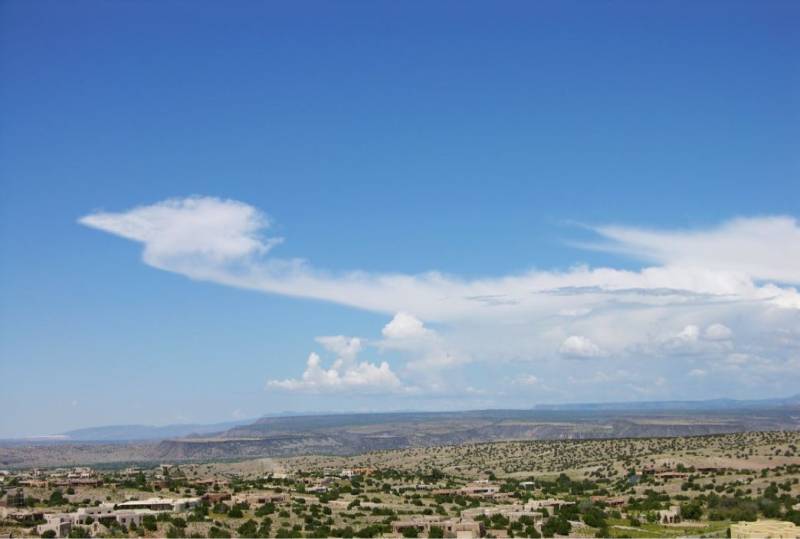
For this tutorial, we'll use an photo image of a cloud that looks a lot like a Roadrunner bird. Click here for the image. Place the image on your desktop or somewhere you'll be able to find it. Click Texture Options. If Text is not selected, select it from the drop down list. Place a check in the Texture text box. Press Load Texture and browse to locate the background-image.jpg file. (You can use any photo you want, but for this tutorial, let's work with the cloud image. The image is applied to the puzzle pieces. It's dark now but we'll adjust the lights in a few steps so not to worry.
You can rotate the puzzle by dragging the horizontal and vertical scroll bar handles or you can just grab the image and rotate it. Either way rotate it until it is in about the position shown above. The actual angles shown on the Status Bar are -36 and 30.
Click Show Lighting. Drag the light arrows until the puzzle is more illuminated. It's a little tricky, especially if the light is behind the object. You can't break anything, just drag the lights until you get them where you want them. The striped arrow is for the shadow. You can also drag the shadow itself to a new position. We will not use the shadow in the final image but you can experiment with the shadow just for practice. It's always a good idea to save your file as you go along.
|


|
|