|
|
|
Up to this point we have been working on Frame 1. Now it is time to create each additional frame of the animation.
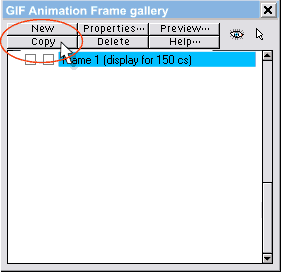
6. In the the Frame Gallery select the current frame. Click the Copy button at the top of the Frame Gallery. This automatically creates a new frame and copies all of the elements from the current frame in the same position to the new frame.
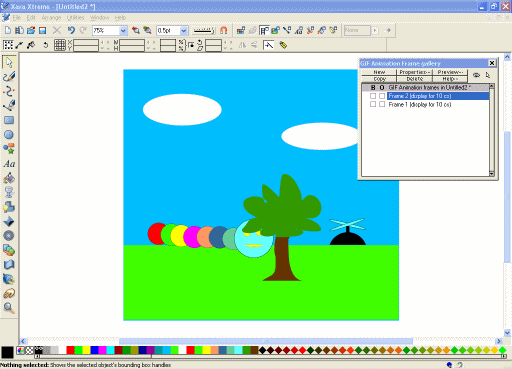
7. To create motion, move the animated elements slightly. The smaller the movement on each frame the smoother the motion appears in the final animation. Move each animated element by selecting it and using one or more of the following methods: 1. Use the arrow keys to change the position on the screen. 2. Use the mouse to drag the animated elements to a new position. 3. If you want your animated elements to spin, rotate the object slightly. For this tutorial, I move each body part individually to create the “wiggle” of the worm.
8. Repeat steps 6 & 7 above to create each new frame of your animation. If you want to introduce a new animated element on a certain frame during your animation, simply copy the element from the separate file in which it was created and paste it into the frame where you want it to appear first. This happens in my animation on Frame 10 at the point where I replace the stationary propeller with an ellipse to simulate a spinning propeller.
After you have a number of frames created, you can preview the animation.
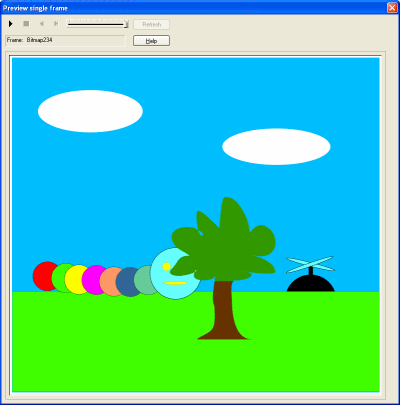
9. At the top of the Frame Gallery, click on the Preview button. Xara Xtreme will open a new window (shown below) in which to preview your animation.
Use the Play button (
|
|
The Xara Xone Guest Tutorials ©2005 Gary W. Priester All rights reserved
|


