|
The Scaling Properties
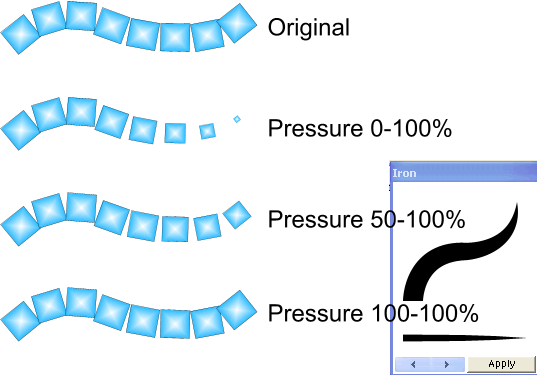
Pressure: When pressure sensitivity is applied through the use of either a preset profile or input from a graphics tablet, the values set here determine the size limits. For example, 100-100% would prevent pressure scaling, whereas 0-100% would result in a line that experiences maximum scaling, such as going from zero thickness to the set thickness.
As with the other tabbed sections, the Randomise button generates a new random seed for all random settings on this tab.
The Spacing Options
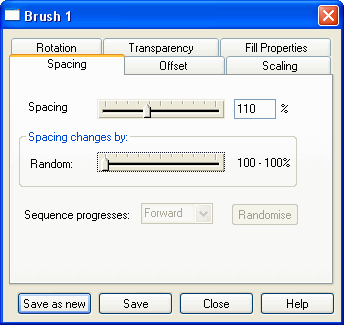
The Spacing options determine the space between each object in the brush.
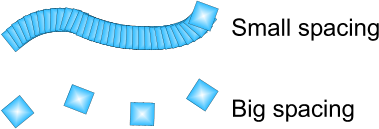
Higher slider settings increase the distance between brush objects. Lower setting decrease the distance.

Random: Applies a random spacing between the objects.
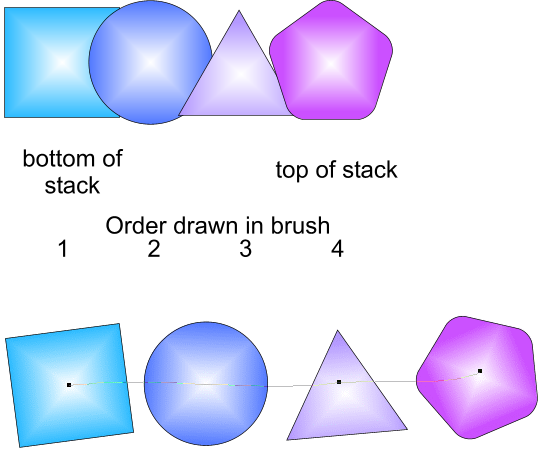
Sequence Progress: If a brush is created from different objects, then the object draw order is determined by their stacking order at creation time. This setting determines the pattern in the sequence of objects.
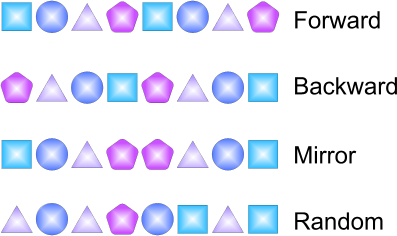
Forward: The first object drawn originally (the one at the bottom of the stack) is drawn first in the brush.
Backward: The last object drawn originally (the one at the top of the stack) is drawn first in the brush.
Mirror: When all constituent objects are drawn, they are redrawn again in reverse order.
Random: The constituent objects are drawn in random order.
The Transparency Options
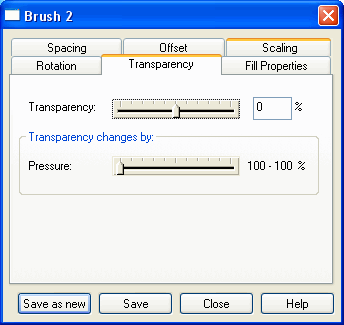
Objects contained in a brush stroke can have varying degrees of transparency.
The Scalling Properties
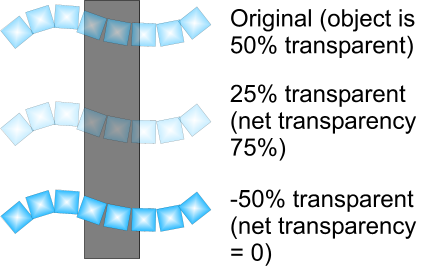
The Transparency: slider makes all objects transparent to the value set. Any lines on the constituent objects are not affected by this setting – the Transparency Tool (F6) must be used to alter the line’s transparency. Negative transparencies can be applied, which means that constituent objects that were originally partially transparent, can be made more opaque.
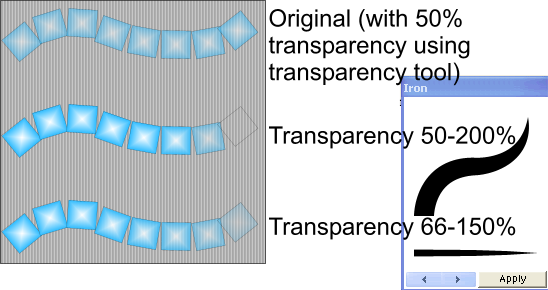
Pressure: When pressure sensitivity is applied through the use of either a preset profile or input from a graphics tablet, the numeric value determines the transparency limits. For example, 100-100% would prevent pressure transparency, whereas 0-100% would result in a line that experiences maximum fading, such as going from fully transparent to fully opaque.
Continued on Next Page >

|