|
|
|
But firstly, let’s look at the bitmap tracer’s controls and what they do to the look of the final traced images.
The image type drop down list lets you select what general form of output the trace should produce. The categories are: Photographic, Limited Color, Grayscale, and Monochrome. The image below shows sample output for each setting.
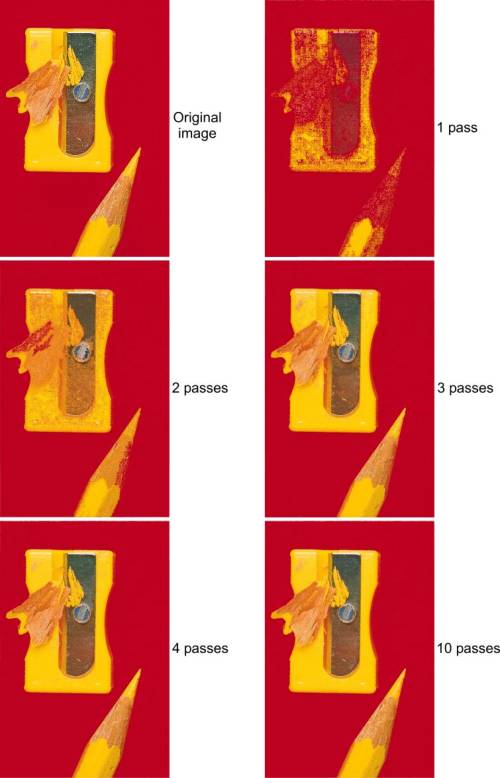
The “Passes” setting determines how many scans of the image are made to complete the trace. Each successive scan produces more accurate shape layers. This option is only available for the photographic image type. The image below shows the result when only the passes setting is altered. You can see that typically at least 4 passes are required for the highest quality results.
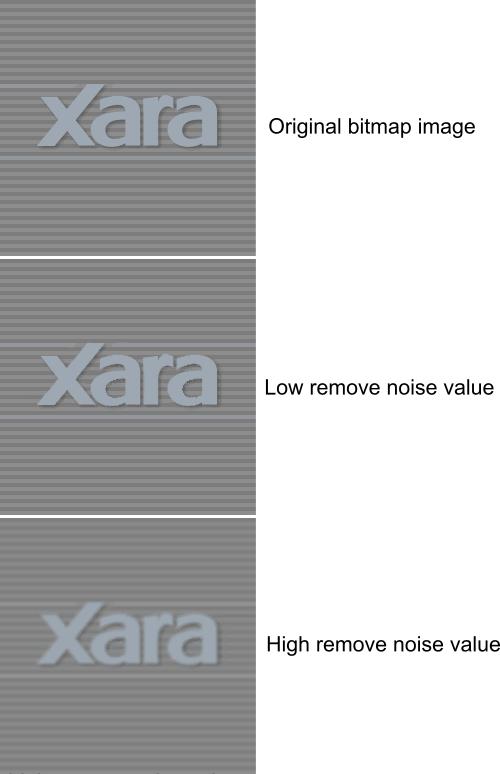
The “Remove Noise” setting is analogous to Illustrator’s “blur” option, and determines how blurred the image is made in the background before the trace starts. This option can be useful for smoothing out artifacts, or giving blurred effects to the traced image.
|
|
The Xara Xone Guest Tutorials ©2005 Gary W. Priester All rights reserved
|


