|
|
|
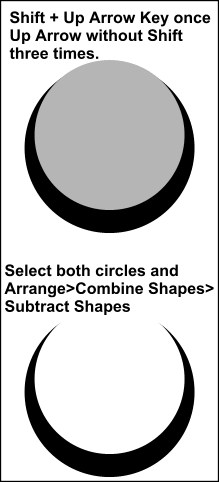
Once the top circle is in the position shown in the image on the left, hold the shift key and click on the larger circle so it is also selected. Use the Arrange > Combine Shapes > Subtract Shapes menu to remove the smaller circle from the larger one. We have the beginning of the main shape for our Xara 3D creation. All we need to do now is create two clones of this shape. Sounds too simple doesn't it? Well, to be truthful there are a few other things we will do along the way.
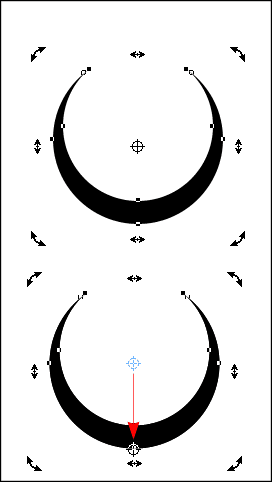
Before making the first clone, click the shape so that the skew handles are visible. We need to move the center of rotation bulls eye from it's default location to the bottom of the shape. By placing the center of rotation here before making the clones, they will also have their rotation center in the same location. TIP: If you have difficulty moving the center of rotation into the proper place, you can turn on the grid. Place the shape so the bottom in on one of the grid points. Enable snap to grid then move the center of rotation.
Select the original shape and create a new clone. Click in the Angle of Selection text entry box and type -120 and press Enter.
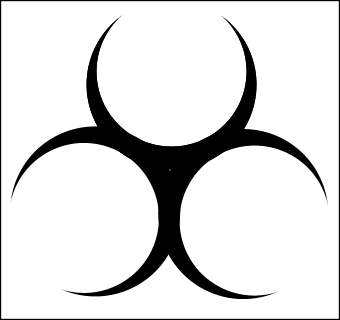
Now, if my instructions are correct and you have been following along, you should have something that looks like the thorny thing on the pictured above. Select the three shapes and Arrange > Combine Shapes > Add Shapes so the three crescent shapes become one shape. Save your work and take a short break to rest your eyes.
|
|
The Xara Xone Guest Tutorials ©2005 Gary W. Priester All rights reserved
|


