|
 |
||||
| 0 1 2 3 4 5 6 Download Zipped Tutorial | |||||
|
Setting up the hair drawing routine 1: You are going to be using many hundreds of strokes to create your drawing, so it's simpler to create some defaults first 2: Ensure nothings selected. 3: Select the Line Width drop down menu and select 0.5 pt XaraX will ask if you want to set this as default. Click 'Yes'
4: Right Click over 'Hair' on the colour line. XaraX will ask if you want to set this as default line colour. Click 'Yes'
5: Select the Freehand/Brush tool. Select the Stroke drop down list and select 'Blip'
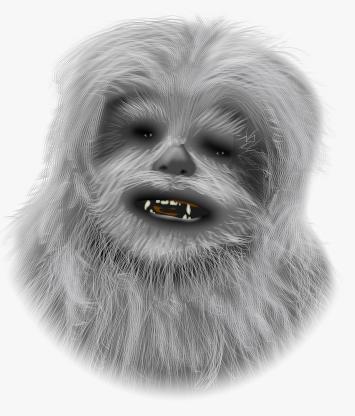
Using Layers You are going to HAVE to use layers in this tutorial. (If you don't use them normally you should learn how, they are fantastic for simplifying drawings and making various objects easily selectable, as well as hiding various parts of a drawing to further speed up screen redraw time.) 1: I'm useless drawing from memory, so I always use a photograph as my guide. So firstly Import the image below (3.jpg) on to Layer 1
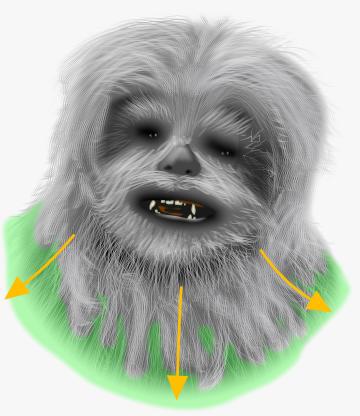
2: Now ensure Layer1 is visible but not selectable. Create a new layer. Name this 'Chest' 3: Select the Freehand tool. 4: You are going to build up the hair in layers, starting from the back. I've highlighted the Chest section, shaded green here. Looking closly at the bitmap you can see the general lay of the hair. I've highlighted it with orange arrows here.
|
|||||
|
|
|||||