 |
 |
||||
| 0 1 2 3 4 5 6 Download Zipped Tutorial | |||||
|
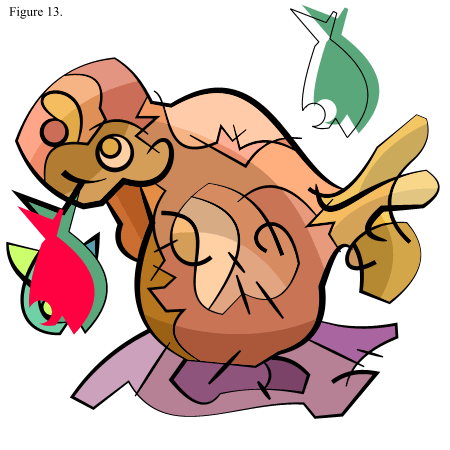
OK, to the fish and rock (and the "cheap, and really quick" way to add some character.) These are not really the best shapes for this technique... It looks better when applied to simple geometric shapes... but I will do it anyway... Select a shape (I started with the body of the fish) and cloned it twice (Ctrl+K). Drag the topmost clone (shown in red) to a position that will create an interesting new shape when subtracted/intersected from the other clone... Select the two clones and perform a suitable Combine Shapes operation. Move Backwards (Ctrl+Shift+B) your newly created shape, to a level immediately on top of the shape it was cloned from, and give it a slightly different color. TIP! Same as when creating additional shapes for the seal – you could also work with several shapes at a time when using this technique. The topmost clone could also be skewed, rotated, and/or stretched, before performing the Combine Shapes operation. TIP! You can also use a line with a stroke shape, or your own wild vector brush line to create your sliced "cloned shapes." Draw your line, and Convert Line to Shape, and subtract it from your cloned shapes – Break Shapes – and delete the shapes you don't need, and color the remaining ones. TIP! You can also do this to add texture or patterns easily to your image, by using any shape, or group of shapes, and performing the proper Combines Shapes operations on cloned parts of the drawing (or the whole tamale.) TIP! To make it easier to see what you are manipulating, give the shapes you clone a color that stands out…
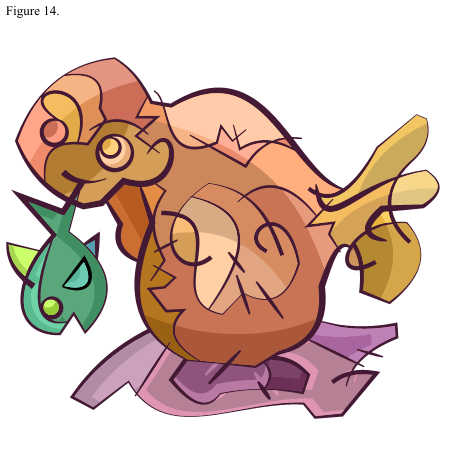
Slice and dice the rest of the fish - and rock... Like this... I changed the bottom-most shape to a dark dirty purple to soften up the lines a bit. This was just a quick example on slice and dice... to color... or to shade. With a little bit of effort you will be able to make it look much, much better than this quick example. Some more ideas:
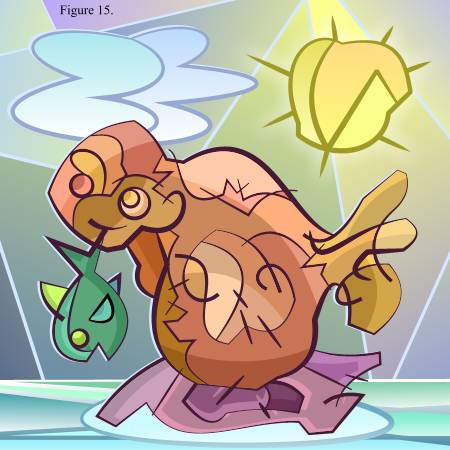
In the tutorial I showed one "element" (the seal, rock and fish) of a drawing done on one layer… Use the Layer Gallery to your advantage and create the sky on one layer, water on another – sun – clouds etc. on others, in the same way as the seal was created. Or if you are able to keep track of a lot of shapes, do it all on the same layer, and cleverly group, select/deselect elements of the drawing as they are created… Another way is to use the Layer Gallery as a temporary working area, and just copy elements from there, once they are created. The benefit of creating the elements separately is that it enables you to give different line colors to each of the elements, if you wish. It also makes it very easy to change out parts of the drawing.
Strips, cartoons… or ONE line color… Hey, you could complete a whole drawing the same way as the seal was created… It's definitely faster than creating them independently. If all you need is one line color – go for it! The way to start such a drawing is to first draw a rectangle covering the whole Paper, giving it a simple 1 pt line width, and no fill. This line will act as a "catch all" for lines that don't have anything to touch or overlap (to create cells…) e.g. a horizon line. Once the Break Shapes operation has been completed this rectangle will cover the whole Paper size – and can just be deleted – to reveal the "fillable" shapes. As the rectangle will be disposed of anyway, you don't need to make your lines meet perfectly with it. Any part of a line that goes outside the paper (the rectangle outline) will become part of the topmost shape – and deleted. Sound complicated? Yes… it sounds complicated… because sometimes the truly easy, and obvious things, take a longer time to explain than to do. To see how the Break Shapes process affects different line "scenarios," create and play around with a few lines and see what happens! If you have never played around with this before, give it a try – I'm sure you will get the hang of it really quickly. If you create a lot of "toon-like" drawings (images with outlines) – you absolutely must try this out! [Click here for a Zipped XAR file of the final image] Bon Chance! —Risto Klint For a couple of more example of this technique applied, visit this page on my Web site.
|
|||||
|
|
|||||


