 |
 |
||||
| 0 1 2 3 4 5 6 Download Zipped Tutorial | |||||
|
Click a gray shape and give it any color you wish, and you don't need to bother with the Name Gallery again... Unless you normally use it... I most often work with the Color editor open (in HSV color model ... adjusting the color as I go.) The way I normally do it:
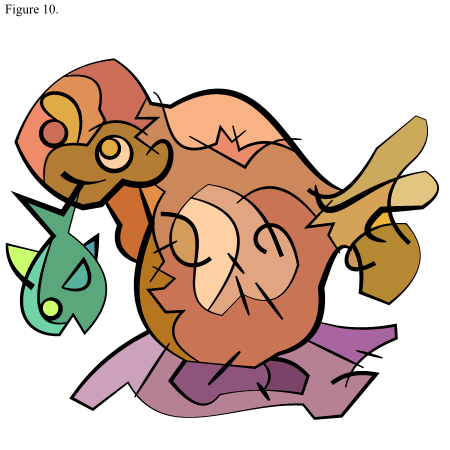
Here we have my colored seal pup! The purple parts were originally just a blob... I'll call mine a rock Leave the "lines" black for now... we'll play with them later. It's easier to get the color looking good once you have filled all your shapes. Hey, you could stop here, and perhaps just play around with the Bevel Tool, or maybe create a stained glass (here is a link to a Xara Xone Leaded Glass tutorial) out of the shapes you have. But why not spiff this pup up some more , with additional colors and shapes?
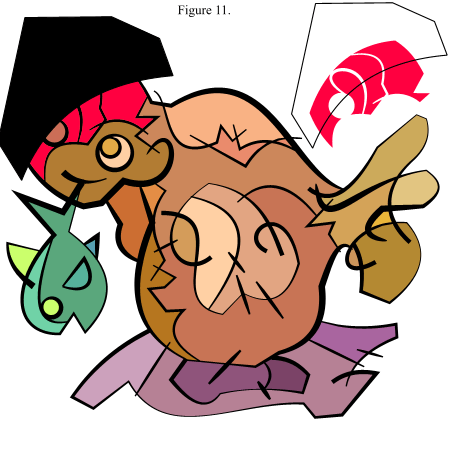
This next step should, I guess, be about adding volume... shading, but I'm on a deadline here (from Gary and my wife ). So, I'll just add some more color to the drawing You could do the same thing if you were adding volume to (or shading) your drawing. I'll show two ways... one on the pup - and another on the rock and fish (the second technique is a cheap, and really quick way to add some character to your drawing.) Set line width to 1 and choose the Constant - Stroke Shape. Decide which areas you wish to shade (or add color to...) and define the area with a shape (black in the image) and set the line width to 0 (I use the Pen Tool for this also ) In my case the black shape passes through five shapes of the seal (including the eye.) I Shift-click, and select the four shapes of the head (red in the image.) Clone shapes (Ctrl+K) - and then Add Shapes (Ctrl+1) Next Bring to Front (Ctrl+F) the black shape, and select the newly created clone as well, and perform Intersect Shapes. Then I perform Break Shapes to get back my 4 slightly modified shapes.
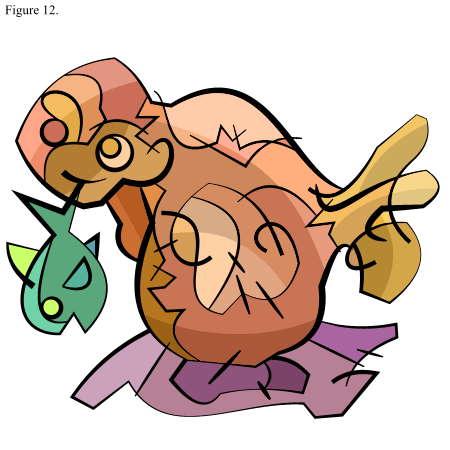
Give your new shapes a different color, and Move Backwards (Ctrl+Shift+B) them, so they come to rest right on top of the shape they were cloned from. Now slice and dice your seal pup (A Canadian Xara X1 term ) :-) as in the previous step... and color the shapes until you are satisfied. You can take your time shading the image properly... but it's late for me, so I quickly sliced up some shapes and my seal pup now looks like this
|
|||||
|
|
|||||


