|
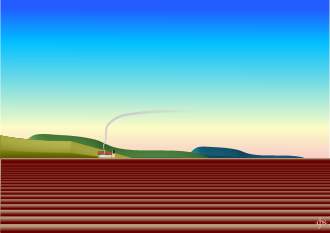
Make two more hills and place them, in a new layer, on your landscape as shown.
You can of course EXPERIMENT with placement. Make sure that your 'hills layer' is below the 'furrow layer' so that the bottom edge of the hills is hidden by the
top edge of the furrows. Also make sure the left hand end of the hill nearest you is hanging over the left hand edge. That part of the hill is a bit unconvincing and we'll trim it off.
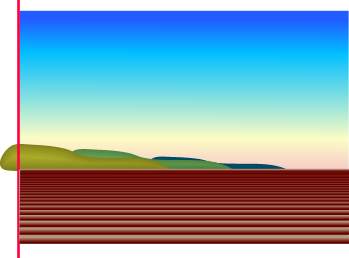
To trim the end of the hill use the Freehand and Brush Tool (while holding down the Ctrl and Alt
keys to draw a vertical line along the left hand edge. Make sure the line overlaps top and bottom of the hill that's over the edge. Then Shift-select the hill and press Ctrl 4
and then delete the overlapping piece of hill. If your landscape has ragged edges you can group (Ctrl g) the whole landscape and delete a thin slice, BUT remember if you group you lose your layers!
|